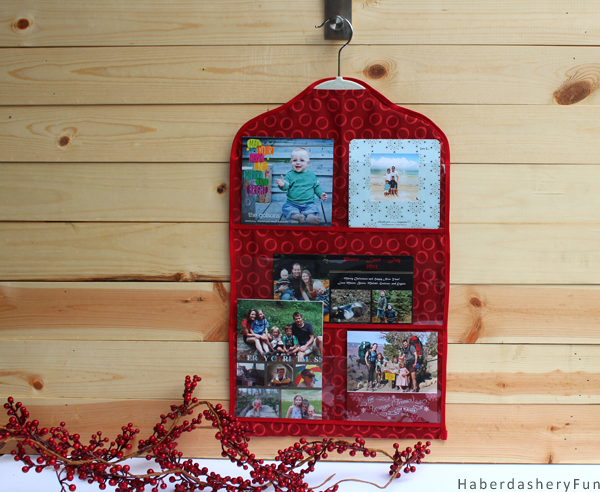
I am happy to be sharing my mini holiday card organizer today. I love the ENTIRE month of December. To me it means receiving Christmas cards from loved ones near and far. Every year the cards pile up on our kitchen counter, so this year I thought I would make a hanging card holder.
Good news, make this organizer in a neutral color and you can use it all year around.. It is perfect to hang near your desk or in the kitchen to gather all that stuff. This is a GREAT fat quarter project, so it won’t cost too much to create.
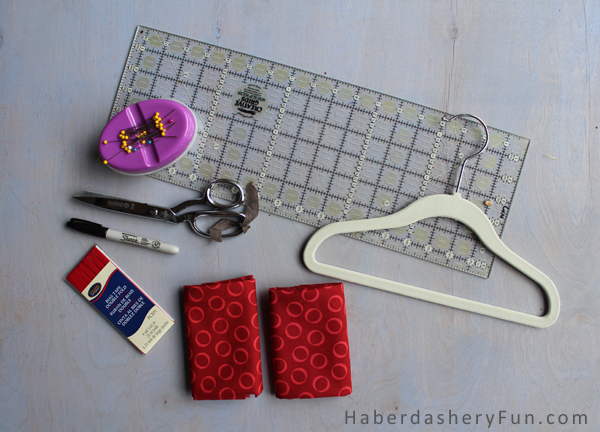
Materials Needed:
- 2 Fat quarters
- Clear vinyl
- Double fold bias tape- store bought or homemade
- Sewing machine and sewing supplies
- Rotary cutter and cutting mat
- Iron and ironing board
- Paper and pens
- Child size clothing hanger
Alright, let’s get sewing:
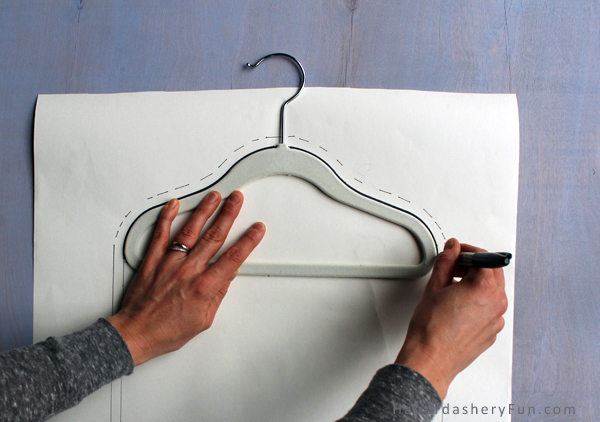
Lay the child size hanger on the paper and trace around the edge. Lengthen the bottom edge approximately 16″. Draw parallel lines from the sides of the hanger. Add 3/8″ seam allowances around all edges, excluding the bottom edge.
Pin the pattern to each fat quarter and cut out. Cut 2 of the same pieces.
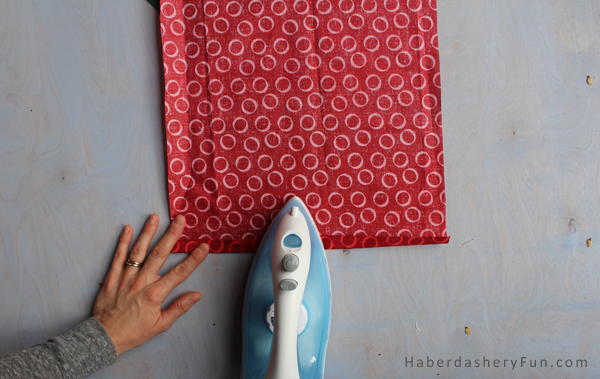
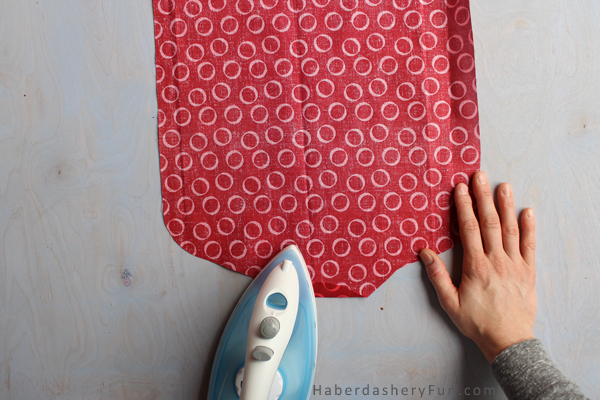
Double check the organizer length is even on both fabric pieces. If needed trim the bottom edge with a rotary cutter so they match completely. Turn under the bottom edge 1/2″ and press with an iron. Place into a sewing machine and topstitch. Repeat on the other fabric piece.
On one side only – turn under the top curved edge 1/2″ and press with an iron. Place into a sewing machine and topstitch. This becomes the FRONT of the organizer.
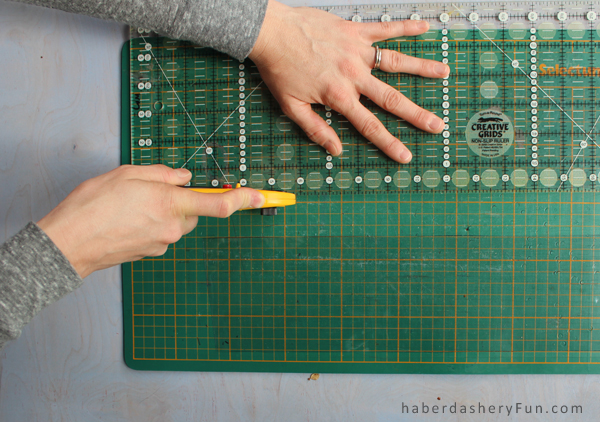
Lay vinyl onto cutting mat. Cut 3 strips measuring 12-3/4″ x 4″. These become the pockets.
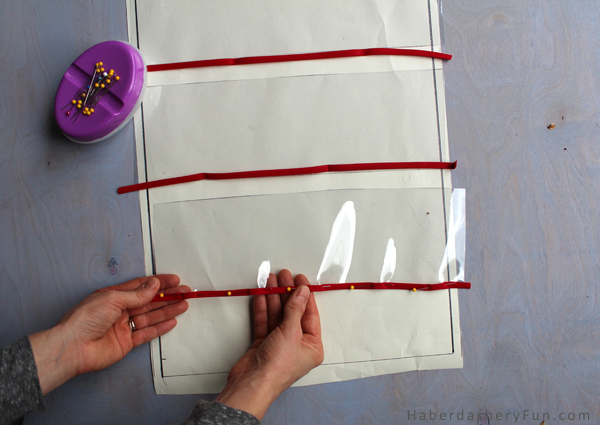
Cut 3 pieces of bias tape, each measuring 13″ in length. Pin bias tape to one edge of the vinyl strip. Place into sewing machine and edgestitch down. Repeat for the other 2 strips of vinyl. Trim ends if needed.
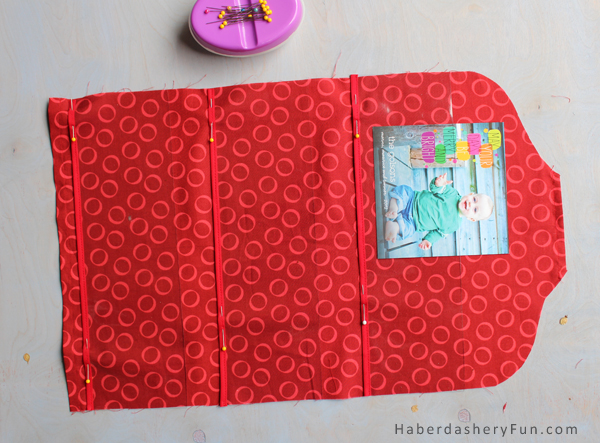
Lay front piece of organizer right side up. Place the 3 strips of vinyl on top. Adjust strips evenly, make sure to start first vinyl strip approximately 5″ down from top edge. This is so that the cards do not hang over the top. Place into sewing machine and edge stitch down. Optional – stitch down the center of each vinyl piece.
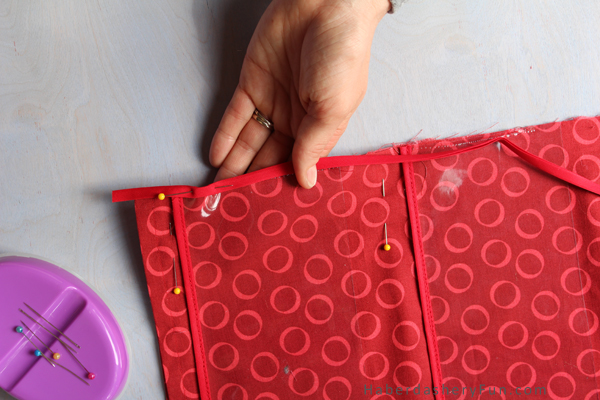
Cut another piece of bias tape measuring 52″. Pin to one end of the organizer. Make sure to leave a tail at least 1″ long. Place into sewing machine and edge stitch down. Turn tails under and stitch.
That’s it! Easy right? Now place your hanger inside the organizer and you are good to go!
Have you heard about the blog Craft Snob? Sara hosted a Bite Sized Sewing Series and invited me to share this tutorial the other week.. I LOVE her blog. It was such a pleasure to have been able to take part in her series. Thanks again!
Happy Sewing.



Thanks for sharing, Marni!
Smart! We love displaying the kid pictures we get year round, and this is way tidier than a fridge full of them
Thanks Ann. I should have made this in a more neutral color. Now I have to make another one for my office and pictures. 🙂
This is such a great idea – thanks so much for sharing!
What a great idea!
Hi – Thank you so much!! It is VERY useful and we have it hanging in the middle of our kitchen 🙂
Fun display. Thanks for sharing at Silver Pennies Sundays. x
Hi – thanks for stopping by! 🙂