Haberdashery Fun

  • Home
  • About
    • Look Book
  • Contact
    • Collaborate?
  • Tutorials
  • Shop
  • Workshops
    • Email
    • Facebook
    • Instagram
    • Pinterest

Keep up to date with the latest posts!

How To Sew A Simple Blanket

in Inspiration on 23/04/23

This might be the easiest blanket you ever made.

How to make a simple blanket

This is a fun project and can be made in less than an hour. I think this blanket is the perfect gift and it makes for a great beach blanket or daily lap blanket.

Do you need a quick present for an event you are attending? Know a new Mom? Are you new to sewing and want a simple project to work on your straight stitches? Have some cute fabric and a little kid who needs a new quilt.. Then, this blog post is for you!

sew a simple spoonflower fabric blanket

A bit about this blanket..

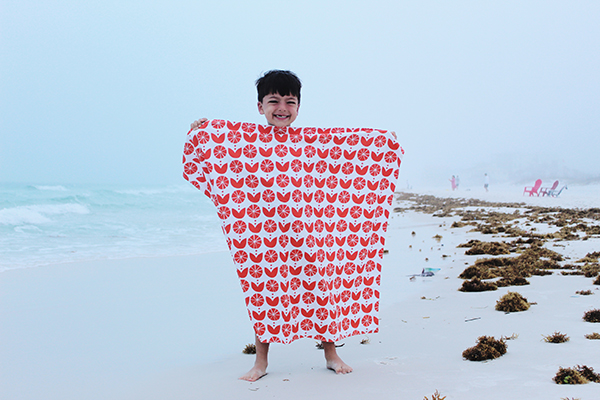
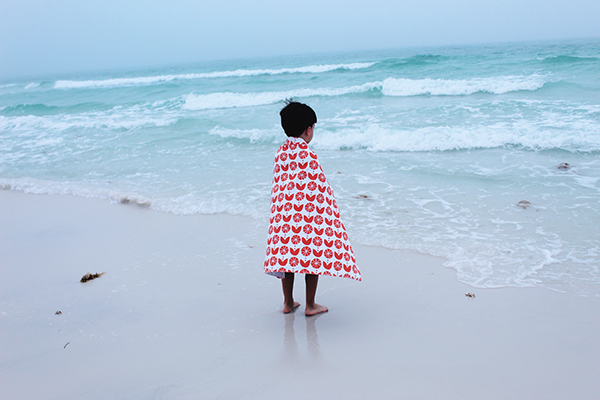
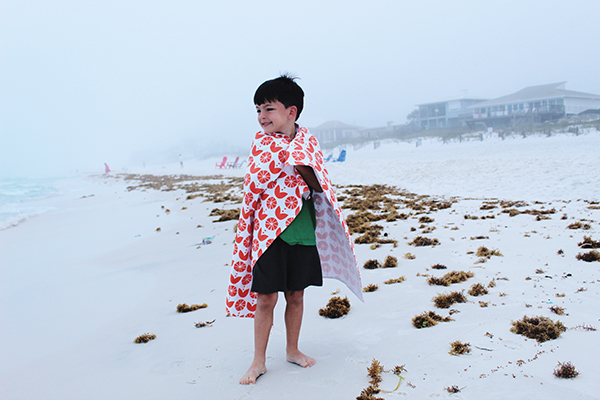
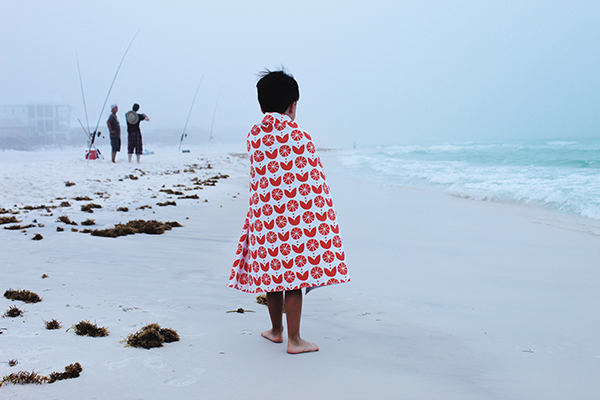
I chose to create this blanket based on a recent family trip to the Florida Panhandle. The weather was going to be crisp and not quite beach weather. I thought that a small cotton blanket would make the perfect cover up. Plus, if the weather got warm enough to go in the water, the blanket could also be used to lay on the sand.

When I was thinking about this quilt and tutorial, I had just received a yard of fabric I designed on Spoonflower. I really wanted to make something fun with it. I wasnt sure what tomkae b/c the motifs are quite large. Then a quilt popped into my brain. Do you want to see more? Head over to my Spoonflower Shop to see all my designs.

The fabric in this post is called “Happy Pinwheel”. It is based on a block print that I create and the block print color is blood orange. I typically do not like the color orange, but this spoonflower orange turned out amazing.

How to make a simple blanket

Materials:

  • 2 yards – 1 yard for the main piece and 1 yard for the lining
  • Quilting supplies – rotary cutter, ruler and mat
  • Sewing supplies – pins, thread, scissors, measuring tape, disappearing fabric ink pen/ pencil
  • Iron and ironing board
  • Sewing machine
How to make a simple blanket

A few things to consider:

  • Make sure you have enough fabric for your seam allowance. When you are drawing the perimeter, remember that you need at least 1/4″ for the seam allowance.
  • The fabric may not be cut evenly and/ or have uneven cut line. if this is the case, use the selvedge as a reference point. The selvedge “should” be the most straight piece one the fabric.
  • Buy a quilting ruler for your sewing supplies. Creative Grids is a great brand to look for. I have many lengths and widths in my studio and use them for sewing AND craft projects. These not only have grips on the bottom that help “hug” your fabric, but the grid feature help ensure drawing precise and accurate lines.

Let’s get started – Here are the simple steps:

Step 1 – First, lay your fabric on the ground. Place the 2 yards on top of each other. Match at one of the selvedges. Hand press any wrinkles out.

Step 2 – Next, use the selvedge as your starting point and draw a line perpendicular to the selvedge. Using a quilting ruler is a great option, as you can use the grid and make sure everything is square.

Step 3 – Draw the line as far across as you can. The fabric may not match each other or be evenly cut, so only draw the line to where you have both the lining and main fabric underneath.

Step 4 – Continue drawing the perimeter of the blanket, using the previous line as a reference point.

Step 5 – Cut the fabric. If you have a mat, cut using a rotary cutter. If you do not have a mat, cut using sewing scissors. To ensure you cut straight and even, keep the scissors touching the floor/table the whole time you are cutting ie) do not raise them in the air.

Step 6 – Turn the fabric pieces to be right side facing each other. Pin in place.

Step 7 – Bring to your sewing machine and sew together with a 1/2″ seam allowance. Leave a 10″ opening along one edge. This will be to turn the blanket right side out.

Step – 8 – Press the seams.

Step 9 – Trim your corners. This eliminates bulk in the corners and makes for nice crisp points. If you are new to sewing, start implementing this with all your corners and you will find they turn really nicely.

Step 10 – Pull the blanket right side out through the opening. Press the seams again. Turn under the seam allowance and press the 10″opening. Pin in place.

Step 11 – Finally, Take the blanket back into your sewing machine and edgestitch around the outside. This makes for a nice trim detail and also sewing the opening closed. To add extra details, add a second row of edgestitching.

That’s it!

How to make a simple blanket

Add a Comment

« Easy Little Kid Sewing Project
New Tote Bag Sewing Pattern Coming Soon! »

Leave a Reply Cancel reply

Your email address will not be published. Required fields are marked *

This site uses Akismet to reduce spam. Learn how your comment data is processed.

About me


Hi there - I'm Marni Weaver. A sewer, a sometimes quilter and a lover of fabric design. I started this blog to share my ideas. Come Join the Fun
shop now

Popular Categories

project for baby fabric projects seasonal projects fat quarter projects sewing tips and tricks inspiration

Categories

  • Applique
  • Baby
  • Bags and Pouches
  • Block Printing
  • Color
  • DIY Projects
  • Fabric
  • Fabric Design
  • Fat Quarter Projects
  • Home Decor
  • Inspiration
  • Just for Fun
  • Kids
  • No Sew
  • Patterns
  • Print On Fabric
  • Quilting
  • Scrap Fabric Projects
  • Seasonal
  • Sewing Tips & Tricks

Lovely sponsors

Recent Comments

  • How To Sew A Fabric Bin | Haberdashery Fun on Sew An Easy Fabric Storage Bin
  • Make The Alma Tote In Fun Colors | Haberdashery Fun on New – The Alma Tote Pattern
  • New Tote Bag Sewing Pattern Coming Soon! | Haberdashery Fun on New – The Alma Tote Pattern
  • New – The Alma Tote Pattern | Haberdashery Fun on Sew A Reversible Tote
  • Easy Little Kid Sewing Project | Haberdashery Fun on DIY.. Make Monster Inspired Face Cloths

Projects Elsewhere

find me on Pellon Projects sew mama sew contributor

momtastic contributor

Pinterest

Visit Marni@Haberdashery Fun's profile on Pinterest.

I'm Reading

  • Cluck Cluck Sew
  • Cooking Dangerously
  • In Color Order
  • Jen Hewitt
  • Jolly Jabber
  • Karly Spalding Photography
  • Leigh Laurel Studios
  • Lindsay Sews
  • Lotta Jansdotter
  • Love Patchwork and Quilting Magazine
  • Made
  • Making It Lovely
  • Noodle-Head
  • Polka Dot Chair
  • Sharon Holland Designs
  • Silhouette America Blog
  • Silhouette Design Store
  • The Purl Bee
  • The Purple Fig

Press:

Stitch Winter 2014

haberdashery_fun

Marni Weaver
Thank you to all who attended my first “Design F Thank you to all who attended my first “Design Fabric & Sew A Pouch” workshop on Sunday. You never know what may happen with a live zoom workshop. Magic always happens and I love to seeing what gets created!

FYI.. I have another workshop like this at the end of the month on Saturday Oct28 2pm-4pm( via zoom)

+Want to make something fun? 
+Want to learn to block print?
+Want to design your own fabric and sew something?

Come and join the fun! Beginners welcome. You just need sewing experience for later when you see the pouch. The link to register is in my profile.

#haberdasheryfun #haberdasheryfunprints #surfacepattern #dashpattern #blockprinting #blockprintedtextiles #blockprintedfabric #haberdasheryfunprints #fatquarterproject #pdfsewingpatterns
I gave myself a few minutes this morning to carve I gave myself a few minutes this morning to carve another 1” stamp. There is something magical about a quiet morning with a cup of coffee and an open door open that lets in the cool fall weather. 🍁 

#haberdasheryfun #haberdasheryfunpatterns #haberdasheryfunprints #blockprinting #blockprintmadeeasy #versafineclair #versafineclairinks #surfacepatterndesign
I had so much fun yesterday that I gave myself 20m I had so much fun yesterday that I gave myself 20mins today to get creative with another 1” stamp. Added yesterdays stamp in the mix. 

What do you do for self care and wellness? Do you put times into your calendar or just wing it each day? I am practicing adding time each day for a walk (or even two) and some form of relaxation.

#haberdasheryfun #haberdasheryfunpatterns #blockprintingmadeeasy #fatquarterproject #haberdasheryfunprints #blockprints #blockprintedfabric #blockprintedfabrics #surfacepatterndesign #spoonflower #spoonflowerfabric #versafineclair #versafineink
What do you do to get out of your head? I go for a What do you do to get out of your head? I go for a lot of walks, take a lot of showers (weird I know) and block print.

Today was one of those days, so I grabbed a small 1” stamp and made a quick print. It’s super simple, but I like how it turned out. 

#haberdasheryfun #blockprintingonfabric #blockprintingmadeeasy #blockprinting #fatquarterprojects #haberdasheryfunpatterns #haberdasheryfunprints #fabricdesign #surfacepatterndesign #spoonflower #badcaseofthemondays #blockprinted #versafineclair #versafineink
I often have people ask me.. what do I sew with th I often have people ask me.. what do I sew with the fabric I just block printed? 

Introducing.. the Dash Pouch. This pouch is included with my upcoming workshop called “Design fabric and sew a pouch”. 

There are 2 dates. Oct 1 and Oct 28, come join me and let’s have some fun. Link in profile has all the details.

#fatquarters #fatquarterproject #haberdasheryfun #haberdasheryfunpatterns #blockprintingonfabric #blockprintedteatowel #blockprintingmadeeasy
Follow on Instagram

Copyright © 2023 · Klar theme by Crimson Pear :: web & surface design

Copyright © 2023 · Klar on Genesis Framework · WordPress · Log in