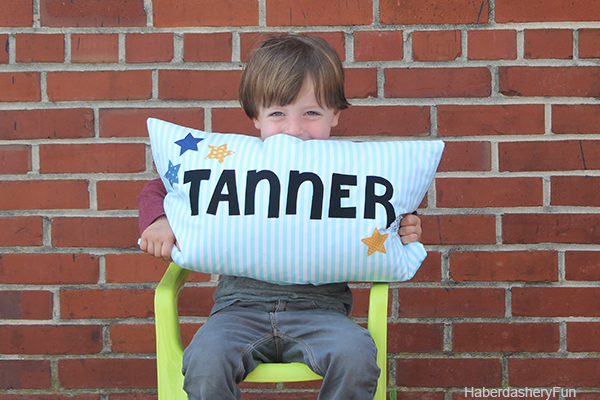
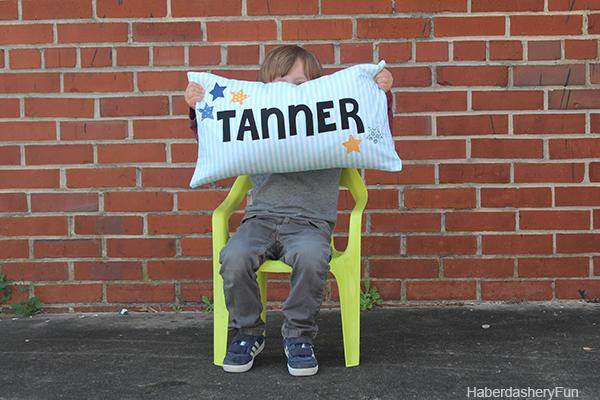
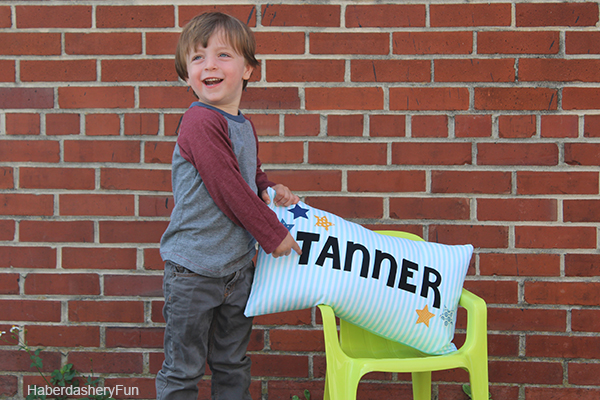
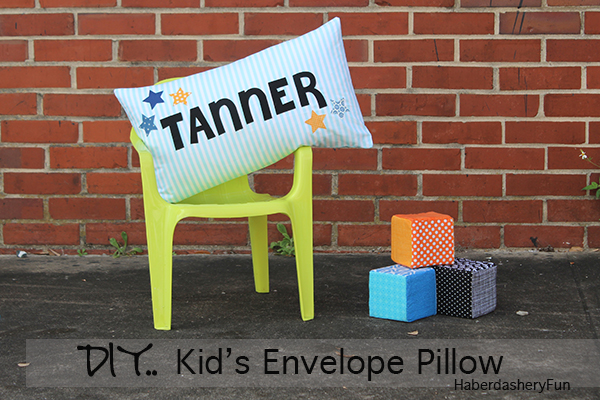
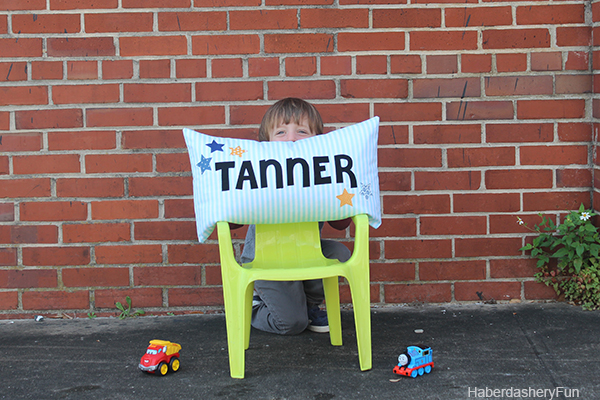
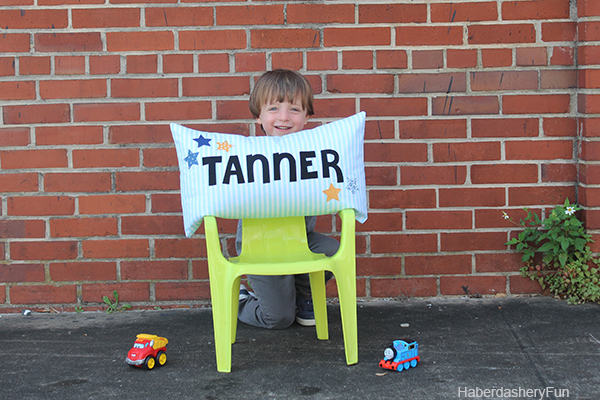
I’m happy to be sharing this adorable pillow today. I’ve wanted to make a “Tanner” pillow since my little guy was born. I’ve just never gotten around to it… Pillows are super simple to make AND add style to your child’s bedroom. So when the opportunity came about to be apart of the Shabby Fabrics Blogger Challenge, I jumped at the chance.
I had a lot of fun making this pillow. My son is 3 and loves finding the letter T in his surroundings.. He always shouts out, “Hey Mommy.. “T” for Tanner” when he sees a stop sign or the letter on the side of a truck. It is the cutest thing and warms my heart.
Shabby Fabrics created laser cut shapes and they come in different shapes and sizes – hearts, dots, stars, butterflies, letters.. There are so many options! The laser cut shapes are so easy to use and you’ll be sewing in 1.2.3…
And guess what? I’m hosting a giving away with this post – a FREE package of shapes. Make sure to read below, it’s easy to enter.
Materials needed:
- 3 fat quarters
- Shabby Fabrics Laser Cut Applique Shapes – Alphabet Set and/or laser cut shapes
- 12″ x 21″ Pillow form
- Velcro pieces
- Disappearing fabric ink pen
- Sewing supplies and sewing machine
- Iron and ironing board
- Serger – optional
An envelope pillow is the perfect project for beginner sewers. I promise you can do this in an afternoon – just grab 3 coordinating fat quarters, the laser cut applique shapes, your sewing supplies and you are good to go.
Ok. Let’s get started.. Cutting instructions:
- Pillow front – Cut out 1 rectangle 21 3/4″L x 12 3/4″W.
- Pillow Back – Cut out 1 rectangle measuring 15″L x 12 3/4″W [ large side] and another measuring 13 “L x 12 3/4″W [ small side]
Here are your 5 Easy steps:
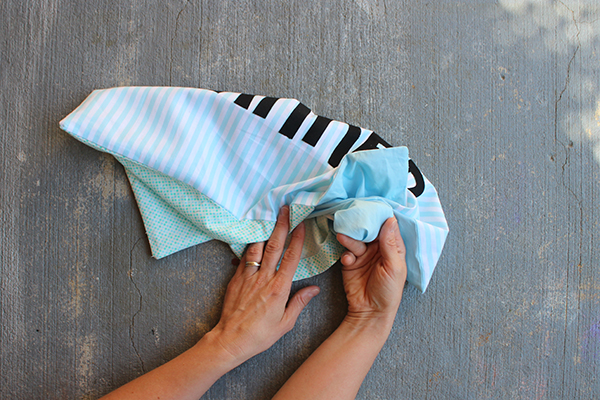
Step 1 – Lay the back fabric pieces on your work surface. On the “large side”, turn and fold under the short edge 1″. Press with an iron. Turn and fold under 1″ again. Press. Place into your sewing machine and top stitch along the folded edge. Repeat for the “small side. These pieces create the envelope back.
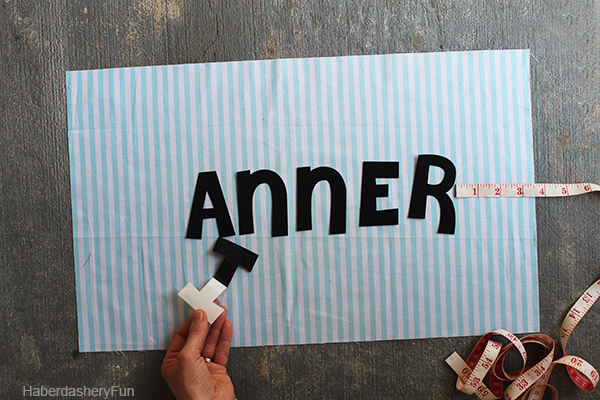
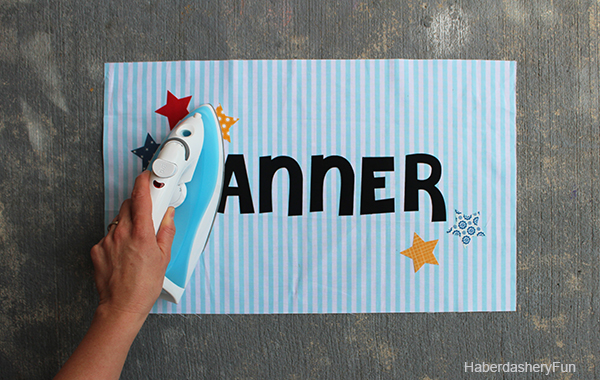
Step 2 – Lay the front pillow piece on your work surface. Take letters and shapes out of the package and play with the layout on the front. Leave a little extra room for the sides and make sure it it even especially the ends. Read Shabby Fabrics package directions – carefully peel off the backing off the pieces. Place the shapes onto your pillow front. Press in place. Applique around the outside of each letter and shape. I usually use a straight stitch, but any stitch will do.
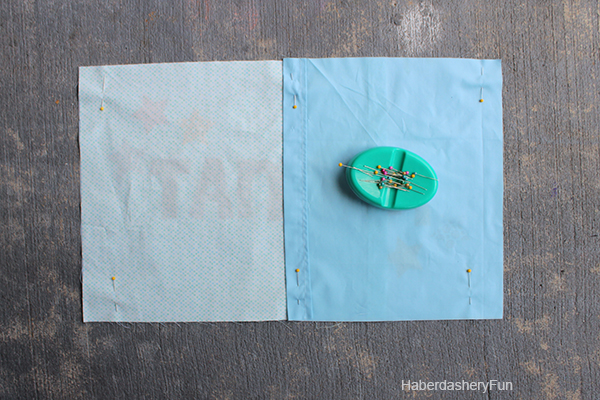
Step 3 – Place pillow front right side up on your work surface. Lay the back rectangle pieces right side facing down. The “large side” should be placed first and on the left. The “small side” should be placed on the right. Pin where they overlap and also around the outside edge. Place into sewing machine and stitch together with a 3/8″ seam allowance. Press. Finish the raw edges.
Step 4 – Turn right side out. Wiggle corners into place. Press.
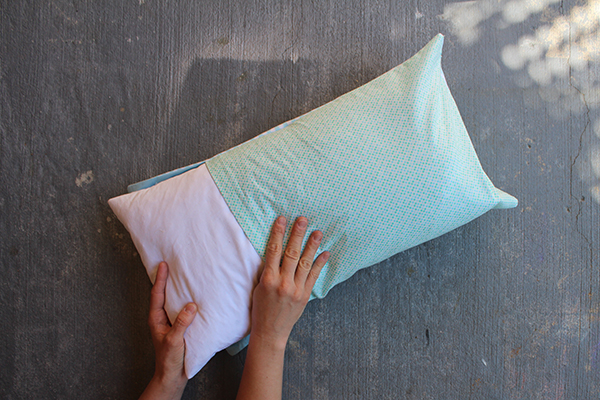
Step 5 – Insert the pillow form. Wiggle around so the side seams match. Jiggle each corner into place again. And that’s it, cute pillow complete.
And now on to the BEST part!! I’m giving a set of ALPHABET SHAPES away!! It’s easy. Just leave a comment for this post and let me know what you would make.. That’s it.. The winner will be selected at random and is open internationally. The contest is open through Sunday, March 22nd 12pm EST.
Please note – the contest is now closed. Thank you to everyone who entered.
There are a bunch of great projects in the Blog Hop – check out the links below:
Tuesday, March 17th – Paula at The Sassy Quilter
Wednesday, March 18th – Daniela at On The Cutting Floor
Wednesday, March 18th – Erin at Why Not Sew?
Wednesday, March 18th – Deby at So Sew Easy
Thursday, March 19th – Alyce at Blossom Heart Quilts
Thursday, March 19th – Me 🙂
Friday, March 20th – Melissa at Happy Quilting
Friday, March 20th – Mahriam at Three Owls handmade
Saturday, March 21st – Melissa at Polka Dot Chair
Please note that Shabby Fabrics sent me the appliqué letters and stars for this project. However, all opinions are my own. Can’t wait to hear from you.
Happy Sewing.





Love this pillow! It would make any kid smile – and sew easy too. Thank you. kathleendotlutzatcomcastdotnet
Awesome!
Such a cute pillow and love the story of Tanner!! Oh, I would make a pillow too ~ I’ve been toying with letters lately and these precuts would be so easy!
Love the stars!
I love your pillow idea! I’m expecting a “new” grandson in a few weeks but my “old” grandson is getting a little jealous of all the new baby things. It would be great fun to make him his own pillow for his bed with his name on it! Maybe even a sign for the door!
Oh my! This pillow is so stinkin’ cute!!! I love hearing that Tanner loves it and the letter ‘T’!!! Cutie patootie!!! I just learned about Shabby Shapes and I think they are amazing and so versatile! Thanks for your post!!!
Love those letters !! great font… Not sure what I would make… but your pillow is cute !
How perfect for a little boy’s pillow. Mine would say Ethan for my little grandson.
Tanner is obviously very happy with HIS pillow! What an adorable idea. I have a 3 year old grandson who would like enjoy a personalized pillow, too. I guess I’ll have to buy some Shabby Shapes letters soon!
Thanks for sharing your pillow tutorial!
Very nice! You are right – kiddos love things with their own name on them. One of my older boys had a mug with his name on it and it was a prized item (until it broke.) If I won the Alphabet Shapes I’d make name pillows for my little ones also!
I’d love to try making this pillow for my grandson! Thanks for the great tutorial. I am a beginner so this will be a great help!
Kids love to see their name on things. This makes it easy.
I think I would use your tutorial and make a kids name pillow! Yours is so cute and I have a nephew who would love it. Thanks for the chance to win!
What a fabulous project with the letters and stars. Will have to keep this in mind as it is FQ friendly.
Absolutely LOVE your pillow! Turned out great! I think I would use the alphabets for a personalized wall hanging or maybe a totebag. Thanks for the chance!
I love the style of these letter shapes. I think I would make a quilt with my grandbaby’s name on it. But I’d probably have to get two packs because her name as several duplicate letters in it!
Thanks for the opportunity to win 🙂
This is so cute, love it.
I love this. I should make something similar for my daughter.
marypres(AT)gmail(DOT)com
i would love to make one of these for our adorable little next door neighbor!
My little guy does the same thing when he sees an H (for Henry)- if I tell him what the sign actually says he says “No, H is for Henry”! Would love to make some name pillows for my kiddos– such a fun idea!
Aghh.. That is soo cute. They are so funny about their names right? Tanner insists he doesn’t have a “middle” name. It’s just his first and last. Thanks for stopping y=by and have a great weekend.
The look on your son’s face says it all. He’s at a wonderful age. I would make a wall hanging with some inspirational saying .. when I think of it! You have certainly inspired me and shown how easy it is.
I love what you did with the alphabet letters. I have several grandchildren who would love to have a pillow with their name on it. I will have to visit Shabby Fabrics and take a look. Thanks for the great tutorial.
How fun!! My Grangirlie would love this Pillow! 🙂
I am loving these shapes from Shabby Fabrics! The bloggers on this hop are very inspiring and have my mind in a whir thinking of all the things I could make. I would like to use these alphabet letters to make a fabric alphabet book for an upcoming grandchild! A letter and a corresponding character for each page…it would be fun to make!
i would like to make some home decor to hang on a wall
I love the idea of a personalized pillow!!! I’d make one for my daughter… She would love it!!!
An apron for my niece. Thanks for a chance to win!
I love the idea and would make some cute cushions for my new couch. I wold love to win this. Thanks for the chance.
merryorganic@gmail.com
I think I’d like to make a holiday bunting. Happy Friday!
A pillow, just like yours! It is so cute!
What a cute project! I can see why Tanner loves his special pillow! I’ll have to put this on my project list.
Thanks for the tutorial. I have 5 Grandchildren and all would love the pillow.
Cute pillow!
All children love anything with their name on it. Thanks for the chance to win.
I’d make a personalised tote for my niece 🙂
I’m thinking an alphabet quilt for a toddler would be cute!
I would be all over making quilts for charity. My son is learningt o sew and I think these would provide a new opportunity to grow his skills while creatings omething to giveaway.
I would love to make an alphabet project for my grandson! Thanks for sharing!
i would use it to name a baby quilt for my new niece or nephew that I can’t wait to meet.
I would make a name pillow for our youngest grandson Jack. He loves
his name too. Thanks for a chance to win some letters.
I would love to make my nieces some tote bags with their names! cool! thanks!
I would use them to make signs for my kids’ doors.
Ooh, how fun! I’d probably make a pillow too…maybe for my husband! Thanks and God bless!
My grandsons would all love a pillow with their name on it.
I would make the same pillow you did but it would say Adain
We’re having a window bench made in my daughter’s room and I think it needs a Charly pillow on it!!! Fingers crossed that I win! 🙂
what a cute idea. I need to make these pillows for all my great grand children
My little children friends live next door and I would love to make a pillow for them.
I love your pillow and I love to make pillows! I want to make 2 large floor pillows for my 2 granddaughters who will be off to college in the fall – the letters would be perfect for them! Thanks so much for the chance to win 🙂
Debby E
samtaylorcjsmimi at yahoo dot com