My sweet baby is nearing the crayon and drawing age. Time Flies. Seems like it was just yesterday that I was telling my husband we were pregnant.. I was a crafty kid, so it brings me great joy to think of all the fun things we will soon make together.
I was given a version of this crayon holder as a present and promptly lost it. With my little munchkin now picking up [ and eating crayons ], I thought it was time to make a new one. This one is from memory and I hope it does the original justice.
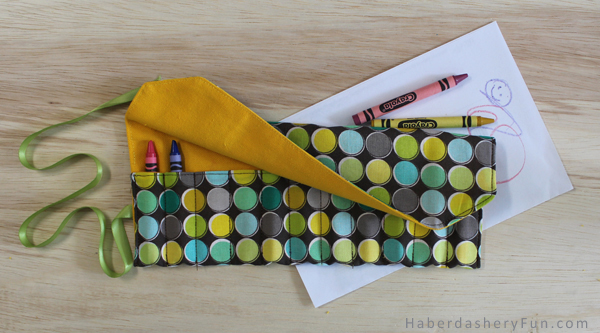
This is super simple to make and great for your purse or diaper bag. With summer travels, put a few pieces of paper in the car and you are good to go.
Sewing Materials:
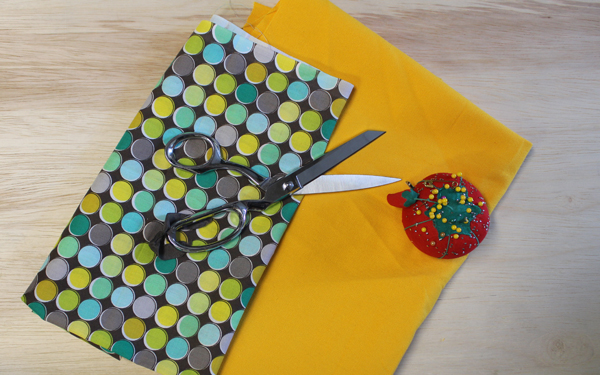
- Self / exterior fabric – the more colorful the better
- Lining / heavier fabric – I found cotton duck worked well. It gave the roll some stability. You could also use decorator weight fabric
- Ribbon, button
- Disappearing ink pen
- Sewing materials – scissors, thread, pins, needles
- Sewing machine, iron and ironing board
- Crayons!
Pattern Drafting Materials:
- Paper
- Ruler
- Pens
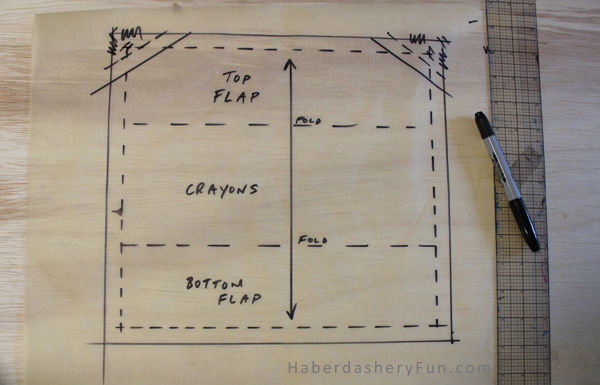
To develop your pattern – draw a rectangle measuring 11″ W x 10″H. Shave off at the side top flap corners to suit your design scheme. I chose to make my corners angled, but you could also round the corners. Add 1/2″ seam allowances to all sides.
8 Easy Steps:
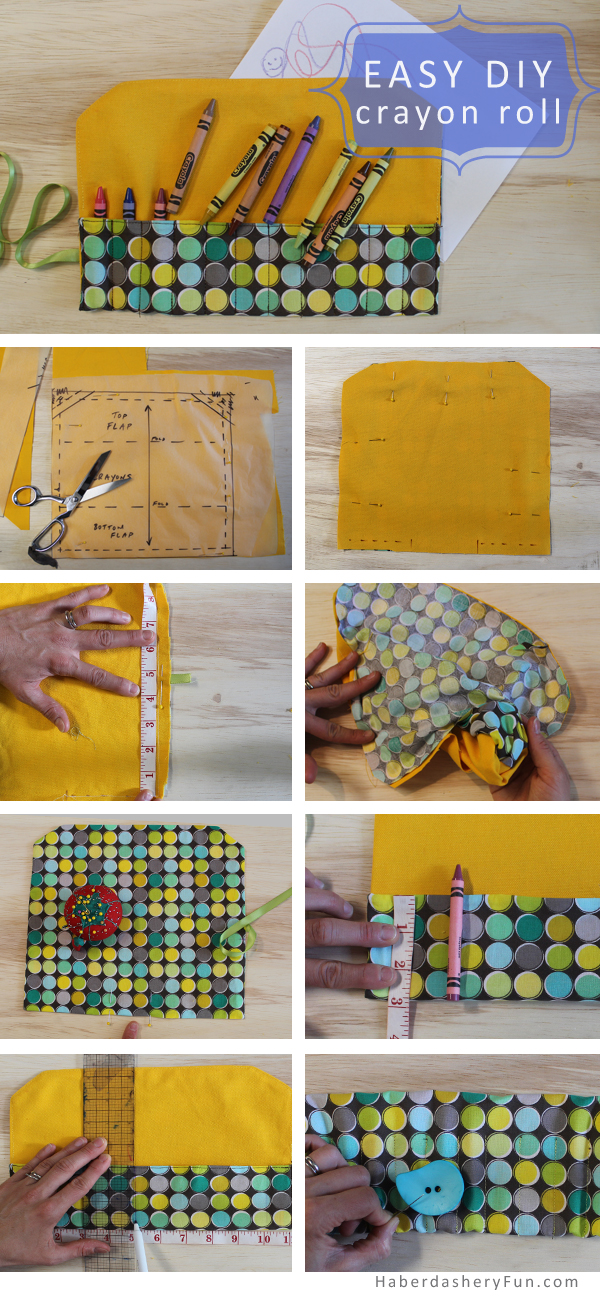
- Cut out your pattern pieces – 1 for the self and 1 for the lining
- Place right right sides together and pin
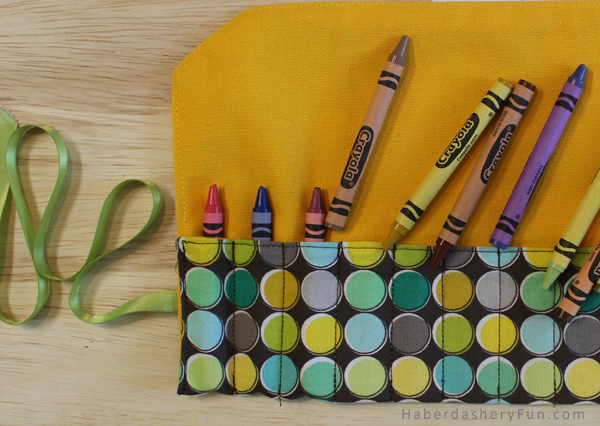
- Measure 4 1/4″ up from the bottom seam and insert ribbon. Make sure to insert so the ribbon length is facing inwards and square the ribbon with the side seam. As the image above, you want approx 1/2″ SA sticking out
- Place into sewing machine. Sew with a 1/2″ SA around the outside. Leave a 2-3″ opening at the bottom. Press. While pressing to set your seams, also turn the 2-3″ bottom opening and press the seam upwards. This will help when you later sew the opening closed.
- Pull the roll rightside out and press the seams again. Pin the bottom opening closed. Edgestitch along the entire bottom edge. Backstitch at each end
- Fold bottom upwards to measure 2 3/4″ in height. Press the fold. Now edgestitch along each side seam. This will make a little pouch. Backstitch at the top and bottom. At this time, you can also edgestitch along the top edge
- Place a measuring tape along the bottom. Using your disappearing ink pen and a ruler, mark at 1″ increments along the bottom seam. Place into your sewing machine and stitch following each ink line. You are now sewing the little spots for all the crayons. Make sure to backstitch at the top and bottom. Press
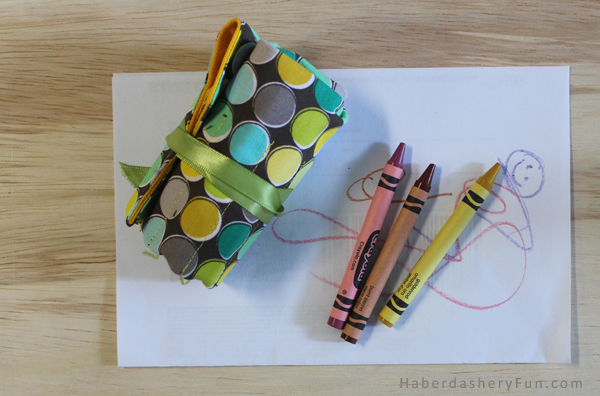
- Button – turn over to the backside. Place the button in the centre back area/near the vertical stitches. However, before sewing the button down, double check placement by rolling up the crayon roll. Handstitch the button in place.
Note – I chose not to use interfacing on the self fabric. I wanted the cotton fabric to have some give. As the roll gets used by little hands, the crayon slots will open up a little more.
That’s it… I hope you enjoy sewing the crayon roll for your little one. Happy sewing


This is so neat. I’m going to make these as party favors for my upcoming daughter’s 5th birthday party. EASY diy steps to follow. Thank you
My mother in law wanted me make these for my baby’s 1st birthday party. But, I think a 5th birthday party is the perfect age!! The kids AND MOMS will really appreciate the party favor. They are super easy to make. You could finish them all over a weekend. Thanks for stopping by, I really appreciate your comments.
That has got to be the most adorable thing! I’ve never seen anything like it. I love the fabric you used. The pics and steps make it less daunting to me for when I attempt this. My boys love colouring but the mess drives me nuts, I like how this keeps everything organized!
Super cute and easy to make. Great idea!
I love this and it has so many other uses too – paint brushes for the kids or make-up brushes for mommy. Just saying!
Totally agree with your ideas!! I am on it and love it. I will keep you posted when I sew them up.. Thanks for stopping by, I really appreciate it.
Love it!!! Great gift idea! And kids will LOVE it!! Really like how it rolls up and ties too.
Thanks for stopping by. This is super easy.. non sewers could whip one up in no time 🙂
Box crayons always get dumped out with my kids(and eaten) so something like this will give them a bit more control and hopefully easier to tidy up. Great idea and suggestion about paintbrushes!
This little easily made package will be so useful for entertaining kids at restaurants, airports, waiting at Dr’s offices, where they want to get at their creative side and the crayons are not all smushed together in plastice containers. Terrific design, and so easily recognized by the wee user.
Thank you! Such lovely comments and so very true! I appreciate your stopping by my blog.
Loved this! The kids will love to!
really well done! and as always, a creative little project & will keep the kids busy once its finished. thanks haberdashery!!!!
This is such a good idea – perfect for restaurants or long car trips!
Very cute and creative and easy to carry! Looks like you have lots of good ideas!
I would be interested in including this in a simple sewing tutorial round up on theSIMPLEmoms site. Could you please contact me about the use of one of your images for promotional purposes?
Hi Bridget, Thanks for stopping by, Sounds great on the sewing round up. I will send you a quick email to touch base.
Using these fabulous instructions to make name badge pouch for all the name badges I have for various organisations! Thank you – I wasn’t quite sure where to start but now have great instructions, I just need to adapt the size.
Thanks Melanie – that’s great to hear. Have fun making them and let me know how it goes – Marni