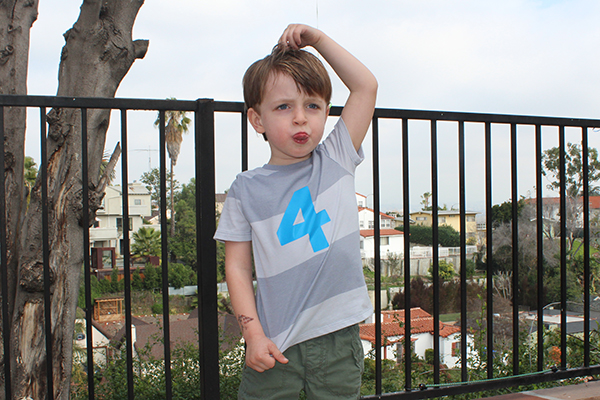
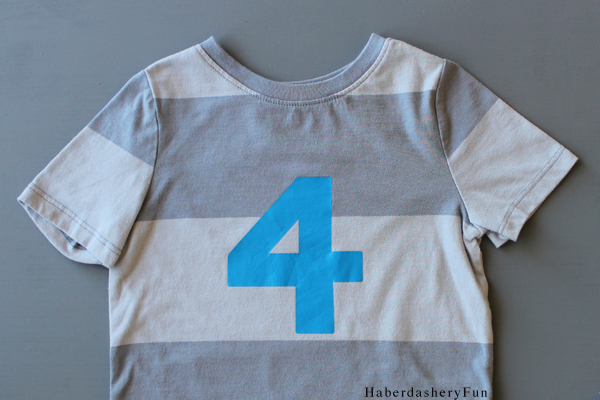
There’s something to be said about putting off a project and then never getting around to it.. This was the case with my son’s 4 birthday shirt. So simple in design, super easy to make, yet jam packed with so much meaning.
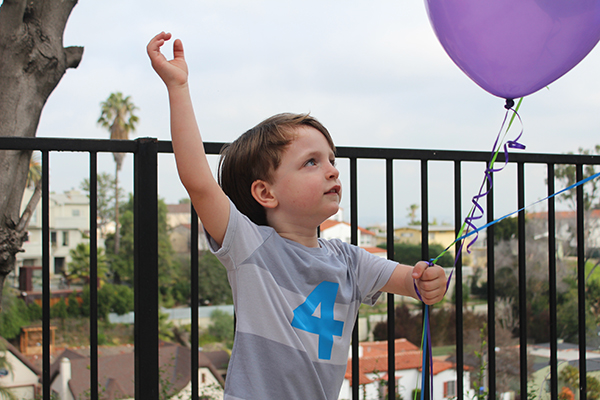
The ah-ha moment came a few days ago when we were buying candles for his birthday cake. I pointed out the number 4 candle and he said “that’s what my number looks like”? It was so innocent and warmed my heart. I knew in that moment that I couldn’t put off making the “4” shirt any longer. Especially when it symbolizes such a BIG day.
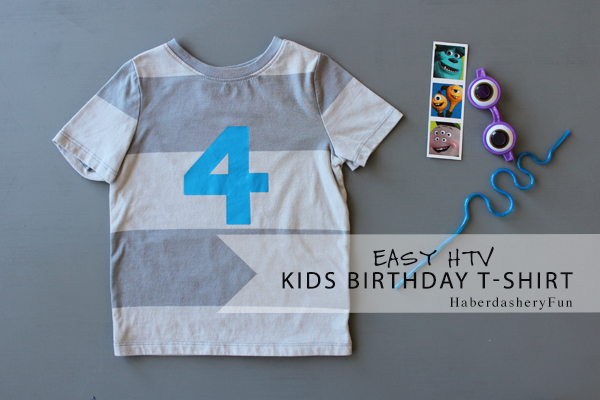
Materials Needed:
- Pint sized T-Shirt
- Heat Transfer Vinyl
- Silhouette machine and tools
- Iron and ironing board
- Cloth for pressing
- Tape measure – optional
A few things to consider:
- Buying a specialized birthday T-Shirt may cost you more than making one yourself. I bought the T-shirt at Old Navy for under $7.00!
- Look for fun colors and prints. Don’t just go for a solid color – get a bold stripe or how about polka dots? Buy extra shirts so you can make more.
- Prewash your T-shirt.
- New to your Silhouette machine and making stuff? Use items around your house for shape, size and color reference.
Ok, lets get started:
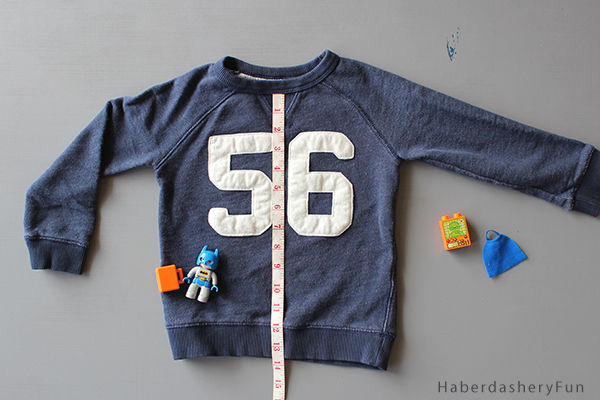
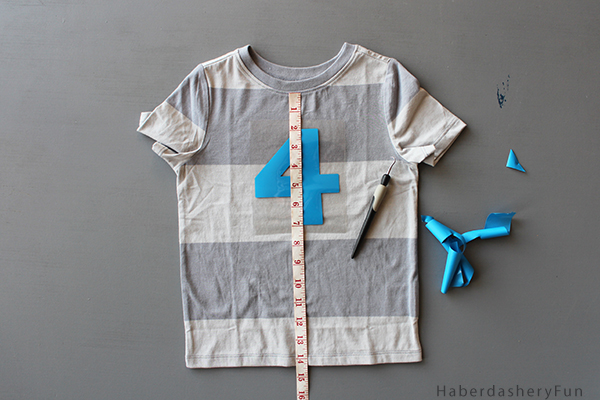
Step 1 – Eliminate the guess work and find an old T-Shirt for reference. Measure the number and distance from neck. I love this sweatshirt of my son’s – so in this case, the numbers were about 5″ long and were placed 2″ down from the center front/neck.
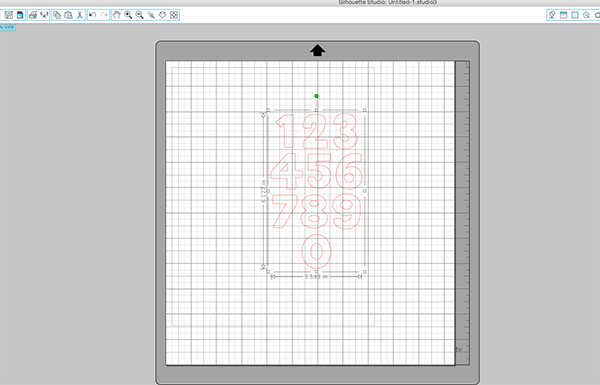
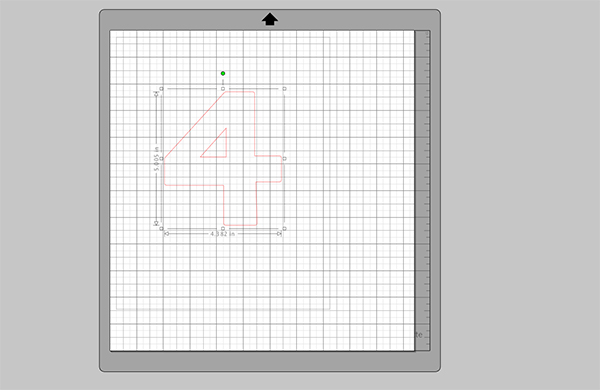
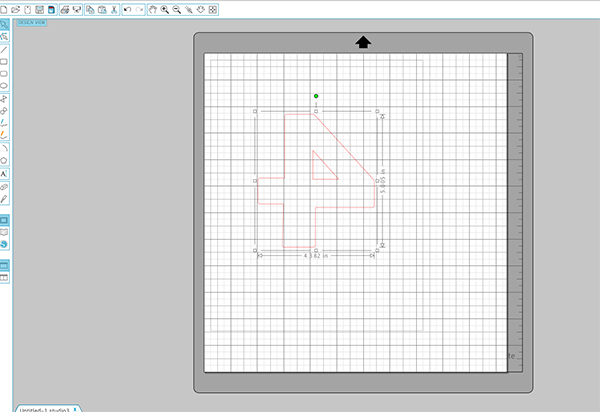
Step 2 – Browse your library or the Silhouette Design store and decide on a number. Open it up in Silhouette Design Studio. If the number comes within a group, ungroup and delete the numbers not needed. Resize the design.
Step3 – Flip/mirror the design. Remember this step, it may be the most crucial in the whole process! Insert the HTV into your Silhouette machine with the plastic side facing down. I use the HTV along with my mat, however using your mat is optional. The following cut settings work great for me: Blade 4, Speed 8, Thickness 5. Send the file to be cut.
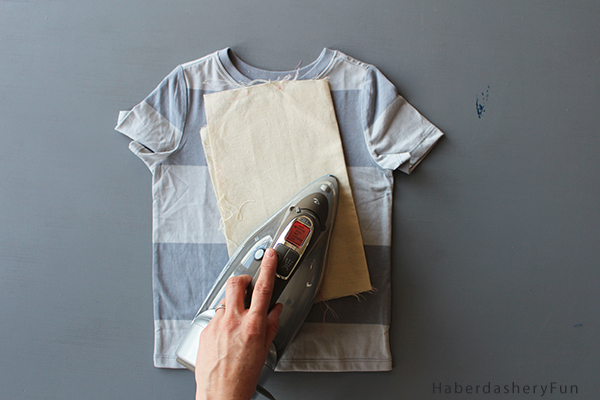
Step 4 – Use the tools provided with the machine and weed/pull the outside/negative space away the design. Place the design onto the shirt. Use your measuring tape again for placement, measure from the center front neck down and the each side seam to get it centered. When placing the HTV down, the design/cut side should be facing the shirt and only the clear plastic should be on the top.
Step 5 – Use a pressing cloth and press. Hold the iron and press firmly in place. Press for about 1 minute. Pull the plastic away. Admire your work!
That’s it!! Doesn’t it look easy? I promise you will have lots of fun making a shirt for your little one.

If you’re putting off using HTV because you’re scared to give it a try or don’t think you have the have time… Give it a try! I promise you can make a shirt in 30 minutes. Maybe less!!
Happy crafting and sewing!


[…] Easy HTV Kids Birthday T-shirt – 1 freebie(s)? […]