Haberdashery Fun

  • Home
  • About
    • Look Book
  • Contact
    • Collaborate?
  • Tutorials
  • Shop
  • Freebie
    • Email
    • Facebook
    • Instagram
    • Pinterest

Keep up to date with the latest posts!

Make A Fabric Photo Book

in Baby, DIY Projects on 17/05/20

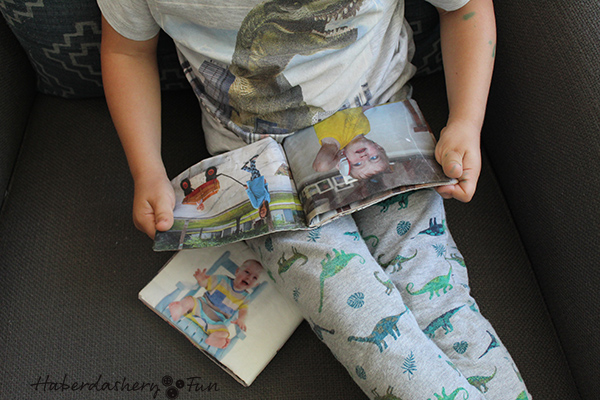
I first posted this tutorial in 2013. My son was 1 -1/2 years old and we were living in Tampa. I would find him with our pictures in his hands, pointing and saying “Da-Da”!! I soon learned to shuffle after him putting the frames up for safety and eventually I just put them away. Like most toddlers, he loved looking at images of his family members.

Ultimately, the idea for this book came from fear – fear that he would demolish my beloved photographs and/or break the frame and hurt himself.

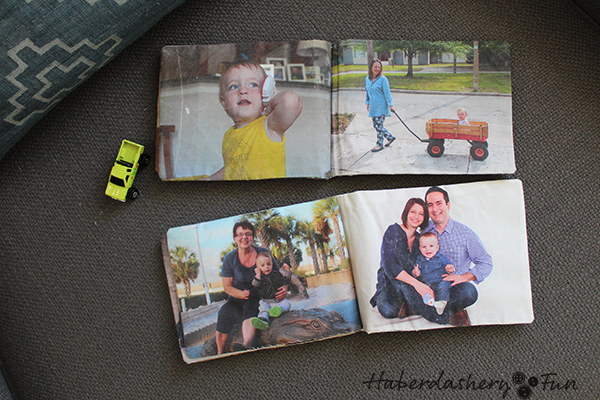
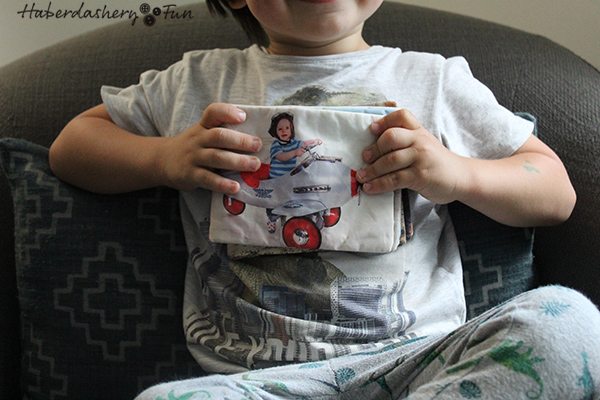
So my fabric photo book idea was born. How fun? Use favorite family images, transfer paper and white fabric and spend an afternoon crafting a book. Simple!

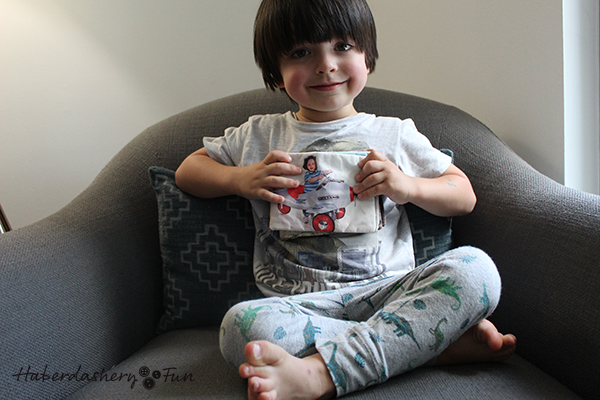
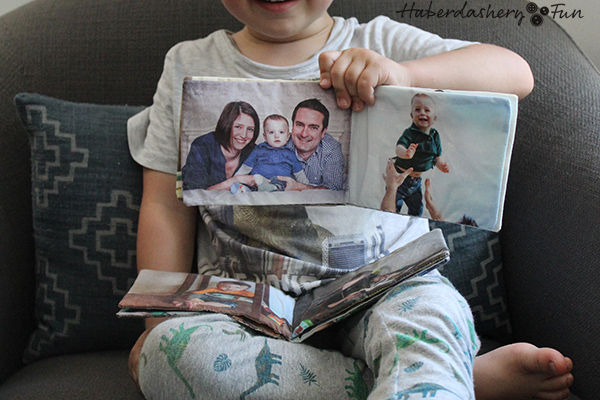
In 2015, we moved to Los Angeles and the fabric books got placed into a box. We moved again two more times [ back to the Southeast and Atlanta] and they got lost. It wasn’t until the Corona Virus Pandemic and my need to clean up and purge, that I found the fabric books. I now have 2 little boys. My first son is now 8 and my second son is 4. It has been a blast to look at the books and reminisce. My 4 year old thinks they are awesome and wants some of him!

This photo book is perfect for all little hands.. Soft to the touch and photos won’t get crinkled and ruined. A win-win.

Supplies needed:

  • White cotton fabric
  • Non fusible fleece
  • Quilt basting spray
  • Sewing supplies and sewing macine
  • Iron and ironing board
  • Rotary cutter, cutting mat and quilting ruler
  • Transfer paper [ Lesley Riley’s Transfer Artist Paper is perfect for this project, but other photo transfer paper will work as well ]
  • Inkjet printer
  • Digital photographs to print

Quick steps:

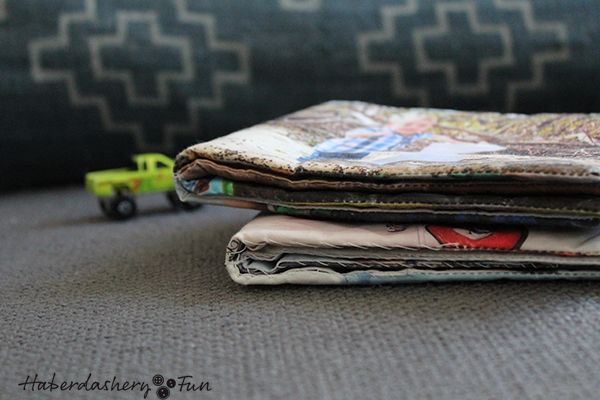
  1. Decide on the size of your photobook and how many pages. My books were 8 pages, with images 5″ x 7″ .
  2. Print your photographs onto the transfer artist paper. If you want to save on transfer paper, print two photos on each piece of transfer paper.
  3. Cut the white fabric into rectangles or squares determined by the size of the images.
  4. Follow the instructions on how to use the transfer paper. Place the transfer paper image-side-down onto white fabric. Press with a hot iron.
  5. Cut out using a rotary cutter, quilting ruler and mat. A rotary cutter makes the edges clean and straight!
  6. Place 2 fabric images together, right sides facing each other. Place into sewing machine and stitch together with a ¼ inch seam allowance. Repeat for all other images. These open up and make side by side pages,
  7. Cut batting into 2 rectangles that are 1/4 inch less than the image size. Spray the batting with the quilting basting spray and place onto the back of the photo rectangle. Press gently to adhere.
  8. Place 2 photo rectangles right sides together. Pin, only if needed. Pins will leave holes. Place into your sewing machine and stitch together with a 1/4 inch seam allowance. Stitch along the outside edge, leave a small opening at the bottom. Repeat for the other photos.
  9. Trim all corners.
  10. Turn right-side-out through the opening at the bottom. Wiggle corners into place.
  11. Handstitch the bottom opening closed. Repeat for other rectangle.
  12. Place the photo rectangles on top of each other. Line them up at the middle seam. Place into your sewing machine and stitch together at middle seam. Backstitch at each end.

Voila!

You can see the original step by step tutorial with images on Momtastic.

Happy Sewing

Related Posts Plugin for WordPress, Blogger...

Add a Comment

« Make Half Square Triangle Pouches
Kraft-tex Fabric June Project »

Leave a Reply Cancel reply

Your email address will not be published. Required fields are marked *

This site uses Akismet to reduce spam. Learn how your comment data is processed.

About me


Hi there - I'm Marni Weaver. A sewer, a sometimes quilter and a lover of fabric design. I started this blog to share my ideas. Come Join the Fun
shop now

Popular Categories

project for baby fabric projects seasonal projects fat quarter projects sewing tips and tricks inspiration

Categories

  • Applique
  • Baby
  • Bags and Pouches
  • Block Printing
  • Color
  • DIY Projects
  • Fabric
  • Fabric Design
  • Fat Quarter Projects
  • Home Decor
  • Inspiration
  • Just for Fun
  • Kids
  • No Sew
  • Patterns
  • Print On Fabric
  • Quilting
  • Scrap Fabric Projects
  • Seasonal
  • Sewing Tips & Tricks

Lovely sponsors

Recent Comments

  • 3 Simple Summer Sewing Tutorials | Haberdashery Fun on Sew A Canvas Zipper Pouch
  • 3 Simple Summer Sewing Tutorials | Haberdashery Fun on Sew Asymmetrical Color Block Totes Tutorial
  • 3 Simple Summer Sewing Tutorials | Haberdashery Fun on Sew A Baby Towel With A Hood
  • Make A Simple Block Print Tote Bag | Haberdashery Fun on DIY.. Colorful Dish Towel Tote Bags
  • Make A Simple Block Print Tote Bag | Haberdashery Fun on Sew Asymmetrical Color Block Totes Tutorial

Projects Elsewhere

find me on Pellon Projects sew mama sew contributor

momtastic contributor

Pinterest

Visit Marni@Haberdashery Fun's profile on Pinterest.
Follow on Bloglovin

I'm Reading

  • Cluck Cluck Sew
  • Cooking Dangerously
  • In Color Order
  • Jen Hewitt
  • Jolly Jabber
  • Karly Spalding Photography
  • Leigh Laurel Studios
  • Lindsay Sews
  • Lotta Jansdotter
  • Love Patchwork and Quilting Magazine
  • Made
  • Making It Lovely
  • Noodle-Head
  • Polka Dot Chair
  • Sharon Holland Designs
  • Silhouette America Blog
  • Silhouette Design Store
  • The Purl Bee
  • The Purple Fig

Press:

Stitch Winter 2014

haberdashery_fun

Block Printing
A homemade block printed pouch is perfect for camp A homemade block printed pouch is perfect for camping trips. Holds essentials for the campsite, swimming and the beach. 

Are you a sewer?? My blog has tons of pouch tutorials. See the link in profile and click Blog- sewing.

#haberdashery #blockprinting #blockprintingmadeeasy #100dayofsimpleshapes #speedballfabricink #haberdasheryfunpatterns #haberdasheryfun #blockprintmadeeasy #isew
A big hello to everyone new around here. Thank you A big hello to everyone new around here.
Thank you for stopping by ❤️🎉

Did you know that along with all my block printing that I also sew? I have had a sewing blog for 10 years. If you are new to sewing or looking for tips and tricks, I’ve got the spot for you.

Head to the link in my profile and click sewing tutorials - blog. I even have a tutorial for this cross body tote over on my blog. 

#haberdasheryfun #haberdasheryfunpatterns #isewbags #surfacepatterndesigner #blockprintingmadeeasy #100daysofsimpleshapes #100dayproject #dothe100dayproject #haberdasheryfunonlineclasses #konacotton #canvasbags #speedballfabricink #simpleshapesarefun #blockprintmadeeasy
I’m back in my favorite Toronto kitchen so had t I’m back in my favorite Toronto kitchen so had to take a few block print photos. Continuing on with my simple prints theme and playing around with the heart block.

#haberdasheryfunpatterns #blockprinted #100daysofsimpleshapes #speedballfabricink #100daysproject #dothe100dayproject #blockprintedfabric #100daysofblockprinting #blockprintmadeeasy #blockprintingmadeeasy #100daysofsimpleprints #blockprintedfabric #haberdasheryfun Day 32/100
Happy Monday! We are back from vacation and I am s Happy Monday! We are back from vacation and I am still cruising thru my “simple circle” blockprint theme. This one is my favorite of the last group. Swipe to see it’s companions.

What are you working on?

#haberdasheryfun #haberdasheryfunpatterns #speedballink #100dayproject2022 #dothe100dayproject2022 #surfacedesigncommunity #surfacepatterndesign #handmadestamp #blockprintfabrics #blockprintedfabric #100daysofsimpleshapes #blockprintingmadeeasy #blockprintingmadesimple #fatquarterprojects #fatquarterproject #konacottonsolids #konacottons 

Day 31/100
Instagram post 18239908753108863 Instagram post 18239908753108863
Follow on Instagram

Copyright © 2022 · Klar theme by Crimson Pear :: web & surface design

Copyright © 2022 · Klar on Genesis Framework · WordPress · Log in