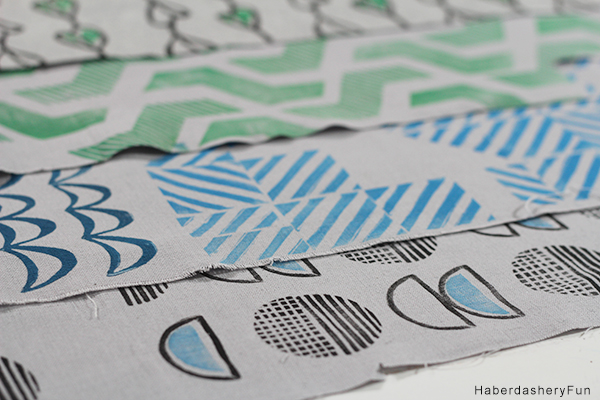
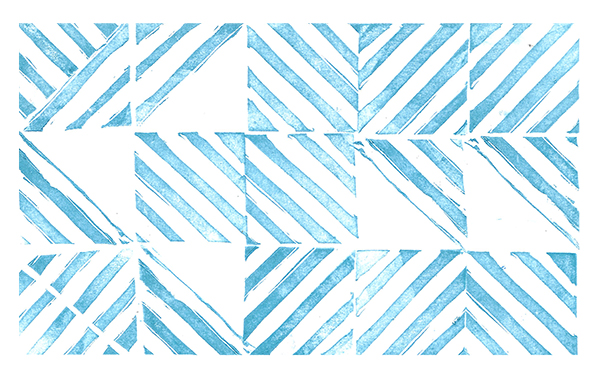
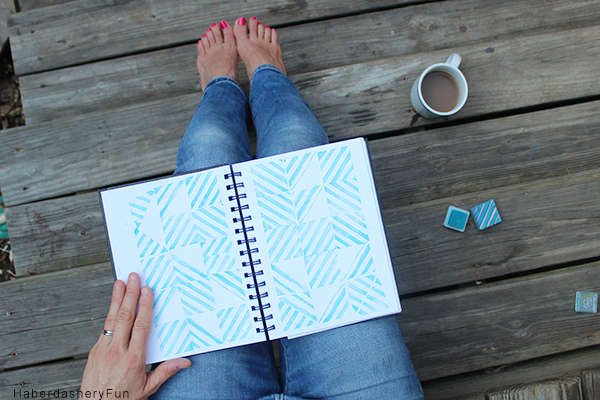
I have been playing around with block printing and having lots of fun.
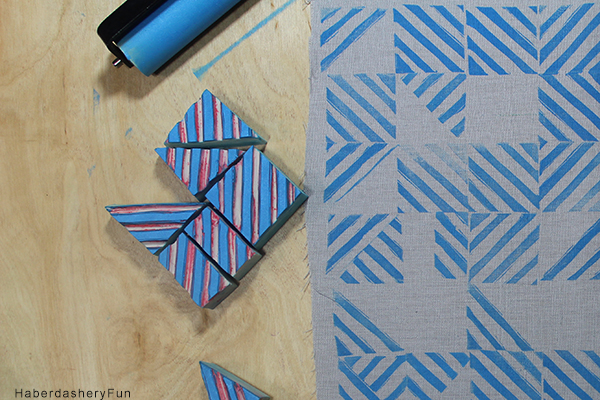
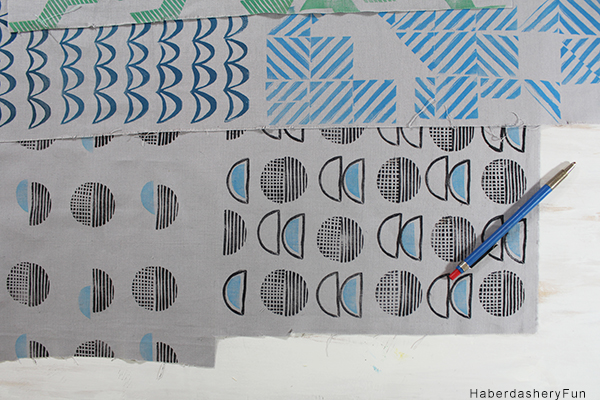
With block printing – the design can be concise and perfect or flawed and organic. For me, it has been a transformative experience to allow my block print designs to be messy and imperfect.
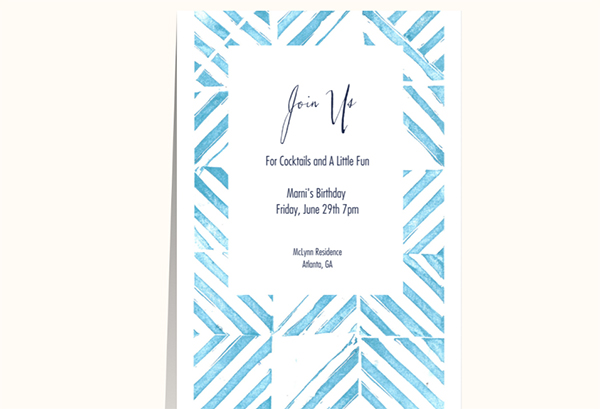
Paperless Post recently approached me to work with their platform and write about my experience. What a perfect opportunity to use one of my block prints and then design a card around it! So, I jumped at the chance. I found their service to be super easy to use. Uploading a design and then adding it to a card was as easy as 1,2,3..
Here is what you need to do:
Step 1 – Create your block print on paper and then scan it to your computer.
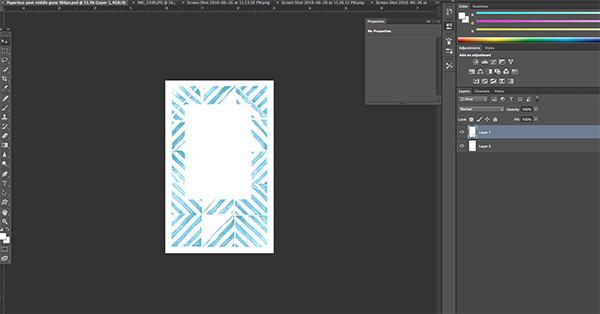
Step 2 – Open your image in an editing program. I like to use Photoshop. Play around with your design and fix any issues. For my design, I decided to create a blank area in the middle for the text. Resize the image according to Paperless Post card size requirements.
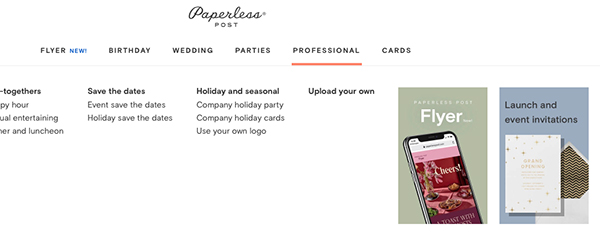
Step 3 – Go to Paperless Post and select the “professional” option along the navigation bar. Select the “upload your own” option from the drop down menu.

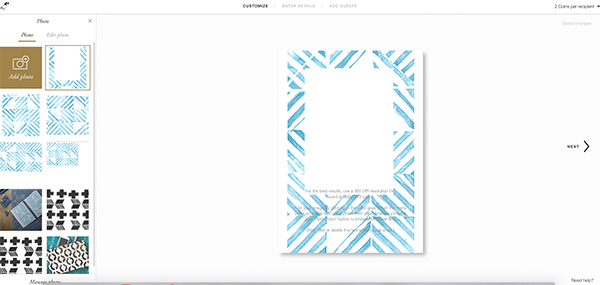
Step 4 – Select the card you like and then click on “Customize”. Now on to the fun part. Once inside the card, place the mouse on the face of the card [where the text is] and click. You now have the option to “upload your own photo”. Note the far left “gold/brown” box in the image below. This is where you upload your images [ You can also see all the images I played around with for my card].
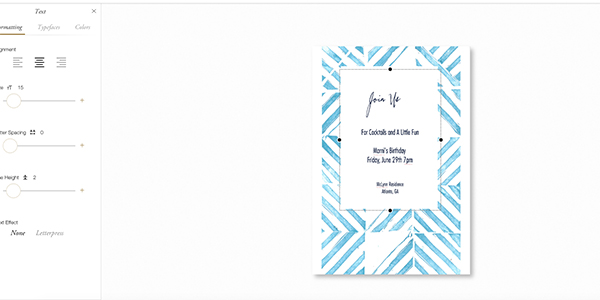
Step 5 – Once inside – there are options for everything. The backdrop, liners, RSVP card and even the stamp! With the actual card you can play around with formatting, typefaces and color. It is a lot of fun. Take it away and design freely from there.
That’s it! Now you have a card for an upcoming party or event that is personalized! The options are endless for designing and creating your own card! You can use a photograph, your kid’s drawing, a hand-drawing or even block print like mine. Let me know how it goes.


Leave a Reply