Haberdashery Fun

  • Home
  • About
    • Look Book
  • Contact
    • Collaborate?
  • Tutorials
  • Shop
  • Workshops
    • Email
    • Facebook
    • Instagram
    • Pinterest

Keep up to date with the latest posts!

DIY.. Fold Over Clutch With Ribbon Detail

in DIY Projects, Fabric on 25/11/14

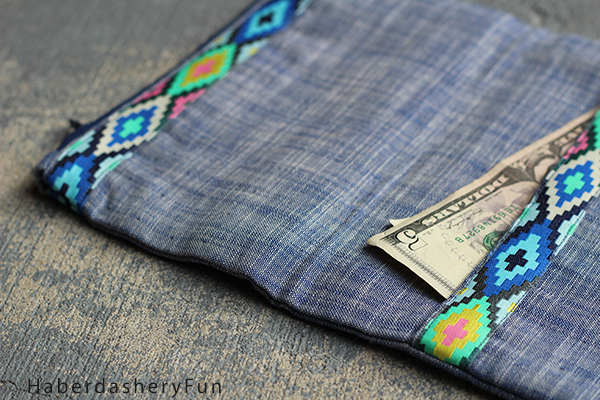
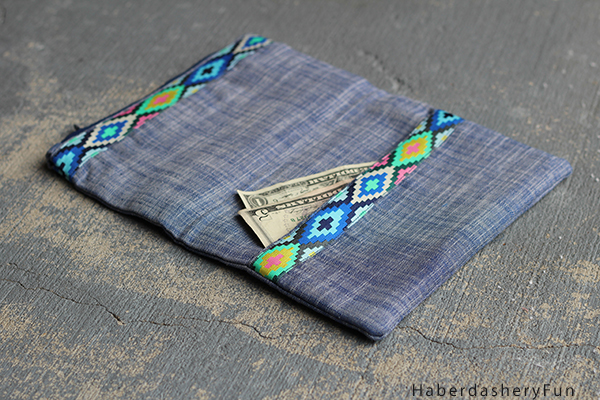
Today I’m working with Renaissance Ribbons and sharing my southwestern fold over clutch.

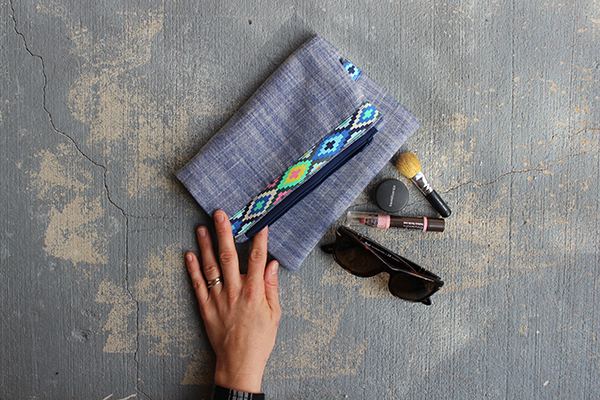
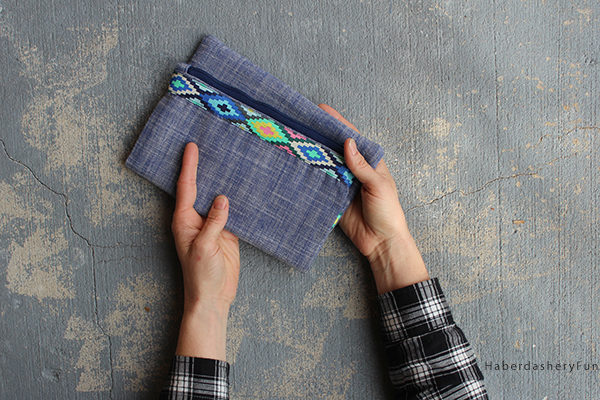
I’ve wanted to sew a fold over clutch for quite some time. They are very simple to make and basically a large rectangle that folds in half… However, as most of my sewing projects go, I wanted to add an extra detail that would give my pouch some punch.

My husband recently visited Texas and as a result our family has Texas on the brain – cows and horses, ranching, branding, eating and hunting [ although I don’t understand or quite like the hunting part..]. While looking at his pictures I realized that a southwestern motif might be the perfect embellishment for my clutch..

Ribbon Top

I’ve had a yard of Robert Kaufman’s Chambray Union fabric sitting in my stash and when I placed Amy Butler’s “Hapi” ribbon on top of the indigo fabric – I felt I had captured the spirit of the southwest.

Materials:

  1. 1/2 yard –  cotton fabric
  2. 1/2 yard – lining fabric
  3. 1/2 yard  – fusible lightweight interfacing
  4. 1 yard colorful ribbon
  5. Sewing machine
  6. Sewing supplies
  7. Zipper –  9″
  8. Iron and ironing board
  9. Velcro – iron on or sew in
  10. Marking pen, pencil or chalk

Before we get started, you need to prepare your fabric pieces:

  1. Main / clutch – Draw a letter size rectangle [ 8 1/2″W x 11″L ] on a large piece of paper and add 1/2″ seam allowance around the outside edge. Cut out 2 pieces from the main fabric, cut out 2 pieces from the lining fabric and cut out 2 pieces from the interfacing. Fuse the interfacing to wrong side of main fabric pieces.
  2. Pocket – Draw a rectangle measuring 8 1/2″W x 5 1/2″ L. Add 1/2″ seam allowance around the outside edge. Cut out 1 piece from the main fabric, cut out 1 piece from the interfacing and cut 1 piece from the lining fabric. Fuse the interfacing to wrong side of main fabric piece.
  3. Zipper Tabs – from the main fabric cut out 2 rectangles measuring 2″W x 3″L. Note – use interfacing if the fabric is lightweight and flimsy.
  4. Ribbon – cut 3 pieces width of the fabric

Ok. Let’s get sewing:

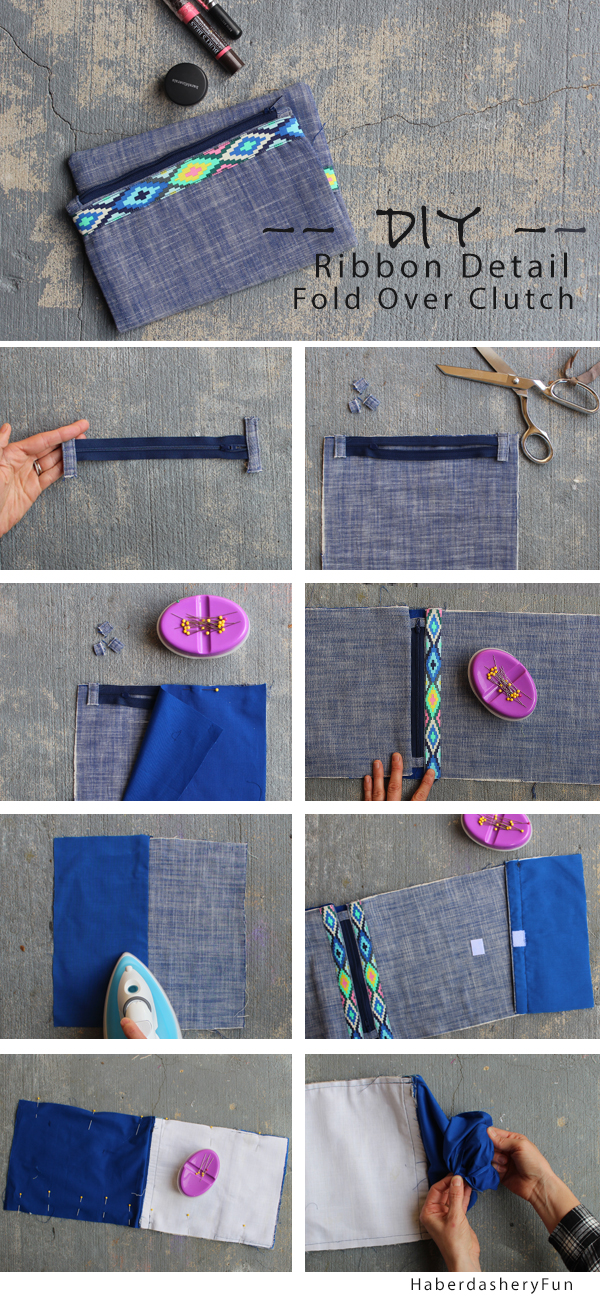
  1. Prepare the zipper – cut  the zipper to be 1 1/2″ ” less than the width of the fabric [ this gives wiggle room and also allows for the seam allowance ]. Turn and fold each side of the tab inwards. Place over each end of the zipper and stitch in place. Repeat for the other end.
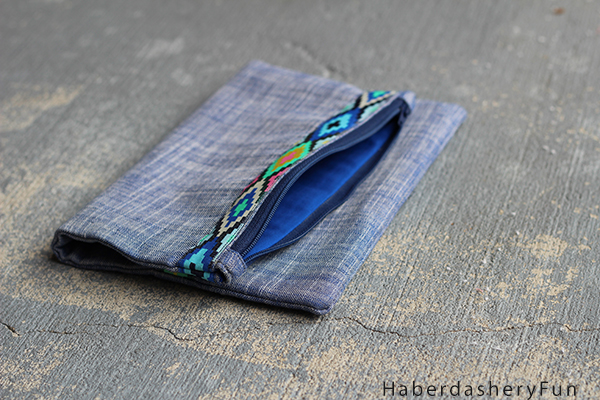
  2. Place the zipper face down on the main fabric. There should be about 3/4″ less on each end. Pin. Change to the zipper foot on your machine and stitch in place. Press. Cut extra fabric from tab ends.
  3. Lay the lining fabric piece on top of the main fabric, sandwiching the zipper. Pin. Stitch in place. Press with a warm iron. Be careful to not touch or melt the zipper teeth. Repeat for the other side. Lay everything face up. Press wrinkles out.
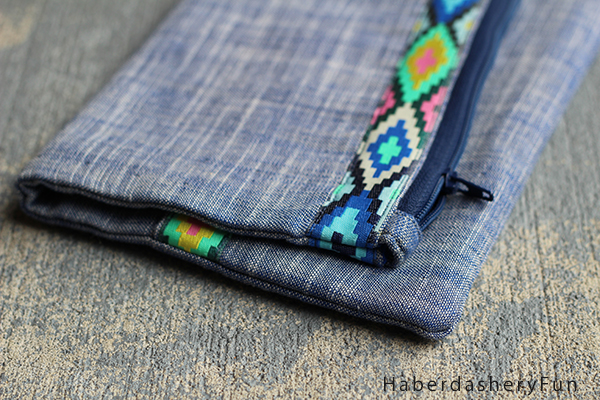
  4. Place the ribbon on either side of the zipper. Turn up the lining fabric, pin and then stitch the ribbon down. Note – Do not pin or stitch through to the lining fabric. Repeat for the other side. Press with a warm iron.
  5. Sew the pocket pieces together. Place right sides together, pin and sew together [ short side] Press the seam. Open up the seam allowance and press again. Fold over at the seam, roll the lining back just slightly so that is sits a slim 1/8″ from the pocket edge. Press again.. Iron or stitch a small piece of  velcro along the top edge on the lining.
  6. Place ribbon along the top pocket edge. Pin in place and sew down along both sides. Press.
  7. Find the velcro placement for main clutch front piece. Iron or stitch in place. Pin pocket to main front clutch piece. Do not pin though to the lining.
  8. Open the zipper. Place right sides of main fabric pieces together and right sides of the lining fabric together. Pin along outside edge. Place into sewing machine and stitch together with a 1/2″ seam allowance. Note – Make sure to open zipper before stitching the clutch together.. otherwise you will have issues turing the clutch right side out.. Trust me on this one..
  9. Trim excess fabric from the corners. Pull everything right side out. Wiggle the corners into place. Press with a warm iron.

Clutch open pocket

That’s it for today. Have a great week and Happy Thanksgiving.

Please note that Renaissance Ribbons sponsored the ribbon for this post. However, I selected the ribbon to match the clutch design and appreciate contributions such as these. Several trips to the fabric store each week add up.. All opinions are my own. Have a great day.

12 Comments

« Featured In Stitch Magazine Winter 2014
DIY.. Velcro Advent Calendar »

Comments

  1. Amy W says

    11/26/2014 at 10:31 pm

    Loooove this one!

    Reply
    • Haberdashery Fun says

      11/27/2014 at 11:24 am

      Thanks Amy 🙂

      Reply
  2. kristine foley says

    01/11/2015 at 4:20 pm

    Love the look and functionality of this! Thanks for linkin up to Sunday FUNday! I appreciate it and hope to see you again next week! XO

    Reply
    • Haberdashery Fun says

      01/11/2015 at 7:13 pm

      Hi Kristine.. Thanks so much for the comment on my clutch. Have a great week.

      Reply
  3. ntina says

    01/16/2015 at 3:25 am

    it looks so cute! well done! I wish I could sew! found you at Creative ways link party! nice to “meet” you!

    Reply
  4. Lou Lou Girls says

    01/19/2015 at 3:39 pm

    Hello cute lady! This looks so amazing.Pinned and tweeted. We appreciate you taking the time to stop by and party with us. It wouldn’t be a party without you! I hope to see you tonight at 7 pm. Lou Lou Girls

    Reply
  5. Nici says

    01/21/2015 at 3:19 pm

    This is so cute! I love the fabric and ribbon you chose. Thanks so much for sharing at my Creative Ways Link Party. Hope you’ll be back this week with more great posts!
    Blessings,
    Nici

    Reply

Trackbacks

  1. CraftCrave | DigiFree | CraftCrave says:
    11/26/2014 at 12:51 am

    […] DIY.. Folder Over Clutch With Ribbon Detail – 1 freebie(s)? […]

    Reply
  2. Tutorial: Ribbon detail fold over clutch – Sewing says:
    12/01/2014 at 11:36 am

    […] Fold Over Clutch With Ribbon Detail, by Haberdashery Fun […]

    Reply
  3. 15 Purses, Bags and Totes You Can Sew! - The Crafty Blog Stalker says:
    01/17/2015 at 6:41 pm

    […] Fold Over Clutch could be used for so many things from makeup, sewing supplies, or could even double as a purse.  I […]

    Reply
  4. Think and Make Thursday Party 15 - Dwell Beautiful says:
    01/22/2015 at 6:01 am

    […] {DIY Fold Over Clutch from Haberdashery Fun} […]

    Reply
  5. DIY Ribbon Fold-Over Clutch Tutorial – A Dizzy Daisy says:
    03/18/2017 at 3:20 pm

    […] Via haberdasheryfun.com […]

    Reply

Leave a Reply Cancel reply

Your email address will not be published. Required fields are marked *

This site uses Akismet to reduce spam. Learn how your comment data is processed.

About me


Hi there - I'm Marni Weaver. A sewer, a sometimes quilter and a lover of fabric design. I started this blog to share my ideas. Come Join the Fun
shop now

Popular Categories

project for baby fabric projects seasonal projects fat quarter projects sewing tips and tricks inspiration

Categories

  • Applique
  • Baby
  • Bags and Pouches
  • Block Printing
  • Color
  • DIY Projects
  • Fabric
  • Fabric Design
  • Fat Quarter Projects
  • Home Decor
  • Inspiration
  • Just for Fun
  • Kids
  • No Sew
  • Patterns
  • Print On Fabric
  • Quilting
  • Scrap Fabric Projects
  • Seasonal
  • Sewing Tips & Tricks

Lovely sponsors

Recent Comments

  • How To Sew A Fabric Bin | Haberdashery Fun on Sew An Easy Fabric Storage Bin
  • Make The Alma Tote In Fun Colors | Haberdashery Fun on New – The Alma Tote Pattern
  • New Tote Bag Sewing Pattern Coming Soon! | Haberdashery Fun on New – The Alma Tote Pattern
  • New – The Alma Tote Pattern | Haberdashery Fun on Sew A Reversible Tote
  • Easy Little Kid Sewing Project | Haberdashery Fun on DIY.. Make Monster Inspired Face Cloths

Projects Elsewhere

find me on Pellon Projects sew mama sew contributor

momtastic contributor

Pinterest

Visit Marni@Haberdashery Fun's profile on Pinterest.

I'm Reading

  • Cluck Cluck Sew
  • Cooking Dangerously
  • In Color Order
  • Jen Hewitt
  • Jolly Jabber
  • Karly Spalding Photography
  • Leigh Laurel Studios
  • Lindsay Sews
  • Lotta Jansdotter
  • Love Patchwork and Quilting Magazine
  • Made
  • Making It Lovely
  • Noodle-Head
  • Polka Dot Chair
  • Sharon Holland Designs
  • Silhouette America Blog
  • Silhouette Design Store
  • The Purl Bee
  • The Purple Fig

Press:

Stitch Winter 2014

haberdashery_fun

Marni Weaver
Thank you to all who attended my first “Design F Thank you to all who attended my first “Design Fabric & Sew A Pouch” workshop on Sunday. You never know what may happen with a live zoom workshop. Magic always happens and I love to seeing what gets created!

FYI.. I have another workshop like this at the end of the month on Saturday Oct28 2pm-4pm( via zoom)

+Want to make something fun? 
+Want to learn to block print?
+Want to design your own fabric and sew something?

Come and join the fun! Beginners welcome. You just need sewing experience for later when you see the pouch. The link to register is in my profile.

#haberdasheryfun #haberdasheryfunprints #surfacepattern #dashpattern #blockprinting #blockprintedtextiles #blockprintedfabric #haberdasheryfunprints #fatquarterproject #pdfsewingpatterns
I gave myself a few minutes this morning to carve I gave myself a few minutes this morning to carve another 1” stamp. There is something magical about a quiet morning with a cup of coffee and an open door open that lets in the cool fall weather. 🍁 

#haberdasheryfun #haberdasheryfunpatterns #haberdasheryfunprints #blockprinting #blockprintmadeeasy #versafineclair #versafineclairinks #surfacepatterndesign
I had so much fun yesterday that I gave myself 20m I had so much fun yesterday that I gave myself 20mins today to get creative with another 1” stamp. Added yesterdays stamp in the mix. 

What do you do for self care and wellness? Do you put times into your calendar or just wing it each day? I am practicing adding time each day for a walk (or even two) and some form of relaxation.

#haberdasheryfun #haberdasheryfunpatterns #blockprintingmadeeasy #fatquarterproject #haberdasheryfunprints #blockprints #blockprintedfabric #blockprintedfabrics #surfacepatterndesign #spoonflower #spoonflowerfabric #versafineclair #versafineink
What do you do to get out of your head? I go for a What do you do to get out of your head? I go for a lot of walks, take a lot of showers (weird I know) and block print.

Today was one of those days, so I grabbed a small 1” stamp and made a quick print. It’s super simple, but I like how it turned out. 

#haberdasheryfun #blockprintingonfabric #blockprintingmadeeasy #blockprinting #fatquarterprojects #haberdasheryfunpatterns #haberdasheryfunprints #fabricdesign #surfacepatterndesign #spoonflower #badcaseofthemondays #blockprinted #versafineclair #versafineink
I often have people ask me.. what do I sew with th I often have people ask me.. what do I sew with the fabric I just block printed? 

Introducing.. the Dash Pouch. This pouch is included with my upcoming workshop called “Design fabric and sew a pouch”. 

There are 2 dates. Oct 1 and Oct 28, come join me and let’s have some fun. Link in profile has all the details.

#fatquarters #fatquarterproject #haberdasheryfun #haberdasheryfunpatterns #blockprintingonfabric #blockprintedteatowel #blockprintingmadeeasy
Follow on Instagram

Copyright © 2023 · Klar theme by Crimson Pear :: web & surface design

Copyright © 2023 · Klar on Genesis Framework · WordPress · Log in