Have you thought about making your own bias tape, but have been afraid to try? Well.. making your own bias tape is actually A LOT easier than you think.
I’ve seen the little metal contraptions for years and have questioned whether they really worked. The other week my local sewing store “Keep Me In Stitches” had them on sale. I was convinced to buy one and theie sewing instructor Carol showed me how to use it. One try and done! These little guys are amazing.
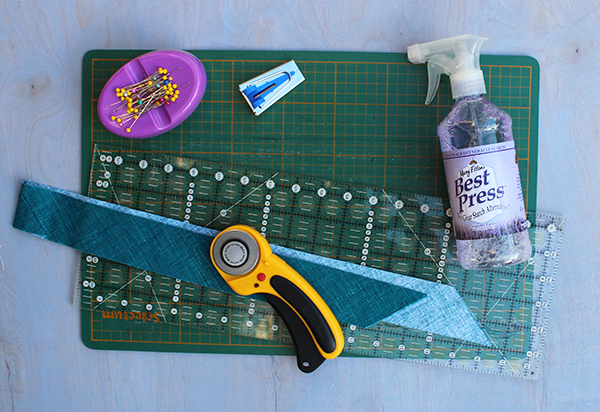
Materials Needed:
- Fabric of choice – A fat quarter works great
- Rotary cutter, cutting mat and clear ruler
- Pins
- Bias Tape maker – I bought the 1″ size from Clover. This makes a 1/2″ bias tape.
- Mary Ellen’s “Best Press”
- Iron and ironing board
So here it is. As I was taught and now being passed along to you all.. The quick and easy on making bias tape:
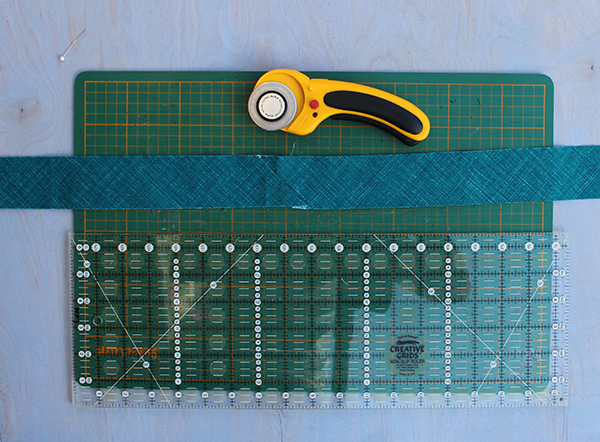
Cut your fabric into bias strips. This tutorial isn’t showing how to cut the bias strips. Spray each strip with Mary Ellen’s Best Press starch spray. While this is not a necessary step, I was told this helps give the material a little oomph.
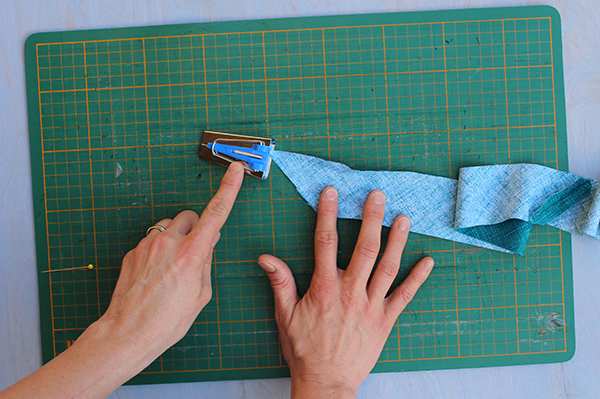
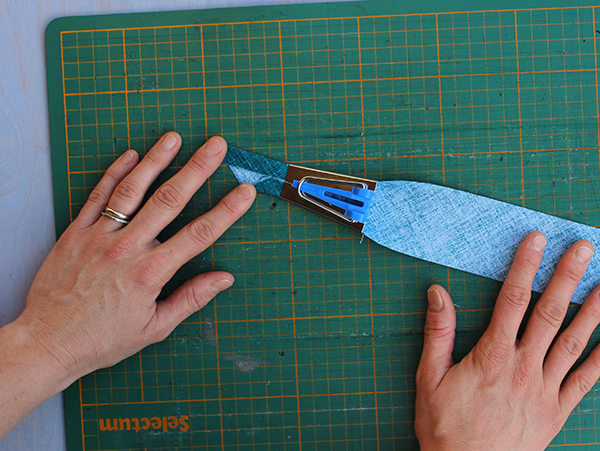
Insert the tip of the fabric strip into the large end. Look down into the opening and use a pin to help gently ease it through.
The fabric will automatically fold when coming out the other end. So amazing!! Pull through gently. If the strip comes out uneven, check how you are inserting it.. The fabric needs to be even on both sides..
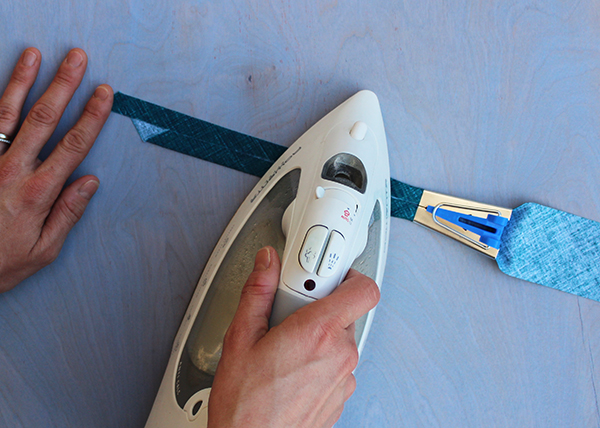
As the fabric comes out the other end, iron the folded edges in place.
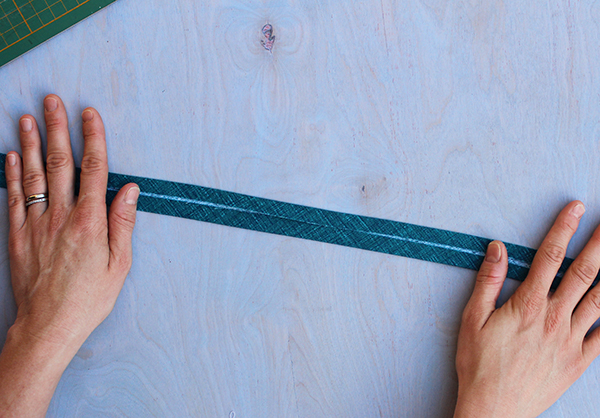
Check out your work. In this case, I may have cut the strip a little off and/or pulled the fabric through unevenly. Crap in…crap out..So, watch out for your workmanship!
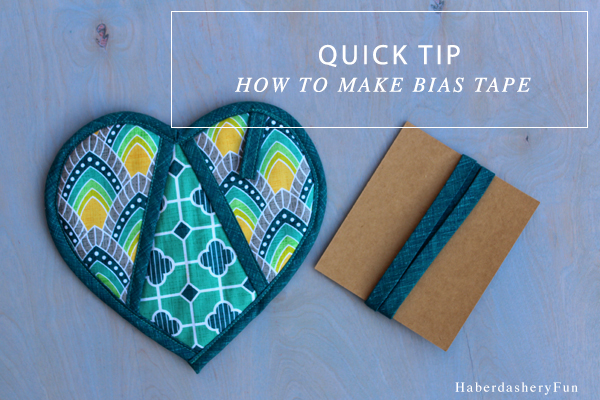
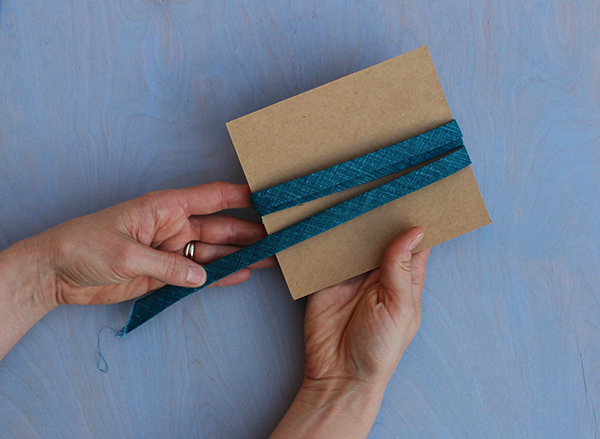
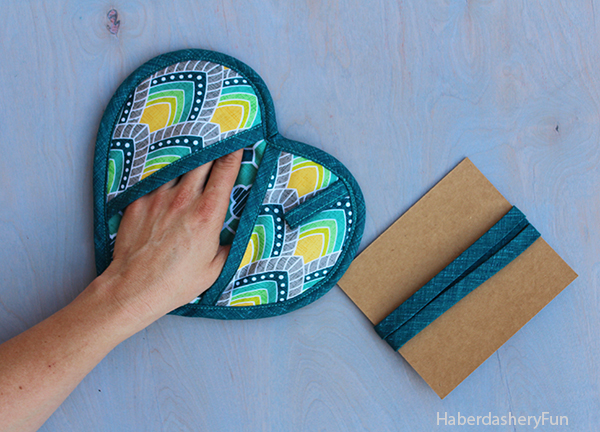
Iron the strip in half and fold around a pice of cardboard. The hoarder in me keeps the cardboard inserts that come in JoAnn Fabric’s fat quarters. Perfect size for my new bias tape.
Ta-dah!! Seriously, that’s it.. You now have home-made bias tape. Think off all the fun stuff you can make…
Sources:
Fabric – ModKid Studio By Patty Young. Purchased at JoAnn Fabric and Craft. I LOVE this fabric!
Heart Shaped Pot Holder – Tutorial from local quilting/sewing shop “Keep Me In Stitches”. Pattern from Martha Stewart’s Encyclopedia of Sewing and Fabric Crafts. You can see a great tutorial and download the pattern template here from The PurlBee.



Thank you for this! I always wondered what that thing did!
And it really works! I’m hooked and want to buy a few more.
That heart-shaped hot pad is amazingly gorgeous! I would love to make one. Is there a tutorial somewhere?
Isn’t is cute? Here is the link. Martha Stewart’s Book:
http://www.purlbee.com/the-purl-bee/2010/3/16/heart-shaped-potholders-from-martha-stewarts-encyclopedia-of.html
Thanks so much 🙂
Thank you so much I just purchased one of these and was wondering how to use it now you have shown me I cannot wait to get started I am sure it will make sewing easier.
Yay! That makes me so happy. You will love it. I already bought a smaller size because it works so great. Have fun!