I’ve had 2 requests for toddler aprons in the last few weeks.. I’m not much of a cook, so making a miniature apron hasn’t been high on my DIY to-do list..
I’m part of an handmade gift exchange and my new blog friend/ recipient Adrianne requested an apron for her 3 year old daughter. A week later my friend Sue asked if I had any toddler apron tutorials up my sleeve.. Well I thought to myself, isn’t this perfect timing?
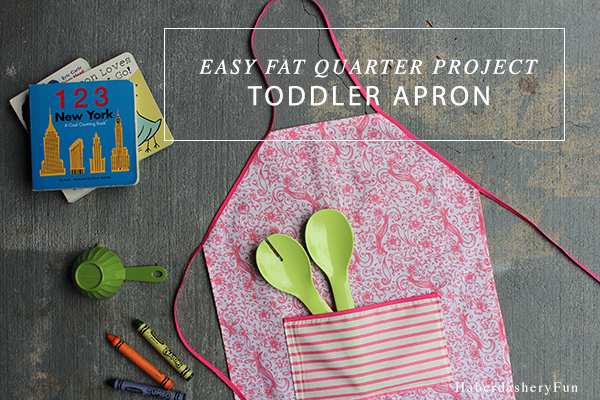
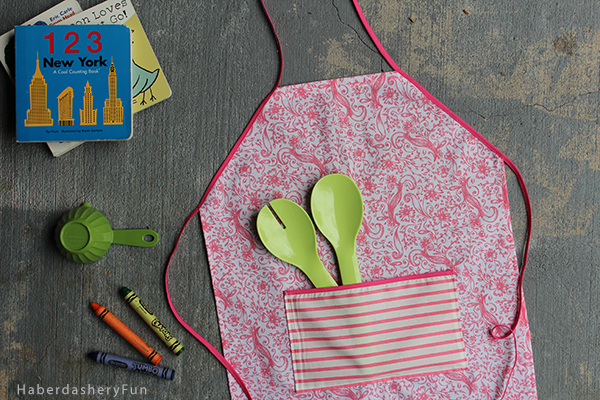
I chose to create a VERY simple toddler apron for the tutorial. New to sewing? This is for you. Why not get your kids involved and let them pick the materials.. All you need is a fat quarter and bias tape!!
Materials:
- 1 fat quarter
- 1/4″ bias binding
- Sewing machine and supplies
- Quilting ruler, rotary cutter and cutting mat
- Disappearing fabric ink pen
- Measuring tape
- Iron and ironing board
Here comes the fun part. Let’s start sewing.
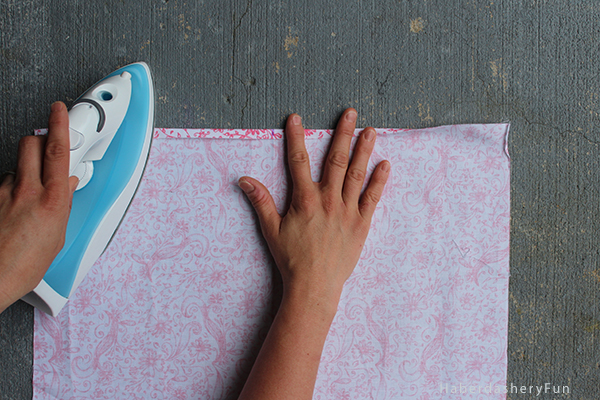
Step 1: Lay the fat quarter on your working surface, right side facing down. Hand press any wrinkles out. Turn down the top edge 1/4″ and press with an iron. Turn down another 3/4″ and press again. Place into your sewing machine and topstitch.
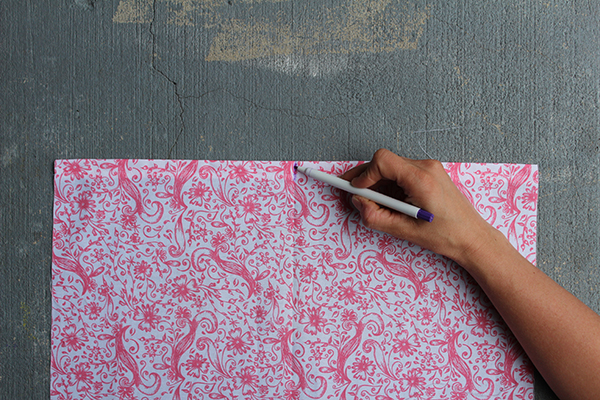
Step 2: Fold the fat quarter in half. Mark a line at the top and bottom using the disappearing fabric ink pen. This marks your center front and helps in pocket placement.
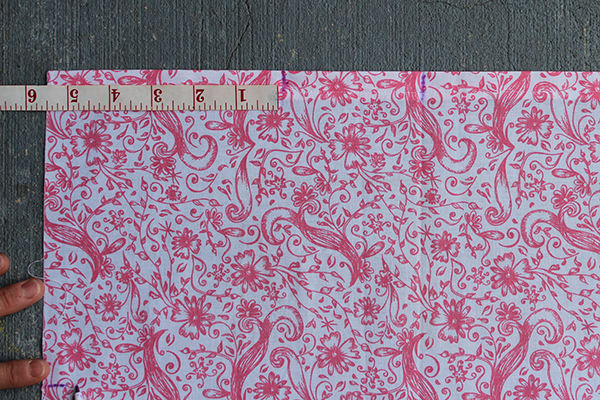
Step 3: Measure inwards from the top side edge 5 1/2″ and mark a line with the disappearing fabric ink pen. Measure downwards from the top side edge 6″ and mark a line. Repeat for the other side.
Step 4: Fold the fat quarter in half again. Make sure that the pen lines match up. Place the quilting ruler angled on top. Line up with each pen mark. Cut the corners off using your rotary cutter.
Step 5: Turn and fold the side seam 1/4″ and press with an iron. Turn and fold another 1/4″ and press. Place into your sewing machine and stitch down. Repeat for the other side. Repeat again for the bottom hem.
Step 6: Measure 20″ in length of bias tape and mark a line with the disappearing fabric in pen. Do not cut the tape.
Step 7: At the 20″ line, pin the bias tape in place at the side of the apron. Continue to pin along the diagonal edge and pin at the top/neckline.
Step 8: Measure another 20″ in length. Mark a line on the tape and pin this at the other side of the neckline. This is good time to check the strap and neck length on your toddler. Adjust if necessary. Repeat and pin along the other side of the apron. Place into your sewing machine and stitch the bias tape down. Press.
Step 9: Now add a pocket to jazz up the apron.. Cut a rectangle measuring 10″L x 6″W [ or smaller, your choice]. Place bias tape along the top edge and stitch down. Turn and fold the bottom edge and side seams each 1/4″. Press. Turn and fold 1/4″ and press again. Place the pocket on your apron and stitch down.
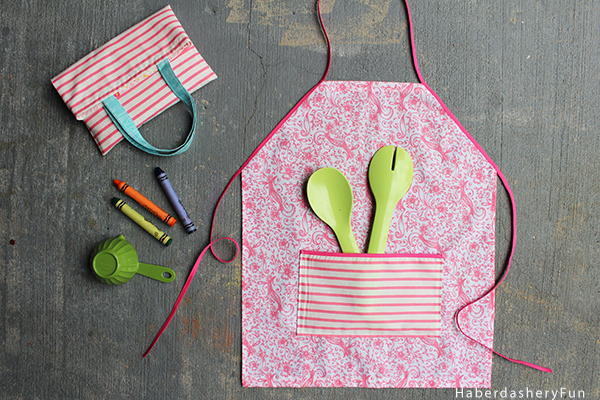
Ta- dah!! That’s it..
Of course I made a little bag to hold to apron. Every little girl needs a teeny-weeny bag, right?
Happy Sewing.







Cute. Looks super easy to do.. I’m going to give this a try. Maybe even make a matching apron for Dad!
My sister asked me to make my nephew an apron about a year ago! Now I have no more excuses! Thanks for the handy tutorial!
This is such a cute project! Thanks for sharing! Saw it on I Should Be Mopping The Floor Linky Party!
So cute! I’m not too handy with a sewing machine, but with your instructions and pictures I think even I could make this!
I love seeing sewing tutorials. Although i’m terrible at it, I just love seeing how people create such gorgeousness 🙂
Wow.. Thank you for the kind words!! Appreciate your leaving a comment.
Thanks for linking to Create Link Inspire at The Crafty Blog Stalker. You will be featured when the post goes live later tonight, and you have been pinned! Thank you for sharing.
–Katie, TheCraftyBlogStalker.com
I love this! I’m planning to make my daughter an apron, so I’m definitely pinning this! I saw this on the Link It or Lump It party. 🙂
This is adorable Marni! Thanks for the easy to follow tutorial. I am featuring this on my blog Tuesdday:) Have a great week!
Thanks Tori. Hope you have a great week.
Super cute – I pinned it to make my future niece.
Found you from Frugal Crafty Home blog hop.
Lea @ http://www.adropofthis.com
You’re my featured pick for tonight’s Link It or Lump It Party! Thanks again for sharing!
Congrats. This cutie apron was chosen as a feature by our guest host at Link it or Lump it! Stop by and grab a feature button!
http://www.delineateyourdwelling.com/2014/06/link-it-or-lump-it-party-number-44.html