I can’t believe it is the end of August.. My kids are back in school, the leaves are starting to turn colors and it is time to post my August kraft-tex project. This month the color on the blog hop is green. Hello Greenery!
Sewing with Kraft-tex
Sewing with Kraft-tex is fun. I like the simplicity of it and how you do not need to press, and then turn your projects inside out. For the most part, you sew and go. The seam allowances face the outside. I find that part really refreshing.
So, have you tried kraft-tex? Kraft-tex is a vibrant paper that looks, feels and wears like leather, but sews, cuts and washes like fabric. Click here for more info on Kraft-tex.
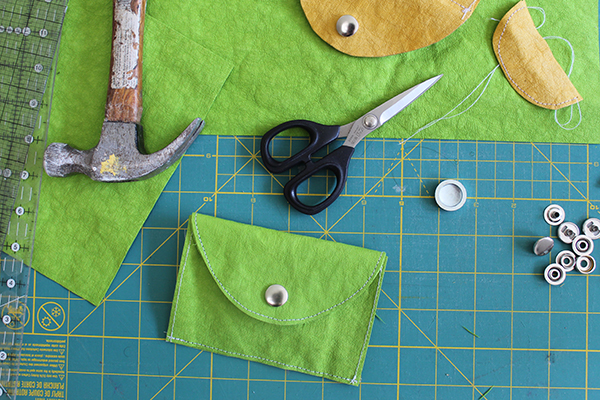
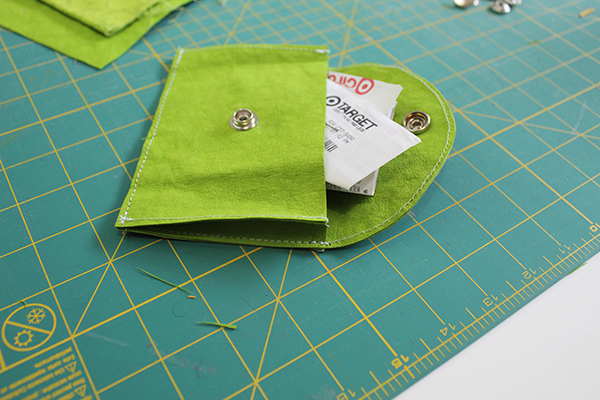
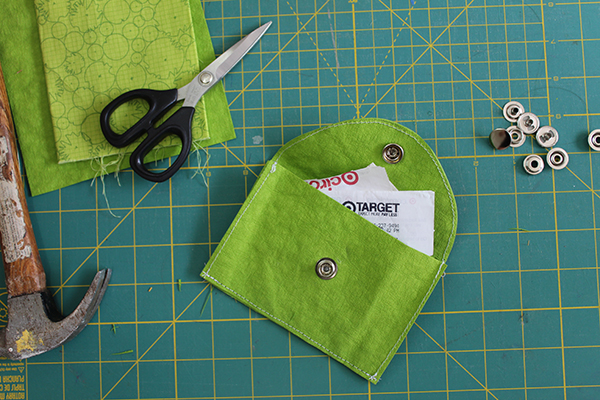
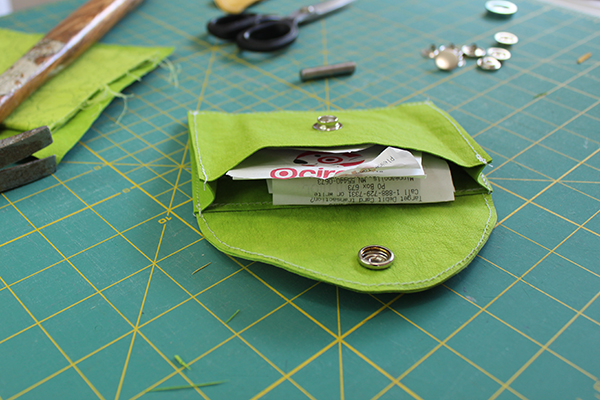
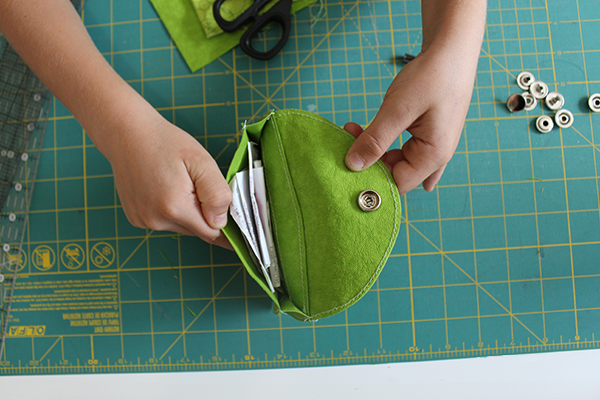
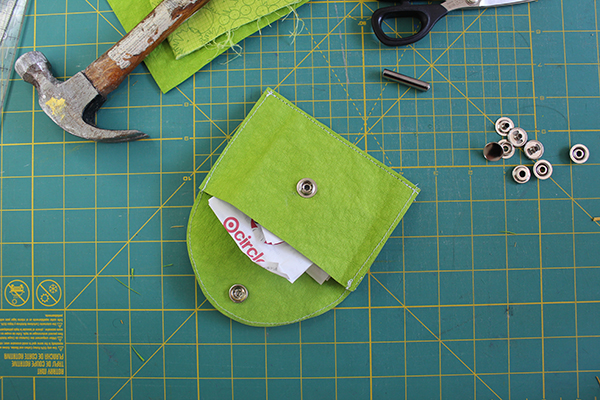
For my project this month, I decided to make a pouch. I am a bit of a receipt ( for some = insert coupon ) hoarder, they take up all my wallet space and I hold on to them for months. I have been dreaming of a little pouch for weeks and then realized I should make one out of Kraft-tex. The material is leather-like, sturdy and the perfect material for a receipt pouch. I added gussets to the sides because I wanted the pouch to expand and be able to hold LOTS of receipts.
Materials:
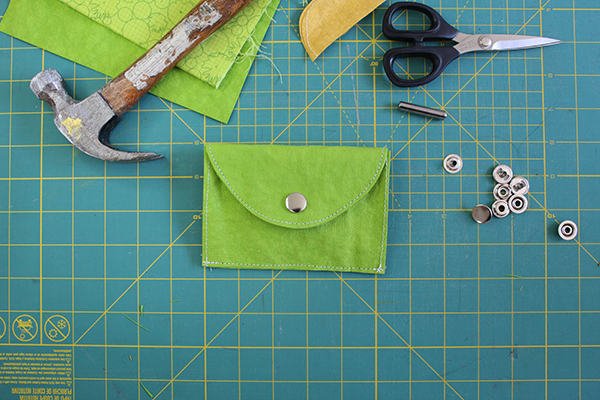
First, you need to buy or locate your materials. Here are the supplies needed to make a pouch:
- Kraft-tex fabric
- Rotary cutter, quilting ruler and mat
- Scissors
- Pencil and paper
- Clover Wonderclips
- Dritz Snap Kit
- Hammer
- Sewing supplies
Cutting Your Fabric:
Next, you need to cut your fabric. Here are the cutting instructions for the little pouch:
- Pouch body: Cut 2 rectangles measuring 5-3/8″ x 3″ ( The body pieces are the same size. One will be the “front piece” and other will be the “back piece” ).
- Side Gussets: Cut 2 rectangles measuring 2″ x 3″ ( You have another step for the gusset: Fold the rectangle in half so that it is now 1″ x 1-1/2″. At one end, mark with a pencil 3/8″ away from the fold and at the other end make a mark 5/8″ away from the fold. Place the quilting ruler on top of each mark, use your rotary cutter and cut a straight line ).
- Front Flap: Cut 2 rectangles measuring 5-3/8″ x 3″ ( You have another step for the flap: Fold the rectangle in half so it is 2-3/16″ x 1-1/2″. Start at one end on the folded edge and draw an arch / curve that ends kitty corner and away from the fold and your original point. Before you cut, open the rectangle and see if you like the look of the flap. If so, re-fold and cut the arch shape. Open again and you should have a nice smooth semi-circle shape. This is flap #1. Place the open flap onto the other rectangle and cut the other flap ).
Sewing Your Pouch:
Lastly, you need to sew the pouch together. Here are the step by step instructions making your pouch:
Step 1 – Prepare the flap –
Lay the flap semi -circle onto your work surface and make a pencil mark, 1″ up from the straight edge. Repeat on the other side.
Step 2 – Sew the flap pieces together –
Place the pieces right sides together and topstitch around the entire outside of the semi-circle, including the straight edge. Use wonder clips to keep the pieces from sliding around.
Step 3 – Place the flap piece on top of the “back body” piece –
Arrange the flap along the long 5″ side and the semi-circle should face away from the rectangle. Align the pencil marks on the flap with the body straight edge. The straight edges should overlap.
Step 4 – Secure the flap to the back body –
Place the 2 pieces into your sewing machine and sew 2 lines: The first line will be 1/8″ from the pencil marks, the second line will follow the topstitching on the back portion of the flap. You basically want to secure the flap nicely in place.
Step 5 – Add first snap – Take out your snap kit and follow the directions for adding the snaps. Find a nice location, near the tip and add the front snap to the flap piece.
Lay the 2 body pieces on top of each other. Fold the flap over onto the front piece and gently finger press along the fold.
Step 6 – Mark the spot for the second snap piece –
Keep the 2 body pieces right sides together. Align at all edges and the flap should be folded over. Gently push the flap snap into the front body piece. This should make small impression / spot where the other snap should go. Mark with a pencil. Follow the directions for adding the other snap.
Step 7 – Make The Gussets –
Prepare the gussets by finger pressing each gusset in half.
Sew a gusset to each side of the back body piece. The skinny part of the gusset should be at the top and the wide part should be at the bottom. Edge-stitch each in place.
Place the front body piece on top of the back body piece. Align at each side. Now sew the gussets to the front body piece, sew in a similar manner as above. Before you start sewing, make sure the front piece is the right side up, meaning the snaps meet at the right place.
Topstitch along the bottom edge.
TOP TIPS For sewing with Kraft-tex:
- Backstitch at the beginning and end of each seam. This is important or your project will fall apart. Trust me, this happened on my sample piece.
- Edgestitch or topstitch 1/8″ from cut edge of the Kraft-tex.
- Do not use pins, as they will leave holes. Only use Wonderclips or binder clips to hold pieces together.
- Try to sew a seam only once. Make the first attempt be your first and only attempt. Otherwise you will have a nice line of holes. Think through each step before committing.
- Have fun!

The color next month is “Sapphire” . My 8 year old son loves the color blue and I will be sewing him a wallet. He was a tad jealous of the scribbler cover I made for his brother and my July Kraft-tex project.
Want to see more projects? Check the following blog posts:
- Kraft Tex Scribbler Cover – Sew an easy scribbler cover
- Kraft Tex Collapsible Bowl – Sew an easy travel bowl
Thanks for stopping by.


Leave a Reply