Haberdashery Fun

  • Home
  • About
    • Look Book
  • Contact
    • Collaborate?
  • Tutorials
  • Shop
    • Email
    • Facebook
    • Instagram
    • Pinterest

Keep up to date with the latest posts!

Sew A Kraft-Tex Storage Caddy

in Bags and Pouches, DIY Projects on 01/10/20

Happy September! I can’t believe a month has gone by and it is time to post this month’s Kraft-tex project. This month the color is sapphire.

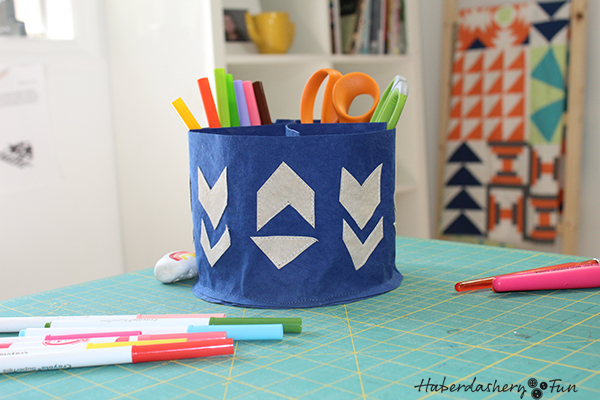
With my family staying home more these days, I feel like I am constantly cleaning and organizing. Markers, pens and scissors are all over my floor and kitchen table…. So, I decided to make a craft storage caddy.

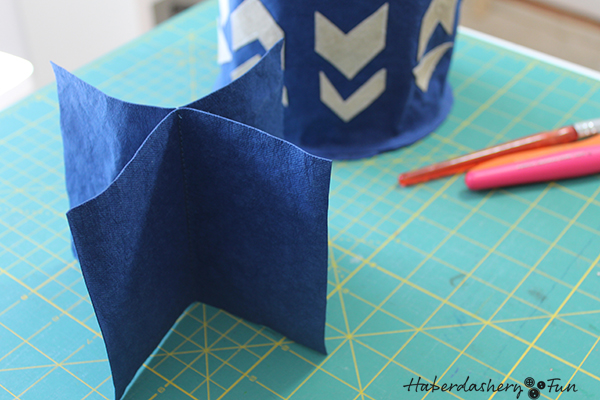
I even added a removable divider. Fun, right?

This storage bin is super easy to make. Have you sewn a bin before? Fret not, a bin is basically a circle and a rectangle sewn together. The divider/insert is another 2 rectangles sewn together and then folded open. Simple, right?

Sew with Kraft Tex and HaberdasheryFun. HaberdasheryFun is a top sewing blog, filled with tips and tricks and fun tutorials.

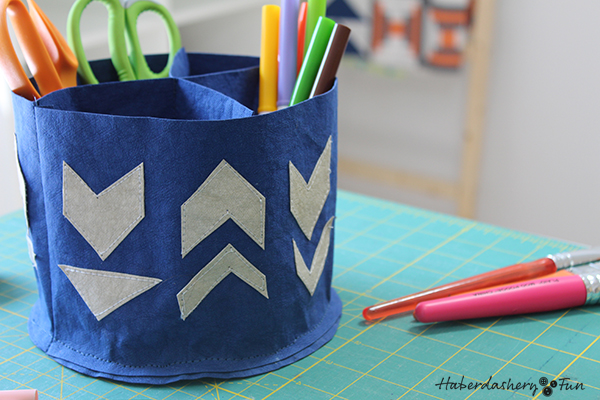
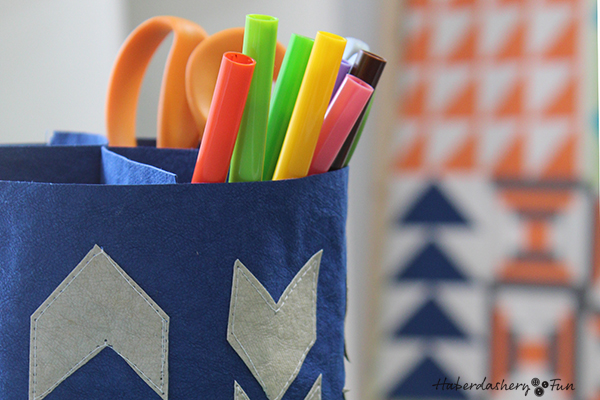
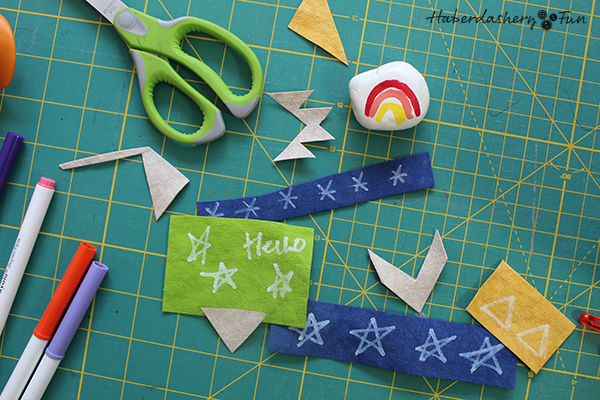
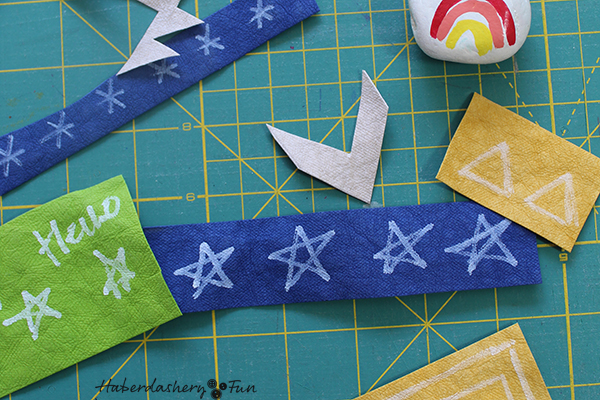
You can add extra details like the appliqué or leave it simple and clean. While I was sewing the appliqué onto the Kraft-tex, I thought of trying paint pens as another option for adding detail. So I tested a new white oil based paint maker on a sample of kraft-tex and it worked!

Have you tried kraft-tex? Kraft-tex is a vibrant paper that looks, feels and wears like leather, but sews, cuts and washes like fabric.

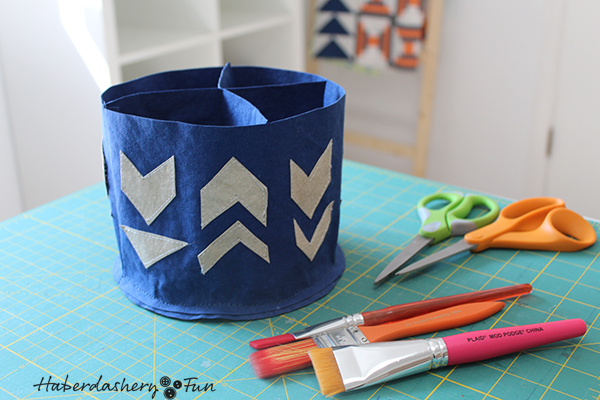
Want to make this storage caddy? Here are the materials needed:

  • Kraft-tex in 2 colors
  • Rotary cutter, quilting ruler and mat
  • Scissors
  • Pencil and paper
  • Clover Wonderclips
  • Chalk marker or pen

You can sew and go in 10 easy steps:

  1. On a piece of paper, draw a circle with a 7″ diameter. Place not your Kraft-tex fabric, pin around the outside of the circle and carefully cut out. Also cut 3 rectangles: Cut a large rectangle measuring 20-1/4″ x 5″ and cut two small rectangles measuring 4-3/4″ x 6″.
  2. Appliqué on one side of the large rectangle.
  3. Place the short ends of the large rectangle right sides together. Use Wonder Clips to hold the edges together. Sew with a 1/4″ seam allowance. Backstitch at each end. Finger press the seam allowance open.
  4. Fold the circle in half. Mark a small notch at each fold/seam allowance. Fold in half again and make another mark at each fold/seam allowance.
  5. Repeat step 4, but this time for the rectangle. As the circle, fold and mark 4 notches.
  6. Place the circle into the bottom of the sewn together rectangle ( The rectangle is now a cylinder). Match at each of the 4 notches. You want the seam allowances on the outside of the bin.
  7. Place a Wonder Clip at each notche. Place more wonder clips around the outside of the bin until you have all the edges meeting.
  8. Place into your sewing machine and sew together with a 1/4″ seam allowance. Smooth the seam with your finger. Finger press to have it lay nice and flat.
  9. Place the two small rectangles measuring 4-3/4″ x 6″ on top of each other. Match at the edges. Find the middle and draw a line with a pencil.
  10. Place into your sewing machine and follow the pencil line and sew a straight line. Backstitch at each end. Open in the opposite direction. Finger press open. Insert into your caddy.

Voila!

Sewing with kraft-tex is fun. I LOVE the simplicity of it and how you do not need to press, and then turn your projects inside out. For the most part, you sew and go.

Top Tips for sewing with Kraft text:

  • Backstitch at the beginning and end of each seam. This is important or your project will fall apart. Trust me, this has happened on my sample pieces.
  • Do not use pins, as they will leave holes. Only use Wonder Clips to hold pieces together.
  • Try to sew a seam only once. Make the first attempt be your first and only attempt. Otherwise you will have a nice line of holes. Think through each step before committing.
  • Have fun!
Sew with Kraft tex and HaberdasheryFun. Make an easy storage caddy.
Kraft Tex and HaberdasheryFun. Sew a simple storage caddy!

Add a Comment

« Sew An Easy Pouch
Sew A Simple Kraft-Tex Zipper Pouch »

Leave a Reply Cancel reply

Your email address will not be published. Required fields are marked *

This site uses Akismet to reduce spam. Learn how your comment data is processed.

About me


Hi there - I'm Marni Weaver. A sewer, a sometimes quilter and a lover of fabric design. I started this blog to share my ideas. Come Join the Fun
shop now

Popular Categories

project for baby fabric projects seasonal projects fat quarter projects sewing tips and tricks inspiration

Categories

  • Applique
  • Baby
  • Bags and Pouches
  • Block Printing
  • Color
  • DIY Projects
  • Fabric
  • Fabric Design
  • Fat Quarter Projects
  • Home Decor
  • Inspiration
  • Just for Fun
  • Kids
  • No Sew
  • Patterns
  • Print On Fabric
  • Quilting
  • Scrap Fabric Projects
  • Seasonal
  • Sewing Tips & Tricks

Lovely sponsors

Recent Comments

  • How To Make Hand warmers | Haberdashery Fun on DIY.. Sew Heart Shaped Baby Burp Cloths
  • How To Make Hand warmers | Haberdashery Fun on How To Make Mini Heart Shaped Hand Warmers
  • Make Spooky Monster Inspired Face Cloths | Haberdashery Fun on DIY.. Make Monster Inspired Face Cloths
  • How To Sew A Fabric Bin | Haberdashery Fun on Sew An Easy Fabric Storage Bin
  • Make The Alma Tote In Fun Colors | Haberdashery Fun on New – The Alma Tote Pattern

Projects Elsewhere

find me on Pellon Projects sew mama sew contributor

momtastic contributor

Pinterest

Visit Marni@Haberdashery Fun's profile on Pinterest.

I'm Reading

  • Cluck Cluck Sew
  • Cooking Dangerously
  • In Color Order
  • Jen Hewitt
  • Jolly Jabber
  • Karly Spalding Photography
  • Leigh Laurel Studios
  • Lindsay Sews
  • Lotta Jansdotter
  • Love Patchwork and Quilting Magazine
  • Made
  • Making It Lovely
  • Noodle-Head
  • Polka Dot Chair
  • Sharon Holland Designs
  • Silhouette America Blog
  • Silhouette Design Store
  • The Purl Bee
  • The Purple Fig

Press:

Stitch Winter 2014

haberdashery_fun

Marni Weaver
It’s been awhile since I printed some fabric. Pl It’s been awhile since I printed some fabric. Played around with space on this one and wanted to see what would happen when the I didn’t lay the hexagons in perfect symmetry. I chose Interstellar music for the post. Thoughts on the movie? That movie really got me.

#surfacepatterndesign #haberdasheryfunpatterns #blockprinting #blockprintingart #versafineink #versafineclair #deepdiveplay #3dottedpenguinscommunity #surfacepatterndesigner #geometricpattern #repeatpatterndesigner #textilepattern #patterndesign 

@3dottedpenguinscommunity
Magic lives in the opposite. Obsessed with my new Magic lives in the opposite. Obsessed with my new love: developing inverse blocks. 

#surfacepatterndesign #haberdasheryfunpatterns #blockprinting #blockprintingart #versafineink #versafineclair #deepdiveplay #3dottedpenguinscommunity #surfacepatterndesigner #geometricpattern #repeatpatterndesigner #textilepattern #patterndesign
Carve, stamp, scan — my last block print in digi Carve, stamp, scan — my last block print in digital form..

#surfacepatterndesign #haberdasheryfunpatterns #blockprinting #blockprintingart #versafineink #deepdiveplay #3dottedpenguins #surfacepatterndesigner
Working through my deeply committed relationship w Working through my deeply committed relationship with single-color prints and playing with color. 

#surfacepatterndesign #haberdasheryfunpatterns #blockprinting #blockprintingart #versafineink #deepdiveplay #3dottedpenguins
Instagram said I have to start making reels. So he Instagram said I have to start making reels. So here I am mildly uncomfortable, half heartedly participating. The “Next Best Chapter” is playing in the background, because apparently this is it.

#surfacepatterndesign #haberdasheryfun #blockprintingtechnique #blockprintinglove #versafineclair #pfeil
Follow on Instagram

Copyright © 2025 · Klar theme by Crimson Pear :: web & surface design

Copyright © 2025 · Klar on Genesis Framework · WordPress · Log in