I hope you are having a great week. To follow up with my post from Tuesday, here is part 2 of Sewing A Fabric Flag Banner. If you are just tuning in now, click here for part 1.
By now you should have:
- Developed and cut your triangle pieces
- Prepped and cut your letters
- Ironed the letters down to each flag piece
If not.. Well, you have all the time in this DIY/ Internet world. Here are the final steps to sewing the bunting:
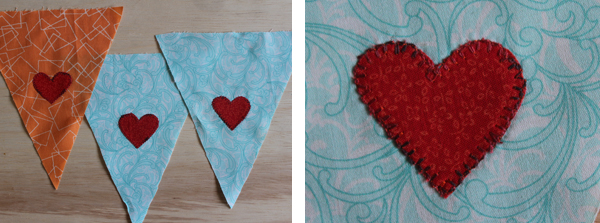
Applique around the edges of each word. Remember to applique each side BEFORE you sew the triangles together.
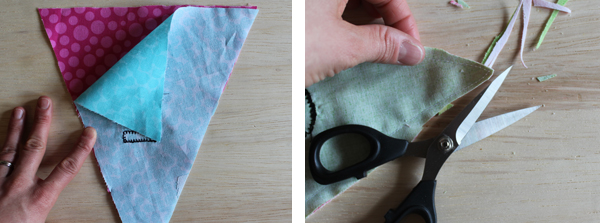
Place right sides together and pin. Position into your sewing machine and sew with a 1/4″ seam allowance for each side [not the top edge]. Stop 3/4″ from the top edge and backstitch. Trim the bottom corner. It is important to do this step. When you turn the flag right side out you need the fabric to fit into this small area.
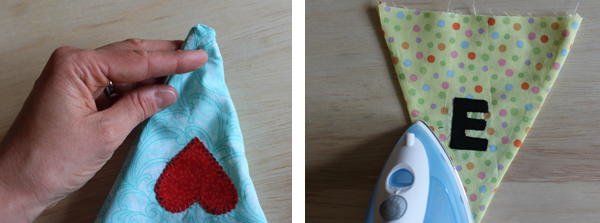
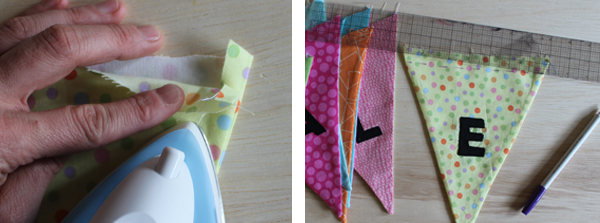
Turn right side out and wiggle the corner/point into place. If you are SUPER careful, use a pin and pull the point out.. but be careful not pull too much out. Press the seams.
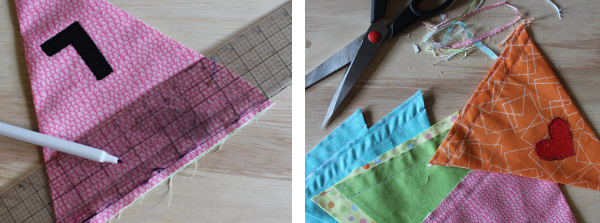
When pressing the seams, press all the way to the top. This will press a 1/4″ seam allowance that creates a casing for the string. Using a disappearing fabric pen, mark a “dashed” line 3/4″ down from the top edge.
With the flag turned right side out, sew along the dashed line. Backstitch at each end. This creates the bottom of the casing. Mark another dashed line 1/4″ down from the top edge. This closes the casing and gives about a 1/2″ area for the string to fit through. Sew along the second line. Backstitch at each end again. CAREFULLY trim down the top edge.
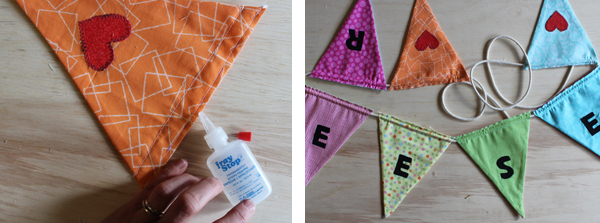
Use a small amount of fray check along the raw edges. This will help stop the top edges from too much fraying. Insert the string through the casing..
Well, that’s it. Happy sewing.
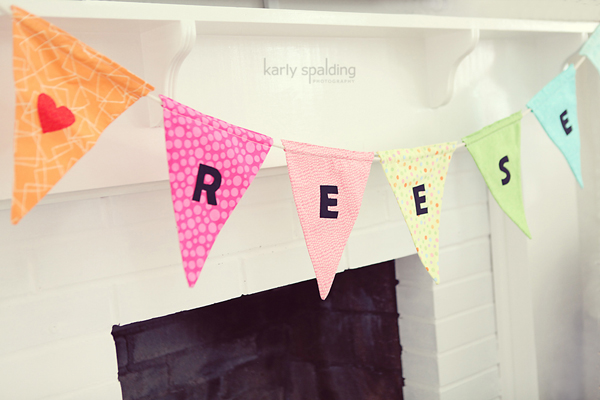
Click here if you want to see my tutorial on covering the rope ends.. To see the images from Reese’s Princess Party.. Check out my amazing friend..Karly Spalding Photography.


Very cute. I like them sewn!
Thanks for linking it up at Monday Funday!