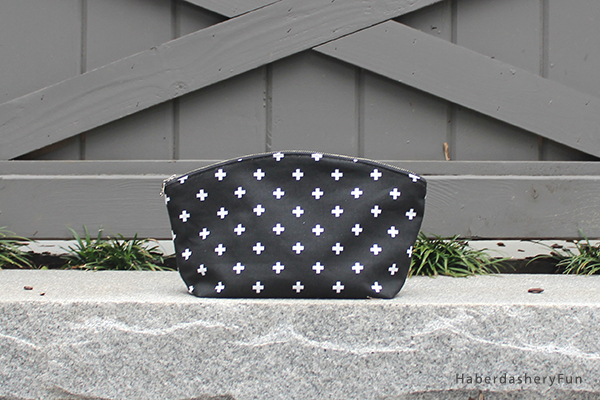
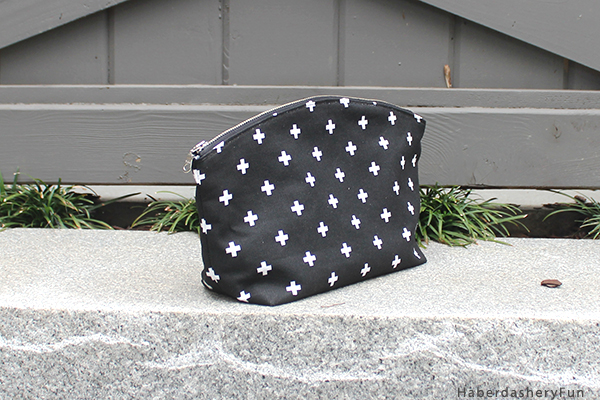
Hello Curvy Zipper Pouch! I opened my online store this March and the response to my first pattern release has been amazing. I’m grateful for every Curvy Zipper Pouch pattern that is purchased.
I thought I would give a follow up post with additional instructions and images on creating the eye-catching curve. Creating a smooth curve is essential and simple! All is take is 4 simple steps – mark a line, notch, turn and fold then press.
To make this pouch you will need:
- Cotton canvas fabric for exterior – this print is “mini swiss dots” from Premier Prints
- Cotton fabric for lining
- Interfacing – try Pellon SF101
- 12″ or 14″ metal zipper – try Ziptit on Etsy. I love their selection of affordable metal zippers.
- Disappearing fabric pen
- Sewing machine and supplies
- Iron and ironing board
- Curvy Zipper Pattern
You can purchase the pattern from my online store. By the way – I love hearing from everyone, if you share on social media please use #haberdasheryfun, #haberdasheryfunpatterns #curvyzipperpouch
Check out my previous post for the original set of instructions. First you need to fuse your fabric and then cut your pattern pieces, including the zipper tab.
Here are a few tips on creating that smooth curve:
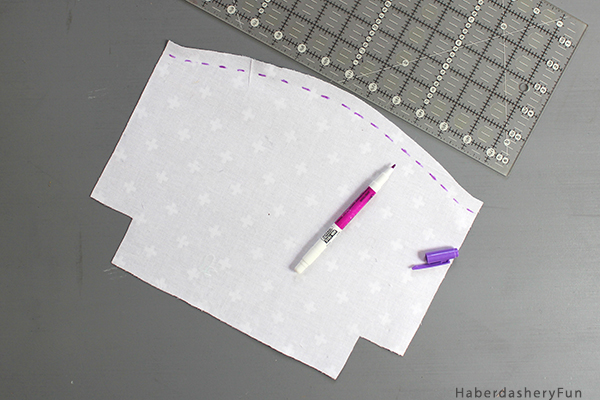
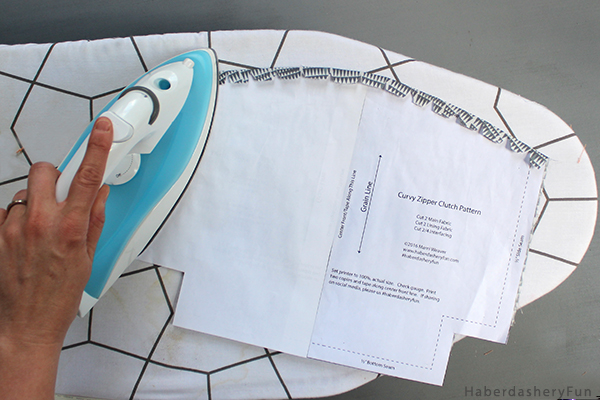
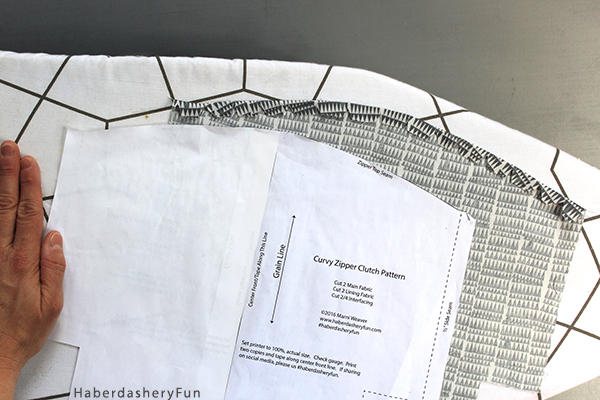
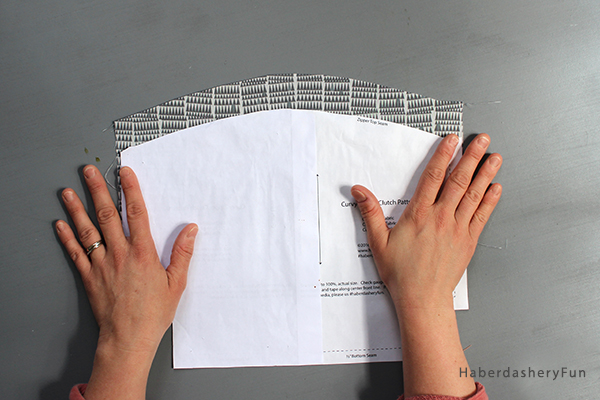
Step 1 – To make the template, print 2 copies of the pattern piece and tape together along the center front line. If you cut the pattern pieces on the fold, you won’t have the paper pattern like this. Disregard if you created the pattern like this in the first place.

Step 2 – Use the disappearing fabric ink pen – Mark a dashed line 1/2″ from the top edge on the wrong side of all pieces.
Step 3 – Notch along the top edge. Make sure to NOT cut into/ past the 1/2″ dashed line.
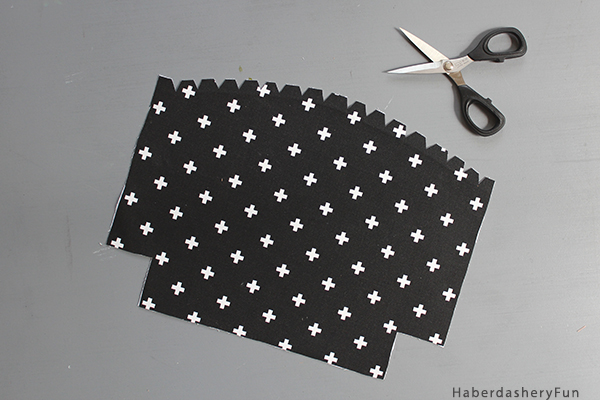
Step 4 – Use the paper template as a guide, turn and fold at the 1/2″ line. Press with an iron as you fold towards the wrong side. Gently pull the fabric away from the template. You should have a nice smooth curve. Repeat for all pieces.
Inserting the zipper also affects the smooth curve, so here are a few additional tips on the zipper:
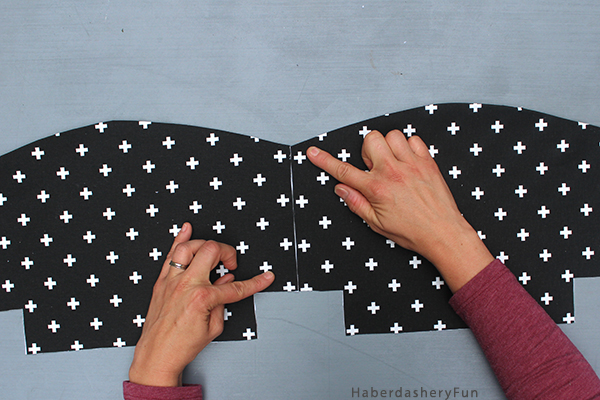
Step 5 – Lay the exterior pieces side by side to ensure the side are even and match. Repeat for the lining pieces.
Step 6 – Turn to have wrong side facing up. Mark 1/2″ from the side and then move the ruler inwards 1/8″ and mark again. Repeat for all pieces.
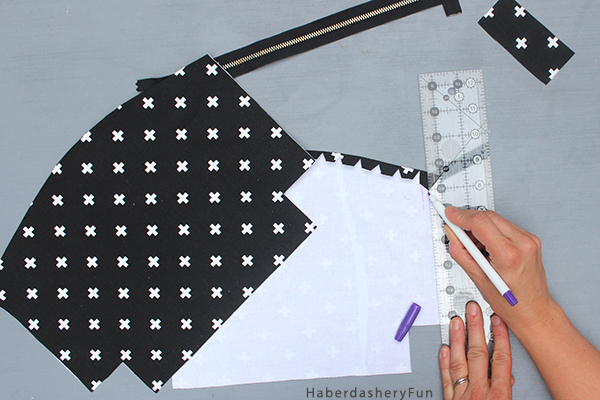
Step 7 – Place the zipper face down on the curve. The zipper tab should lay at the 5/8″ mark. Pin in place.
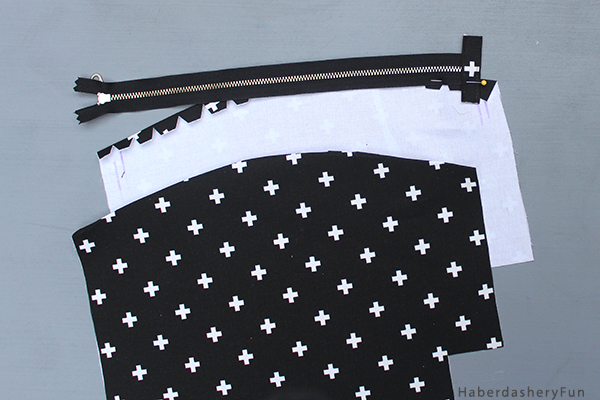
Step 8 – Move the zipper along the curve and continue to pin in place. The zipper stop should land at the other end, right at the 5/8″ mark
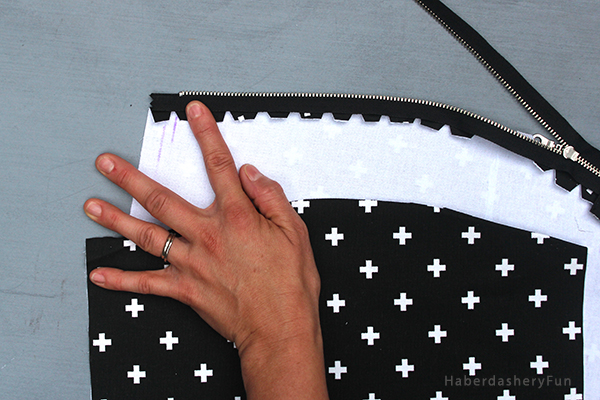
Step 9 – Tuck the zipper tape under. Pin in place. Follow the remainder of the steps and finish the pouch.

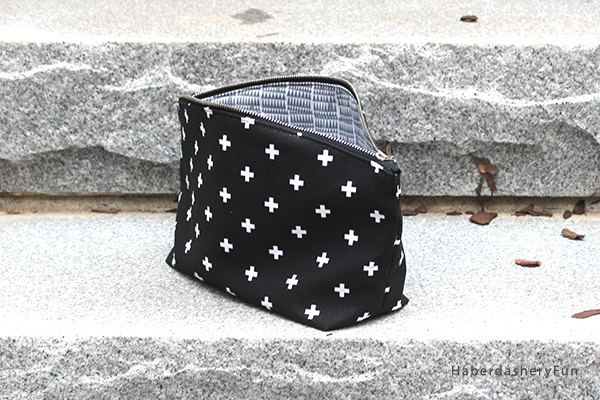
You can cram lost into this pouch because it has only one zipper tab and a wide base. I often use it as an on the go baby clutch. It’s perfect to throw into the stroller. With a baby and 5 years old – this time it was used for little people, cars and baby powder.

That’s it! Simple right? Thanks for stopping by. Please let me know if you have any questions or comments.


[…] Tips On Sewing the Curvy Zipper Pouch – 1 freebie(s)? […]