This is the perfect sewing project for a new mom.
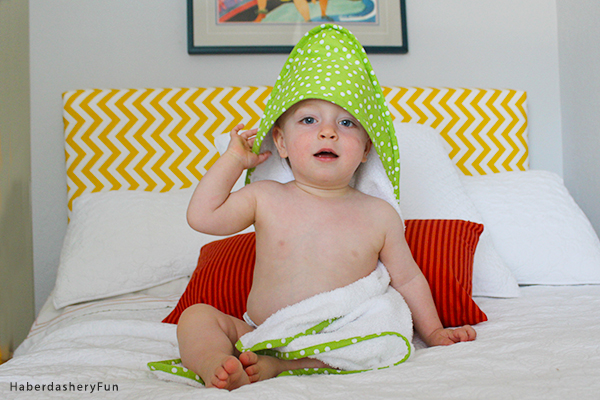
I have been “thinking” about making this project forever! My “baby” is now 14 months old, a total busy body and getting into everything! With Tanner getting bigger and bigger each day, it was time that I made the baby towel and got my act together.

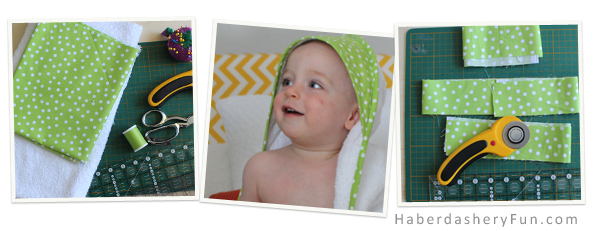
This towel is fairly easy to sew and you can finish it in few hours. It’s a great beginner project! All you need is terry towel, fun colorful fabric and your sewing materials.
And great news – I made the hood pattern piece and am sharing it for free. Click here to get the PDF pattern in my online store.
Materials needed:
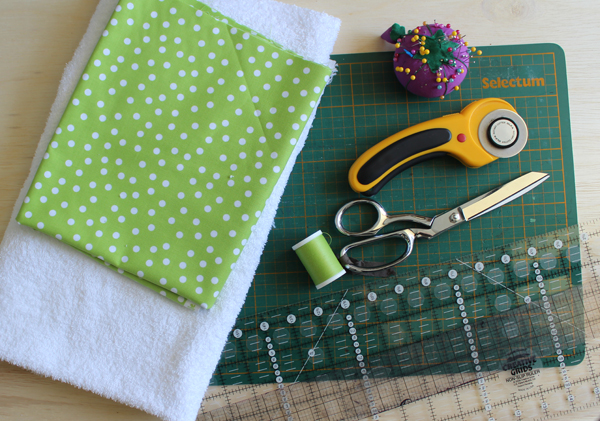
- Terry towel
- Cotton fabric
- Rotary cutter, cutting mat, creative grids ruler
- Disappearing Fabric ink pen
- Sewing materials and sewing machine
- Iron and ironing board
Note – Cutting the main fabric for the towel is not shown in the images below. Lay the terry towel flat on a large cutting area. Measure and mark a 30″ x 30″ square. Cut the terry towel to this size.
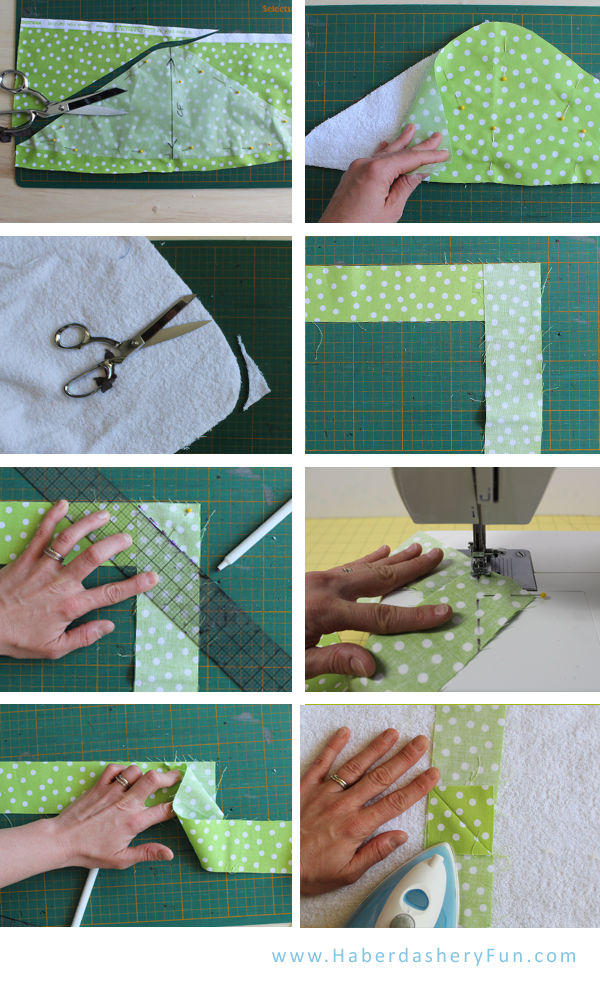
Part A: Cut your fabric and prepare the binding:
- Pin the hooded piece down on the terry and colorful fabric. Cut one of each.
- Place wrong sides together and pin the 2 pieces together. Baste together along the outside edge.
- Round each outside corners of the 30″ x 30″ towel.
- Cut your binding strips. [3″ width]. Not sure on how to cut binding? I created an easy tutorial on how to cut binding..
- Place your binding perpendicular to each other. Pin in place.
- Use a ruler and mark the sewing line with a disappearing ink pen. This step will help guide you when sewing the binding together.
- Place in sewing machine and sew.
- Trim the seam allowance to be 1/4″ [Not shown]. Iron the seam. Open seam and iron again.
- For the binding, you will need about 140″ in length.

Part B: Sew the hood piece and attach the binding:
- Fold the binding in half and press. Press the entire binding in half.
- From the binding that you made, cut a strip 19″ long. This will finish the bottom hood edge. Pin to bottom edge of hood piece. Place in sewing machine and sew.
- With the binding laying flat, press the seam. Open and iron the seam again.
- Roll the binding to the back side and cover the raw edge. Pin in place if it helps. Iron to set the seam.
- Place in your sewing machine and edgestich along the folded edge. The raw seams will now be enclosed by the binding.
- Place the hood at corner of towel and pin in place. Note that there will be extra room in the middle for the baby’s head. Baste the pieces together.
- Finish the entire outside edge of the towel with the binding. Start at a straight edge and pin the binding along the raw edge.
- Sew the entire length of the binding around the towel. Repeat steps 3, 4 and 5 above for the outside of the towel.
That’s it! Your baby towel is complete. I hope you enjoy sewing it as much as I did.


Thanks. Looks easy. Will make for my grandson for sure..
I’ve been searching for hooded towel tutorials, but this one is my favorite; I’m looking forward to making it. I’m a little confused about the hooded piece. Is there a pattern for it? What are the dimensions?
Thanks so much for taking the time to make this tutorial!
Hi Michele. Thanks for reaching out. I am so happy you like my towel tutorial. It is quite easy to make. You are correct, I promised the hood pattern and never shared it on my blog. I will email it to you and then get it up on the site VERY soon.
Did you happen to post the hood pattern? I started making this but couldn’t find the pattern…I think that I’m just going to guess for now but hoping for the pattern when I mess up mine 😉
Hi, Thanks for reaching out. I just emailed you the pattern piece. Please let me know if you don’t receive it or have issues with it. Thanks again!
I was hoping I could get the hood pattern from you! This tutorial is perfect!!!
Hi – Thanks for reaching out. This has become a VERY popular pattern piece 🙂 I plan to get the hood pattern up on the blog next week.
Hi – Great news! The hood pattern is now available here on my blog. I will also add a link to the new and old post..Happy sewing!
https://haberdasheryfun.com/patterns/hood-pattern-now-available
This is super cute and may just become my go-to baby project gift! Thanks for the great instructions!
Hi – thanks for stopping by. I just finished another towel to give as a gift.. It was super easy and will be a nice present.
I would like the hooded towel paTtern i am a little confused about tHe hood love the looks of this pattern
Hi – yes. here is the pattern. refer to the post and look for the link with the PDF. You can download the pattern there.
https://haberdasheryfun.com/patterns/hood-pattern-now-available
Marni
Darling, I AM TRYING IT RIGHT NOW FOR MY BROTHER’S GRANDCHILD TO BE!
Awesome! Did you make it? I would love to hear how it went..
Marni