Haberdashery Fun

  • Home
  • About
    • Look Book
  • Contact
    • Collaborate?
  • Tutorials
  • Shop
  • Freebie
    • Email
    • Facebook
    • Instagram
    • Pinterest

Keep up to date with the latest posts!

Sew An Emergency Travel Pouch

in Bags and Pouches, DIY Projects on 09/02/16

Like most of my projects, I’ve been planning on making this little pouch for years.

Emergency Travel Pouch

My son was hospitalized with RSV when he was 9 months old.  After that he got sick at the drop of a hat.. We were a very busy family, so I made sure to always bring our emergency items everywhere we went. I often thought about making a little pouch to hold everything, but as a busy Mom, I just never got around to it.

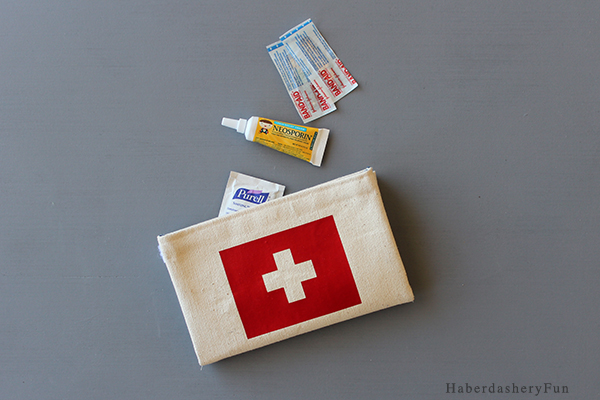
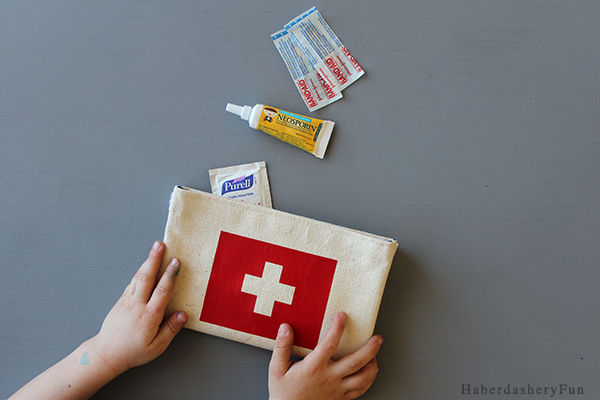
With a busy 4 year old and a baby on the way, I thought I should get my butt in gear and make a pouch to hold the good stuff – thermometer, bandaids,  sanitizing wipes, neosporin, etc.

Emergency Travel Pouch With Penny

I’ve made this pouch before and the tutorial today will be about adding the heat transfer vinyl/ symbol to the front. However, give the tutorial a try…

Emergency Travel pouch open

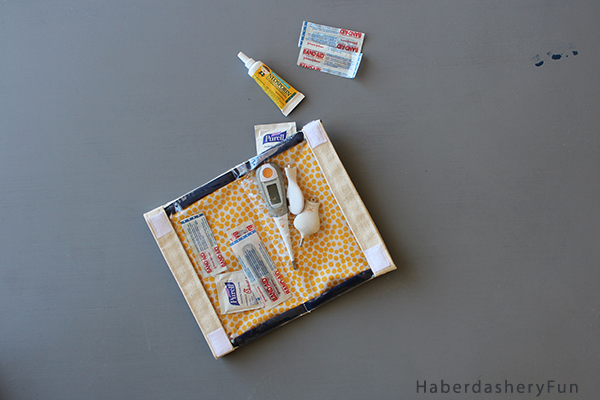
This is a great pouch.. It’s been a popular tutorial of mine and you’ll be happy with the outcome. I love how this pouch has separate sides with clear vinyl on the inside. While the contents are kept separate with easy access, the velcro strips hold everything neatly in place. Click here for the tutorial.

Emergency Travel pouch HaberdasheryFun

Materials Needed:

  1. Silhouette machine
  2. Heat Transfer Vinyl
  3. Silhouette design
  4. Clear vinyl “fabric” – 8 gauge
  5. Canvas fabric – outside
  6. Cotton Fabric – lining
  7. Disappearing fabric ink pen
  8. 3/4″ Velcro Sew on strips
  9. Double fold bias tape
  10. Sewing machine and sewing supplies
  11. Paper scissors, pen and ruler
  12. Iron, ironing board and pressing cloth

Before you get started, cut the following pieces:

  1. Canvas fabric: Cut 1 rectangle measuring 9″ x 11″ and 2 strips measuring 9″ x 2″
  2. Lining: 1 rectangle each measuring 9″ x 11″
  3. Clear vinyl: Cut 1 rectangle measuring 9″ x 10″
  4. Velcro strips:  Cut 2 strips measuring 9″ in length, Cut 2 pieces 1 ” in length

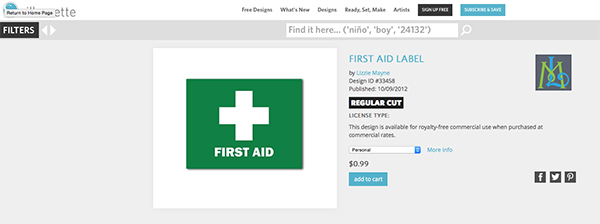
I thought it would be fun to use an emergency symbol and bought the “first aid label” from Lizzie Mayne in the Silhouette Design Store.

First Aid Symbol

Let’s get started:

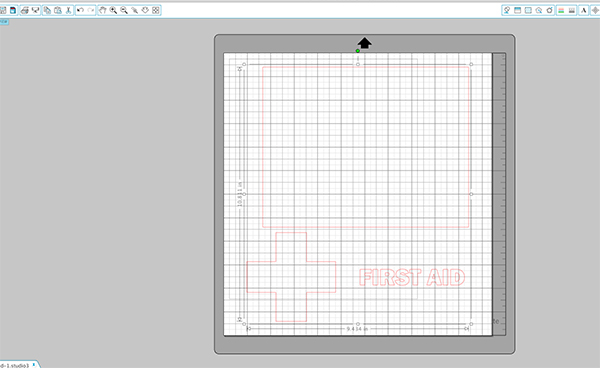
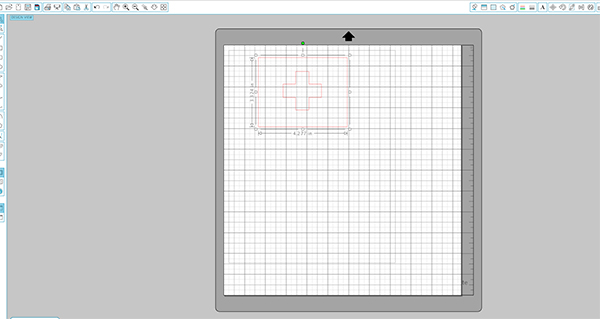
Step1 – Open the design in Silhouette Design studio. If the design comes in a group, ungroup and delete the parts that are not needed. In this case, I took out the works ” Emergency Kit” and just left the cross symbol. Resize the design to fit the pouch. I decided on the size 4.2″L x 3.2″W.

Step1A

Step1B

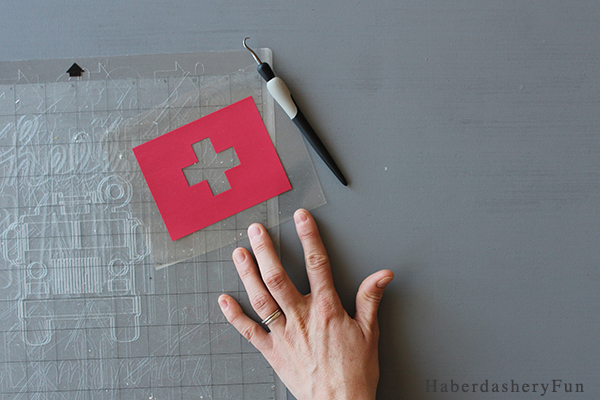
Step 2 – Insert the HTV into your Silhouette machine with the plastic side facing down. I like using the HTV along with my mat, however using your mat is optional.  Send the file to be cut. Note – If you keep the “Emergency Kit” words within the design -remember to FLIP the design. This is a very crucial step in the whole process! Gently weed the design and pull the negative space away from the mat.

Step2

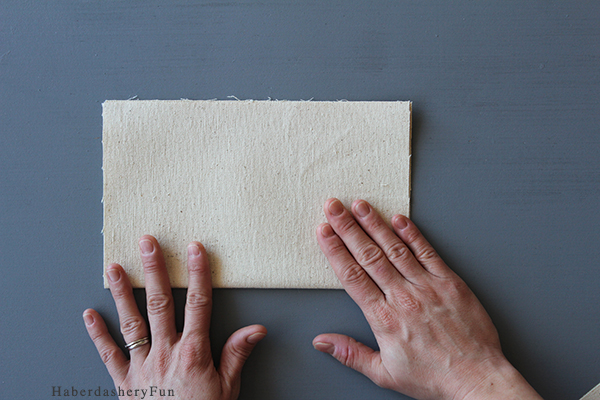
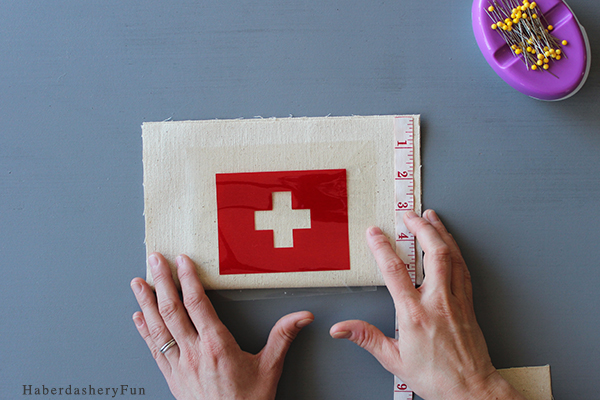
Step 3 – Fold the Canvas fabric rectangle in half. Measure about  1-1/2″ down from the top edge because there will also be a double row of stitching [ when sewing the velcro down] about 1″ apart at the top of the pouch. Also, consider the seam allowances at the sides when figuring out the design placement.  so consider these seams when placing the HTV down. Note – when placing the HTV down, the design/cut side should be facing the canvas and only the clear plastic should be on the top.

Step3A

Step3B

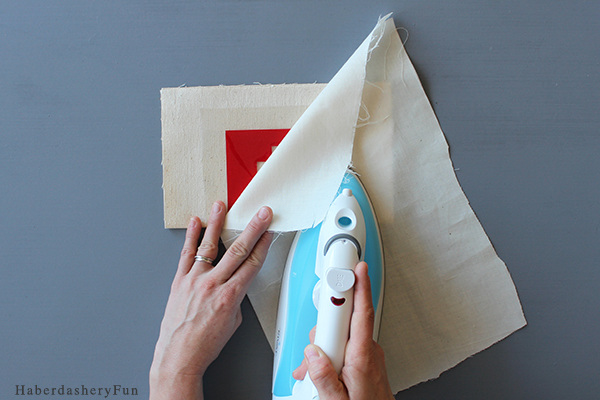
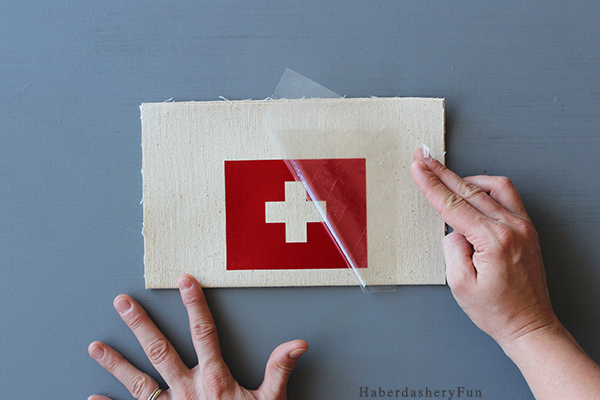
Step 4 – When you like the design placement, cover the image with a pressing cloth. Set in place with an iron. Press firmly and hold the iron in place for about 1 minute. Gently pull the plastic away. if you pull the plastic away and some of the HTV comes off the fabric, place everything back down and press with he iron again.

Step4A

Step4B

Step 5 – You’re on the home stretch. Sew the double sided pouch as per my instructions here.. New to sewing with vinyl? Check out my other vinyl tutorials here – clear vinyl wallets, ribbon and vinyl pouches and vinyl and fabric cosmetic pouch.

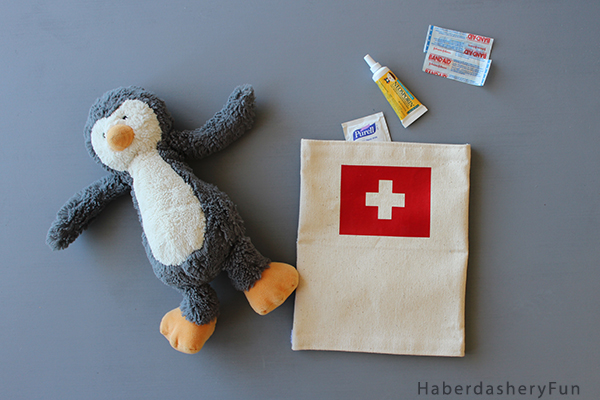
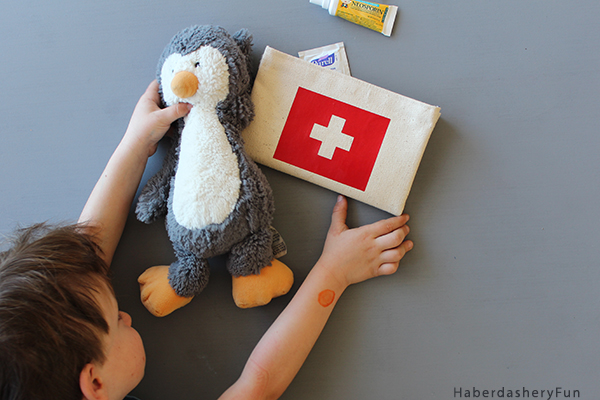
That’s it. Fun right.. My son and his stuffed animals helped me take the photos. He LOVES the emergency symbol and a few times asked if the pouch was for him.. He wanted it for riding his bike with his cousin and and helping all the “hurt” guys in our backyard. Guess it’s time to get working on another project!

Tanner

Emergency Vinyl Pouch Little Hands

Related Posts Plugin for WordPress, Blogger...

2 Comments

« Print Your Own Fabric For Sewing A Pouch
Sew A Colorful Printed Zipper Pouch »

Comments

  1. Maurice Golson says

    02/13/2016 at 3:18 pm

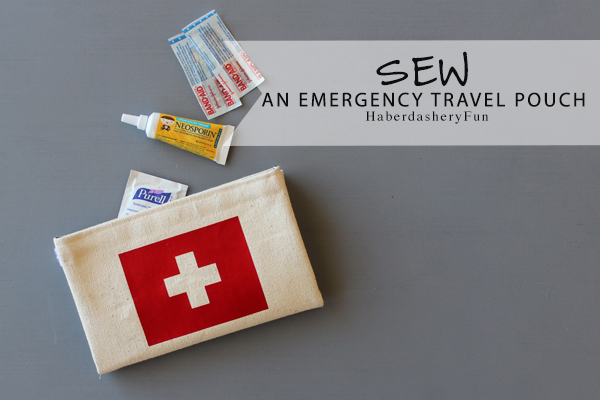
    Love the first aid symbol! Classy looking travel pouch.

    Reply

Trackbacks

  1. CraftCrave | DigiFree | CraftCrave says:
    02/11/2016 at 1:18 am

    […] Sew An Emergency Travel Pouch – 1 freebie(s)? […]

    Reply

Leave a Reply Cancel reply

Your email address will not be published. Required fields are marked *

This site uses Akismet to reduce spam. Learn how your comment data is processed.

About me


Hi there - I'm Marni Weaver. A sewer, a sometimes quilter and a lover of fabric design. I started this blog to share my ideas. Come Join the Fun
shop now

Popular Categories

project for baby fabric projects seasonal projects fat quarter projects sewing tips and tricks inspiration

Categories

  • Applique
  • Baby
  • Bags and Pouches
  • Block Printing
  • Color
  • DIY Projects
  • Fabric
  • Fabric Design
  • Fat Quarter Projects
  • Home Decor
  • Inspiration
  • Just for Fun
  • Kids
  • No Sew
  • Patterns
  • Print On Fabric
  • Quilting
  • Scrap Fabric Projects
  • Seasonal
  • Sewing Tips & Tricks

Lovely sponsors

Recent Comments

  • Make A Simple Block Print Tote Bag | Haberdashery Fun on DIY.. Colorful Dish Towel Tote Bags
  • Make A Simple Block Print Tote Bag | Haberdashery Fun on Sew Asymmetrical Color Block Totes Tutorial
  • Make A Block Printed ToteBag | Haberdashery Fun on Sew A Reversible Tote
  • Make A Block Printed ToteBag | Haberdashery Fun on Quick Tip.. Sewing Boxed Corners
  • 20 Creative DIY Storage Bin Ideas - DIY & Crafts on Sew An Easy Fabric Storage Bin

Projects Elsewhere

find me on Pellon Projects sew mama sew contributor

momtastic contributor

Pinterest

Visit Marni@Haberdashery Fun's profile on Pinterest.
Follow on Bloglovin

I'm Reading

  • Cluck Cluck Sew
  • Cooking Dangerously
  • In Color Order
  • Jen Hewitt
  • Jolly Jabber
  • Karly Spalding Photography
  • Leigh Laurel Studios
  • Lindsay Sews
  • Lotta Jansdotter
  • Love Patchwork and Quilting Magazine
  • Made
  • Making It Lovely
  • Noodle-Head
  • Polka Dot Chair
  • Sharon Holland Designs
  • Silhouette America Blog
  • Silhouette Design Store
  • The Purl Bee
  • The Purple Fig

Press:

Stitch Winter 2014

haberdashery_fun

Marni Weaver
Test print and then fabric. Are you an all over ra Test print and then fabric. Are you an all over random print or a linear structured print person? 

I always say to myself that I’m going to create a random print and then go straight for a structured layout.

#blockprintingmadeeasy #haberdashery #haberdasheryfun #blockprinting #simpleshapesmadefun #fatquarterproject #100daysofsimpleshapes #dothe100dayproject #dothe100dayproject2022 #speedballfabricink #konacottonsolids #haberdasheryfunpatterns #100dayproject2022 #handmadestamp #blockprintedfabric #blockprintedtextiles #100daysofsimpleshapes #blickartmaterials  Day 30/100
Simple and effective. I’m still cruising thru th Simple and effective. I’m still cruising thru the #100dayproject and my simple shapes prompts.

Here is our friend the square with simple lines cut thru it.

#blockprinting #100dayproject2022 #blockprintingmadeeasy #simpleshapesarefun #100daysofsimpleshapes #dothe100dayproject #haberdashery #haberdasheryfunpatterns #haberdasheryfun #handmadestamps #blockprintedfabric #fatquarterproject #fatquarters #speedballfabricink Day29/100
Anyone else have an assistant who gets into everyt Anyone else have an assistant who gets into everything, makes a mess and then sits under the desk doing nothing??

#haberdashery #marriedtorealestate 
#hgtvhome #hgtvdesign 
#haberdasheryfun #egyptsherrod #egyptsherroddesign #rebeccazajac #haberdasheryfunpatterns #chelseatakesshots #blockprintingmadeeasy #blockprintedfabric #hgtvdreamhome #hgtvhome #hgtvmakeover
There are only a few more days until my online blo There are only a few more days until my online block printing course starts! Have you wanted give block printing a try? 

Well… Come on over and spend the next 3 weeks with me. The link in my profile will take you to my sales page with all the details- what to expect, lesson breakdown, material list, frequently asked questions and the option to register.

Would love to see you in class. 

#blockprintingmadeeasy #onlineclasses
#haberdasheryfun ##100daysofsimpleshapes #dothe100dayproject #100dayproject2022 #haberdasheryfunpatterns #blockprintedfabric #handmade #handmadefabric #blockprinting #surfacepatterndesign #chelseatakesshots #immersion2020 Day28/100
I have a drawer where I keep all of my block print I have a drawer where I keep all of my block printed papers and have often wondered.. “What the heck do I do with all of these”.

How about you?

I recently found a bunch of  tutorials over at @modpodgerocks and thought it would be fun to make wood coasters with my block prints. They turned out better than expected and so I thought to share with you.

Want more info? I created a blog post. See the link in my profile for the blog post and details. 

Day27/100 #100dayproject #dothehundreddayproject #100daysofsimpleshapes #haberdasheryfun #blockprintingmadesimple #onlineclasses #zoomworkshops #haberdasheryfunpatterns #haberdasheryfunclasses #handmadestamp #modpodge #modpodgecrafts #decoupageart #decoupagelovers #blockprintedbyhand
Follow on Instagram

Copyright © 2022 · Klar theme by Crimson Pear :: web & surface design

Copyright © 2022 · Klar on Genesis Framework · WordPress · Log in