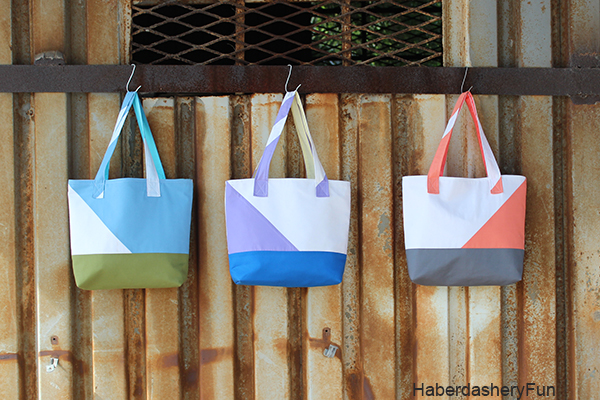
I shared this post over at Sew Mama Sew a few years ago. Sadly I think they have taken down their website. I have had a quite a few readers email and ask about the directions, so I thought I would drum up the tutorial and share it with you all again.
Each bag has 4 colors. This is a project you can have a lot of fun with! At first, I was very deliberate in my color selection. By the 3rd bag I put all my solid fabrics in a pile and went crazy choosing the colors. I love the asymmetrical feel to the handles and front of totes. The lining and back of the straps really pop!
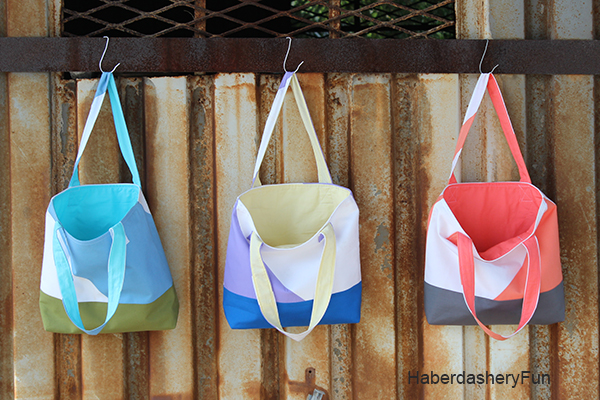
The original post for this color blocked tote bag was shared in 2015. Wow times flies. At that time, I was about to move from Tampa to Los Angeles and I was desperately hoping to have another baby… We moved to Los Angeles for 18 months and I had the time of my life! It must have been the time off and all that time I spent at the beach, because I got pregnant while living in LA. My family and I have since moved to Atlanta and I now have a happy 4 year old boy.
Materials:
- Cotton fabric – 4 colors
- Sew In Interfacing or cotton canvas
- Light weight fusible interfacing
- Disappearing fabric pen
- Quilting supplies – rotary cutter, mat and ruler
- Sewing supplies and sewing machine
- Iron and ironing board
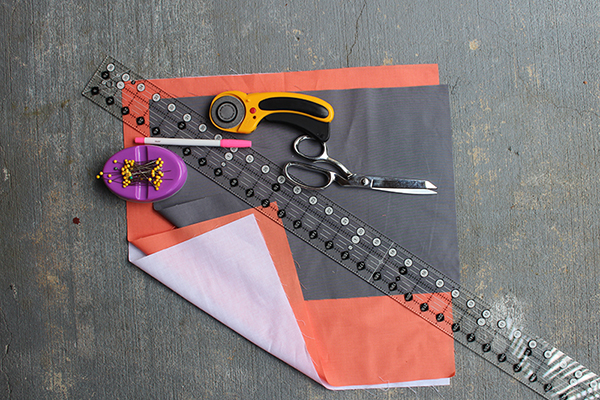
Cut your fabric:
- Color #1 / Outside top portion of bag – Cut 1 square measuring 17″L x 17″W.
- Color #2 / Outside top portion of bag – Cut 1 square measuring 17″L x 17″W.
- Color #3 / Outside bottom of bag – Cut 1 rectangle measuring 16″L x 11″W.
- Color #4 / Lining – Cut 1 rectangle measuring 16″L x 27″W.
- Color #4 / Strap lining – Cut 1 strip measuring 2″L x 55″. [ Strip will be cut in 2 / length depends on desired strap length].
- Light weight fusible interfacing – Cut 1 rectangle measuring 2 1/4″ x 55″. Length depends on desired strap length.
- Cotton canvas or sew in interfacing – Cut 1 rectangle measuring 16″L x 27″W.
Lets get started:
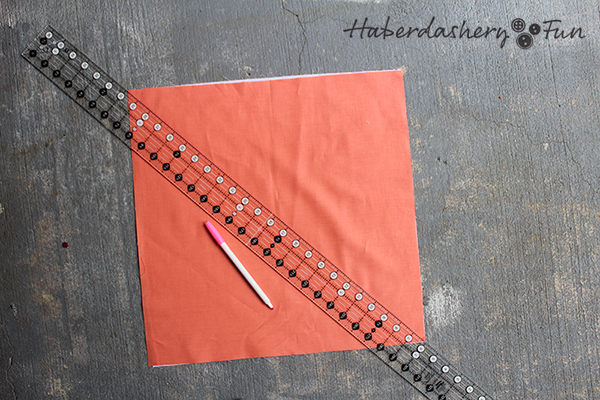
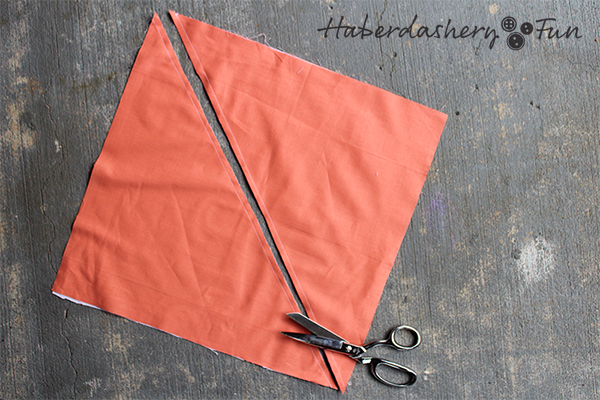
Step 1 – Lay the 17″ x 17″ squares on top of each other. Right sides facing. Align all edges to match. Use a ruler and disappearing fabric ink pen and draw a diagonal line from one corner to the other. Pin along each side of the line. Place into your sewing machine and stitch along each side of the line at a 1/4″ seam allowance. Cut along the pen line. Open. You now have 2 very large half square triangles. Press the seam allowances towards the darker color.
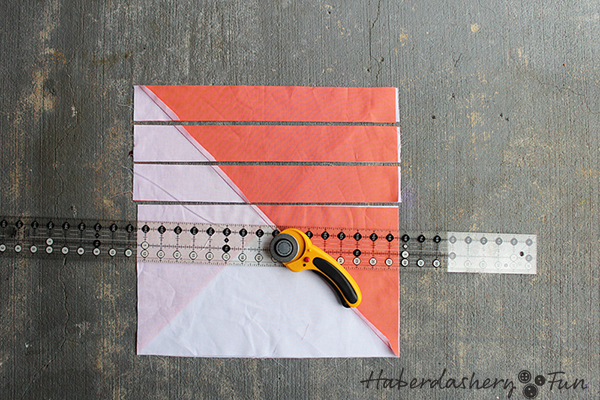
Step 2 – Lay the 2 squares back on top of each other. The diagonal lines criss cross each other. Align the edges. Use the rotary cutter/ ruler and trim the top edge straight. Use your rotary cutter again and cut 3 strips measuring 2 1/4″ wide. These strips become the strap. Keep the fabric laying on top of each other. Square the remaining pieces to measure 16″L x 9″ W each. These 2 pieces become the top portion of the bag.
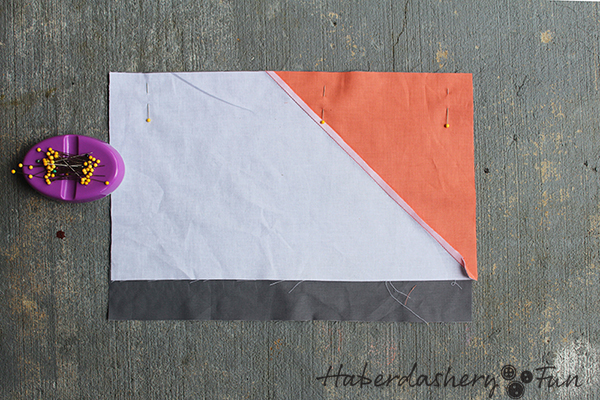
Step 3 – Place the 16″L x 11″W rectangle onto your work surface. Pin the top portions of the bag to either end. Place into your sewing machine and stitch together with a 1/2″ seam allowance. Press the seam allowances towards the darker color. You should now have a large rectangle and this becomes the “outside” of the bag.
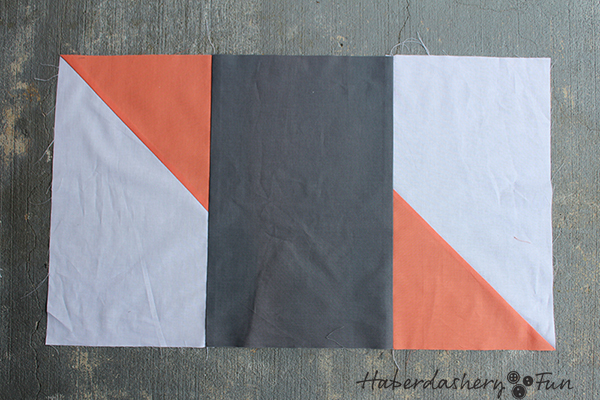
Step 4 – Lay the cotton canvas/ interfacing piece on top of the bag. Wrong sides facing. Baste stitch around the outside edge. Fold the large rectangle in half. Right sides facing. Place into your sewing machine and stitch the sides together with a 1/2″ seam allowance. Make sure to match the bottom seam portion of each bag. Press the side seams. At the same time, press a crease along the bottom seam. This helps when creating the boxed corners.
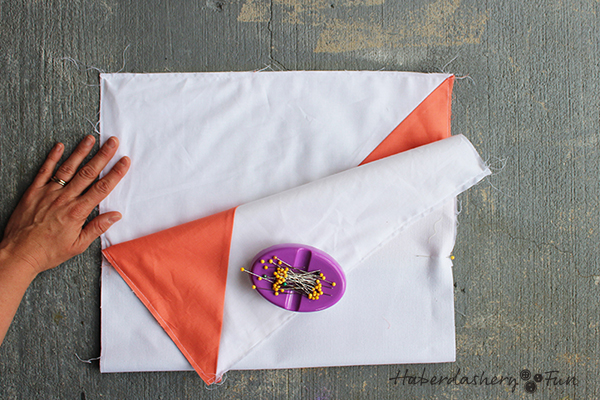
Step 5 – Wiggle one side seam to lay directly on top of the bottom crease line. Use your quilting ruler and locate the 45 degree angle. Line the 45 degree angle along the diagonal part of the bag. Measure 1 1/2″ upwards from the tip. Mark a line with the disappearing fabric pen. Pin. Place into your sewing machine and stitch following the pen line. Repeat for the other side. Trim off each point, leaving a 1/2″ seam allowance.
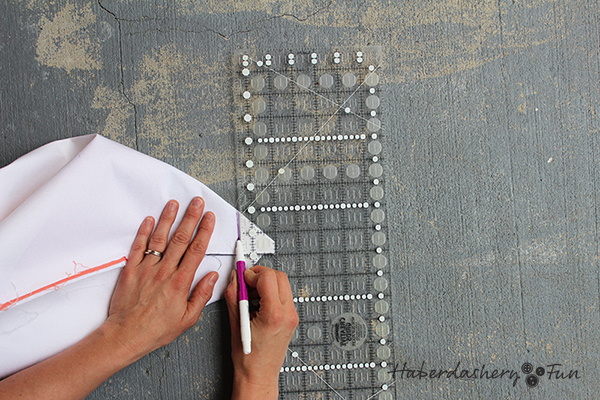
Step 6 – Sew the lining together following steps 4-5. Place lining and exterior of bag aside.
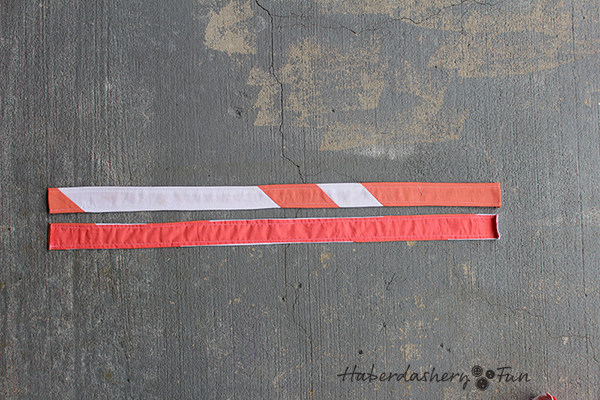
Step 7 – Sew the strap – Piece the 6 strap pieces together as you would a quilt binding. Create a strip 55″ long. Have fun with this step and make the strap as asymmetrical as you want. Trim off the seam allowances to 1/4″. Press towards the darker color.
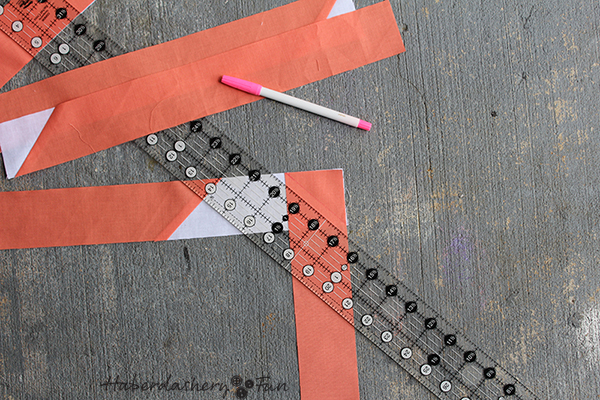
Step 8 – Sew the strap together – Place the pieced strip/outside and the lining strip right sides together. Sew along one long edge with a 1/4″ seam allowance. Place the other long sides together. The strips are not the same width, so the larger fabric will gather/roll along the center. This is ok. Pin if needed to help hold the fabric in place. Stitch the other side together with a 1/4″ seam allowance. Press. Pull the strap though itself. Press again. Topstitch along both sides. Cut to desired strap length, for this tutorial the straps are each 26″ each. Turn and fold each strap end under 1/4″. Press.
Step 9 – Keep the exterior bag right side facing out. Turn lining bag right side facing in. Place the exterior bag into the lining bag. Pin along top edge. Place into sewing machine. Sew together with a 1/2″ seam allowance. Leave a 3″ – 4″ opening near one of the side seams. Press.
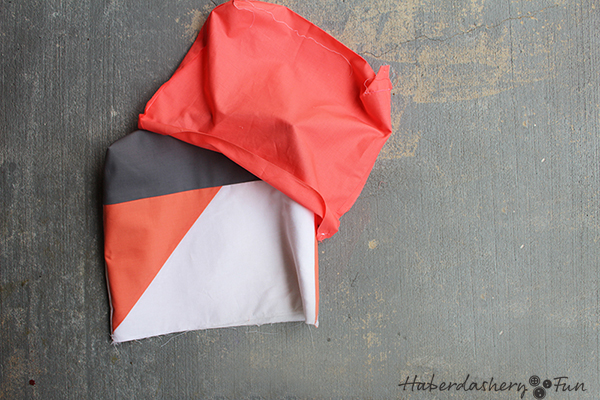
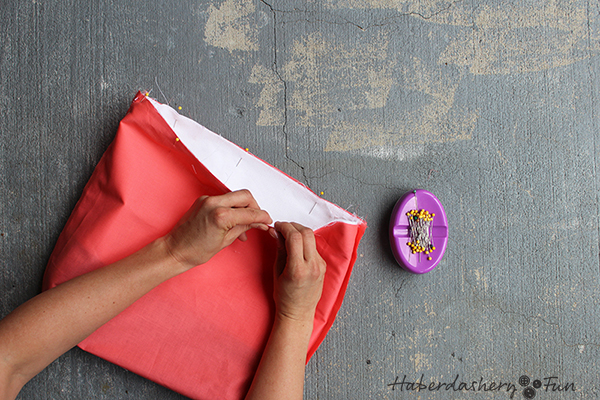
Step 10 – Turn bag right side out by pulling it though the opening. Wiggle all corners into place. Press along top edge. Pin the opening closed. Stitch 2 rows of topstitching around the top edge.

Step 11 – Lay the bag flat onto your work surface. Finger press the wrinkles out. Measure inwards 3″ from each side seam and 2″ down from the top seam. Pin each strap end in place, making sure to keep the folded end under. Stitch in place with an “X”. Repeat for the other 3 straps.
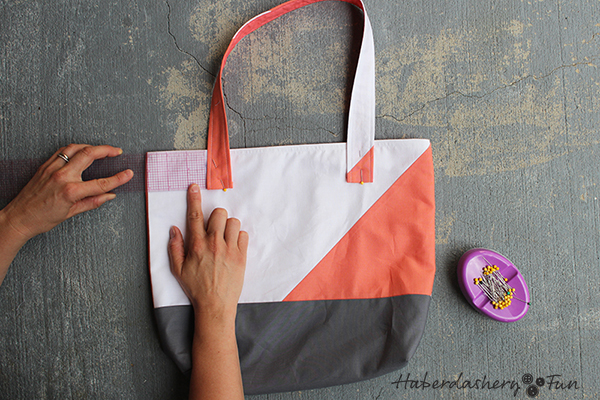
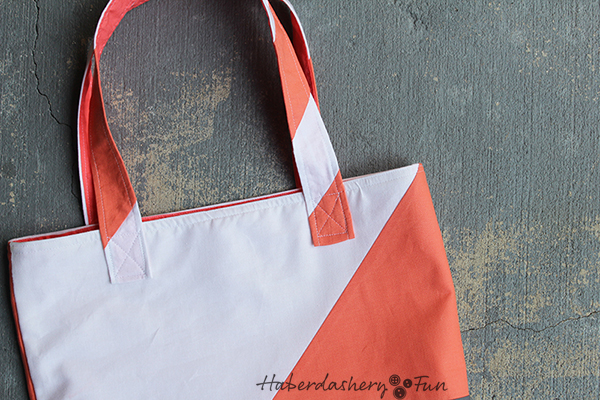
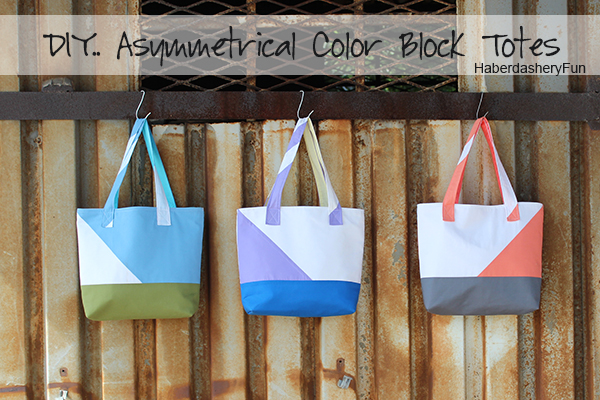
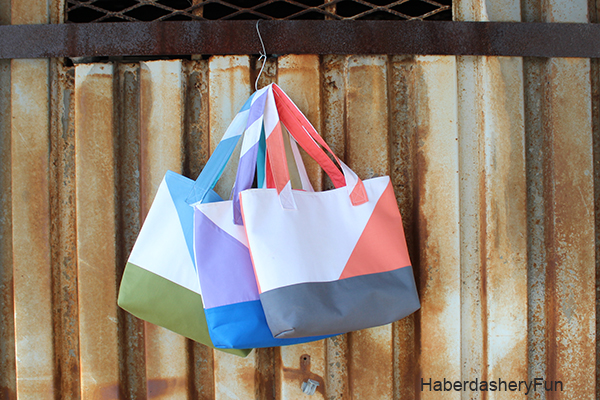
That’s it! What do you think? My husband loves the blue/green combo while I love the coral/grey. What color combos would you use?
If you would like to see more of my projects – Come on over and follow me on Pinterest, Twitter, Facebook and Instagram.


[…] has been updated and is no longer linked to the tutorial on Sew Mama Sew. It is linked to a new color block totes tutorial here on my […]