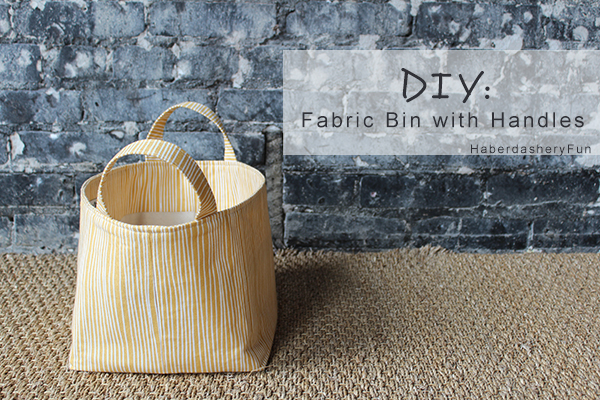
Alright! It’s time for another storage bin tutorial.
I know, I know.. Didn’t I just post a storage bin tutorial? Well, my “Glimma” canvas fabric from Lotta Jansdotter has been eye-balling me for MONTHS! I love sewing with canvas fabric and Lotta’s Glimma collection is the perfect weight for a storage bin. Plus, my best friend Karli is pregnant and I’ve wanted to make her something for her nursery.
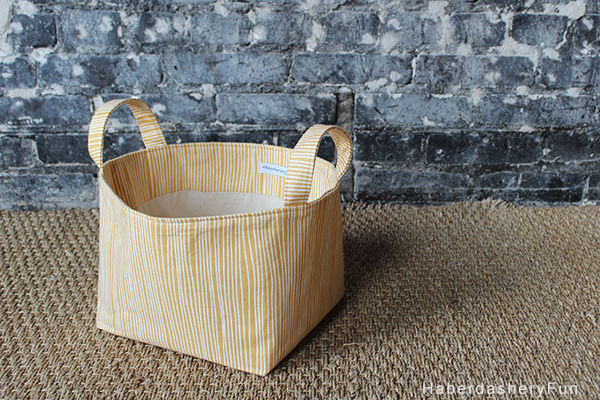
I used my seam ripper a tad too much on this project. My brain was somewhere else and I kept messing things up. As a result I stretched the seams and the top edge is wavy. Ugh. You can see it in this photo and it is driving me a little crazy..The recovering perfectionist in me says “Self.. Let it go”.. Lol. Don’t worry, the steps and tutorial work just fine.. It was my head that didn’t on this one.
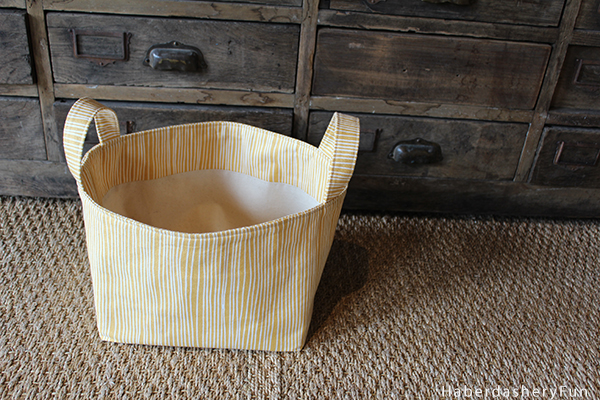
This bin is slightly different than my reversible bin from April – this one is larger and I’ve added a facing and handles.
The finished size is 10″L x 9″W x 8″H
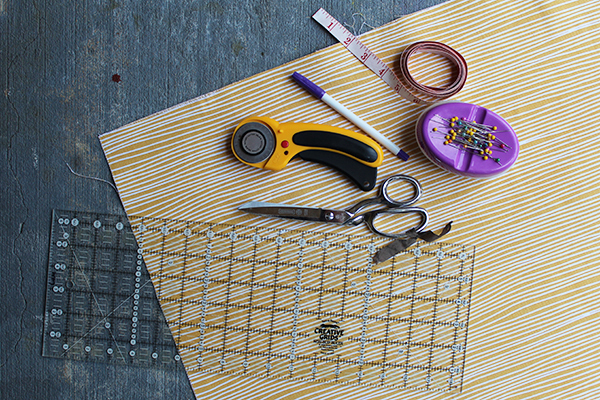
Materials Needed:
- Cotton Canvas for the outside – at least 1/2 yard
- Cotton Canvas for the lining – at least 1/2 yard
- Pellon Décor-Bond 809 – 1 yard
- Sewing machine and related supplies
- Rotary cutter, cutting mat, quilting rotary cutting ruler
- Disappearing fabric ink pen
- Iron and ironing board
Before we get started, you will need to complete the following:
- Cut your fabric – From the outside fabric: cut 1 rectangle measuring 26″L x 20″W, 2 rectangles measuring 4″L x 20″W [facing] and 1 rectangle measuring 3″L x 20″W [straps]. From the inside fabric cut a1 rectangle measuring 19″L x 20″W. Cut 1 rectangle measuring 26″L x 20″W from the Pellon Décor-Bond 809.
- Fuse the Décor-Bond to the wrong side of the outside fabric. Note: depending on the weight of the fabric – you can also use interfacing on the facing pieces and/or lining.
Let’s get sewing:
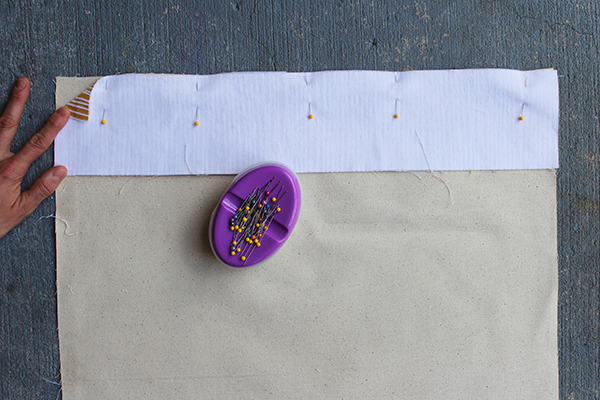
Step 1 – Place the lining piece right side up on your work surface. Pin each rectangle measuring 4″L x 20″W to each end [ pin right side facing down]. Place into your sewing machine and stitch down with a 1/2″ seam allowance.
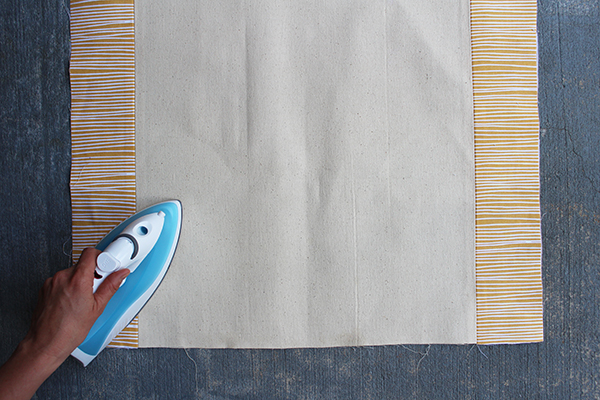
Step 2 – Press the seams while closed. Open and press again. The rectangle should now be the same size at the outside fabric rectangle.
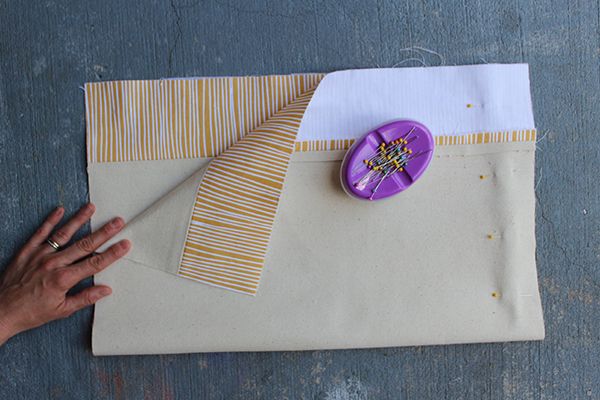
Step 3 – Keep the lining on your work surface. Fold the rectangle in half, and it should now measure 13″L x 20″W.” Pin along sides if needed. Make sure the facing seams match up. Place into your sewing machine and stitch with a 1/2″ seam allowance. Press. Repeat for the outside fabric – fold, pin, sew.
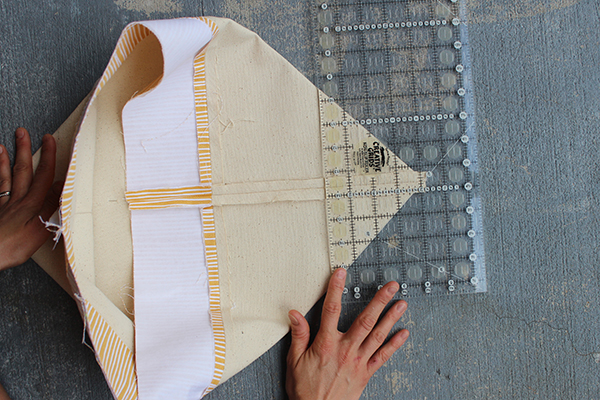
Step 4 – Sew those boxed corners! Start with the main fabric. Wiggle the fabric around so that the side seams are facing upwards. Stack the side seams. Make a point and also make sure that the sides sit at a 45 degree angle. Finger press any wrinkles out. Measure 3 1/2″ upwards from the tip and mark a dashed line with a disappearing ink pen. Pin. Place into sewing machine and stitch following the dashed line. Backstitch. Repeat for the other side and again for the outside fabric.
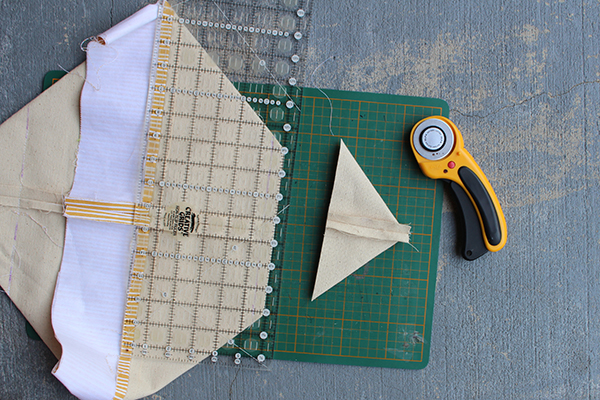
Step 5 – Place the quilting ruler onto the corner. Lay the ruler so you have a 1/2″ seam allowance. Cut along the ruler edge using a rotary cutter [ you will cut the tip off]. Repeat for the other side and again for the outside fabric.

Step 6 – Sew your staps.. I’ve made plenty of straps here on my blog.. Check out my super duper easy tutorial here.

Step 7 – Play around with your straps and decide on the length. I ended up having 10″ straps. Cut the strap down to the size desired. You will need 2 straps. Remember to leave 1/2″ at EACH end for the seam allowance.
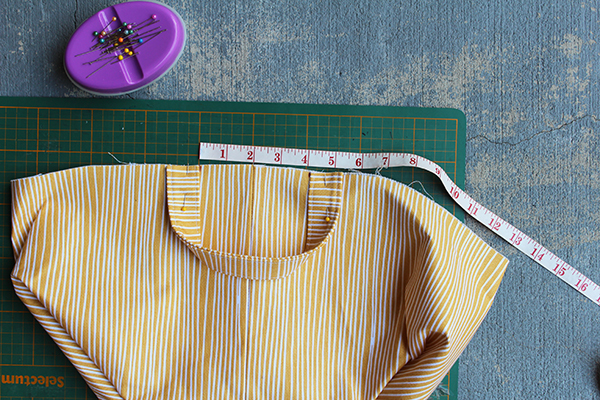
Step 8 – Place the outside bin on your work surface. The side seam needs to be facing up. Measure 2″ out from the side seam and pin the strap end in place. Measure 2″ out again and place the other end of the strap. Raw edges match raw edges. The strap will hang INSIDE the bin. Repeat and pin the strap at the other side.
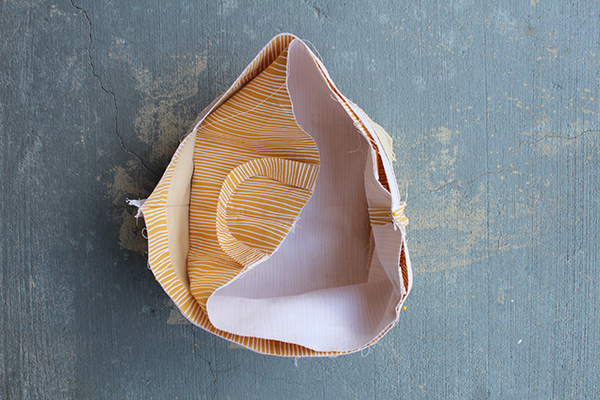
Step 9 – Turn the project so they sit as bins. The outside bin is facing right side out and the lining bin is facing right side in. Place the outside bin into the lining bin. Wiggle all the corners into place. Also make sure the side seams match up. Pin around the top edge. Place into the sewing machine and stitch together with a 1/2″ seam allowance. Leave a 4″ opening near a side seam. Press with an iron.
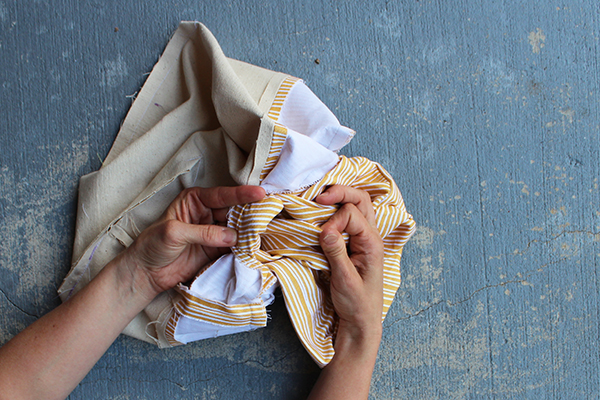

Step 10 – Gently pull the bin through the 4″ opening. Yes, it will look pretty ugly. That’s ok, you are going to press the wrinkles out.
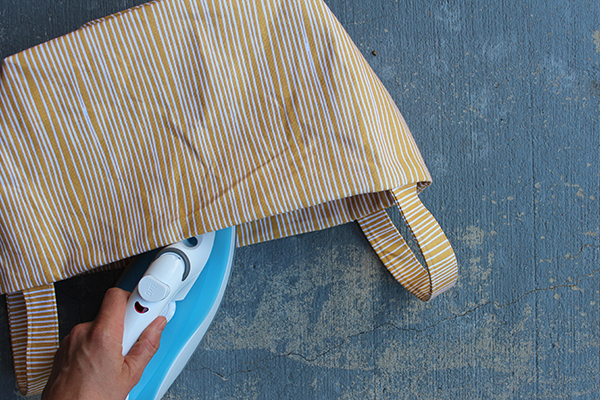
Step 11 – Wiggle the fabric into place. Roll down top edge to sit into place and make sure all corners match. Press along top edge with an iron, turn the 4″ opening seam allowance under. Press in place. Pin if needed. Place into the sewing machine and edgestitch along the entire top edge. Press the bin with an iron.
Well, that’s it! Super easy right? Want to see other storage bin tutorials? My reversible bin was way more popular than I thought it would be. You can check it out here. A smaller version is also available here.
Happy Sewing.


As soon as I saw the preview picture my brain said, “Oooohhh!” Amazing!
Thanks Ann. Hope you have a great weekend.
Love it!! What are the finished dimensions of this bin?
Can’t wait to make one!
Hi – I’ve been meaning to add the dimensions, thanks for the reminder… I will add it to the post now. The finished size is 10″L x 9″W x 8″H.
Beautiful job! I can always use another bag!! And with such gorgeous fabrics now-a-days, this would be so fun! Would love for you to share it please at our link party, on my blog. It looks fabulous!
Hi – Thanks for the kind comments. I would love to share the tutorial on your link party. When is it?
Congrats! I picked this lovely fabric basket as a feature at our Link it or Lump it party. Please stop by and grab a feature button.
http://www.delineateyourdwelling.com/2014/06/link-it-or-lump-it-party-number-44.html
LOVE this tote for travel and next to the couch for throw blankets! Would you join us at Awesome Things Tuesday linky? http://www.satsumadesigns.com/naturalmakermom/awesome-things-tuesday-linky-party-4/ Thanks so much! best, jen
Thanks for stopping by. I would love to join!! I’ll head over right now.
I love this! And I adore the fabric you used! Thanks for sharing! Found you on The DIY Showoff link up =)
Thank you for the tutorial!!
Love this! I need to make a bin that is 18×12–do you think I’d be able to mess around with it and size it up? Or is that going to be too big?
Hi Rachel,
Sorry for the delay in getting back to you. I just had a baby and some complications… so I am a tad behind in things. All is well now 🙂
You can definitely size up the pattern [ even size down for small stuff]. When I’m making a new pattern and testing out whether the design works, I don’t use fabric [especially the real fabric]. I first test the design on paper, newspaper or even paper towel. Cut out the size you want, remember to add seam allowances and then use pins instead of stitching/sewing.. You can then see if the dimensions work or if you need to alter something. You don’t waste fabric this way :). Once you have the size you want, transfer it to a paper pattern or your fabric. Remember to write down the measurements for future use! 🙂
Hope this helps. Let me know how it goes. If you share on social media, please tag me, use #haberdasheryfun or let me know.. I LOVE seeing everyone’s projects. Thanks so much – Marni
I just can’t get enough of all these fun projects. I’m addicted to your website now. haha. this is such a great gift for a baby shower that all moms can use, especially for changing the baby! I am totally pulling out the sewing machine and making a couple of these! thanks for the amazing ideas!!
Hi Elaina,
Thank you so much! I appreciate the kind words 🙂
Marni
I love all the storage bins and trays you show here. I am totally new to sewing….so what would you recommend for a starter project? Any size. I just want to make something nice.
Hi Carolyn,
Thanks for stopping by. I suggest the following…
The easiest tote bag around. I offer a free PDF pattern with this tutorial:
https://haberdasheryfun.com/diy-projects/the-easiest-tote-bag-around
Reversible fabric bin. Everyone loves a storage bin. This is easy and reversible:
https://haberdasheryfun.com/fabric/diy-reversible-fabric-storage-bin
A smaller option for a very similar storage bin. This tutorial is one of my firsts on the blog, but the size is perfect. I would add SF 101 interfacing to both lining fabric and outside fabric:
https://haberdasheryfun.com/diy-projects/diy-easy-fabric-storage-bin
Let me know how it goes:
Marni
Hi! I made a basket with your tutorial. this is the perfect size for my baby’s toys. thanks a lot!!!!!
Thanks for letting me know. They look great!