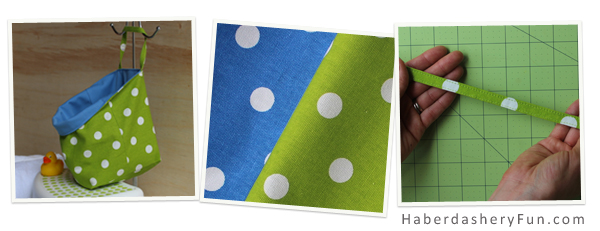
I posted my bath tote earlier this week. What a great home for all those rubber duckies! So far we have used this little bag almost every night. It has been fun making a game out of cleaning up the bath toys. It was super easy to sew, if you want to check it out, you can see the tutorial here.
I showed the sewing steps for the bag. To finish the straps, I sent everyone over to a strap tutorial I posted a few months ago. I had the images from when I was making the bag, so I thought why not share an updated and easy strap tutorial.
Materials Needed:
- Fabric
- Quilting ruler
- Rotary cutter – Fiskars or Olfa brand
- Cutting mat
- Sewing supplies – thread, pins and sewing machine
- Iron and ironing board
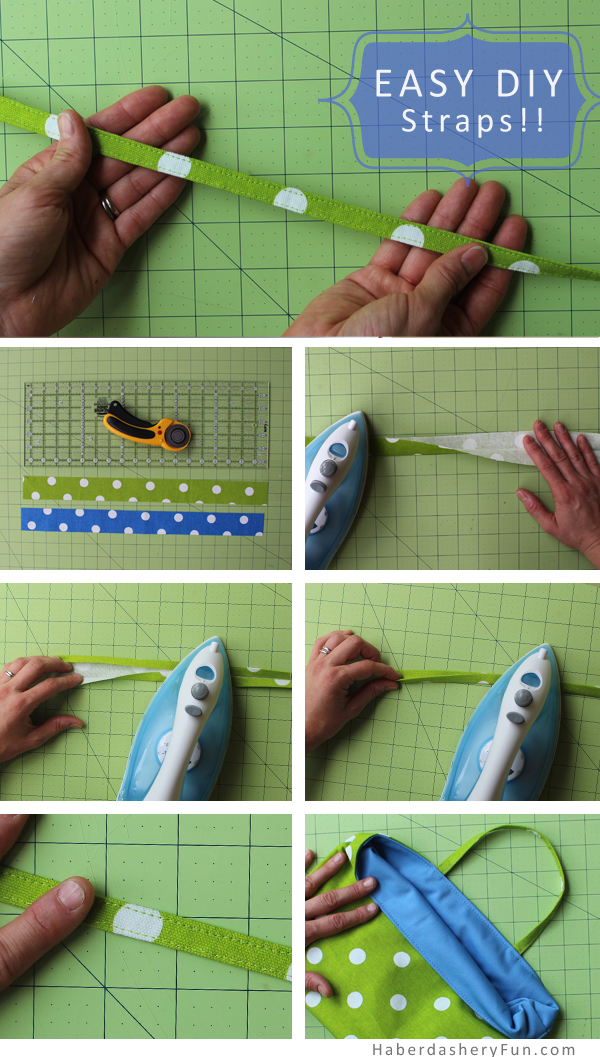
- Cut your fabric into 2 long pieces – you can cut your fabric really fast when you use a rotary cutter. For this project, my straps where skinny – 1 3/4″W x 10″L
- Fold the fabric in half along the length and press with your iron
- Fold again – this time fold each side towards the center seam. Press again
- Fold again along the initial fold. Press the fold. Your strap is almost complete
- Place the strap into your sewing machine and edgestitch along each side
- Now you can add to you to your handbag, storage bin, etc. Pin and sew into place
Have a great long weekend! Into the month of September we go..


[…] iron. This will clean finish the edges. While you are ironing, develop your strap. Check out here for my easy strap making […]