Hello Santa..! This is my favorite this time of year. I love setting up the tree, decorating the house, buying gifts and wrapping the presents.
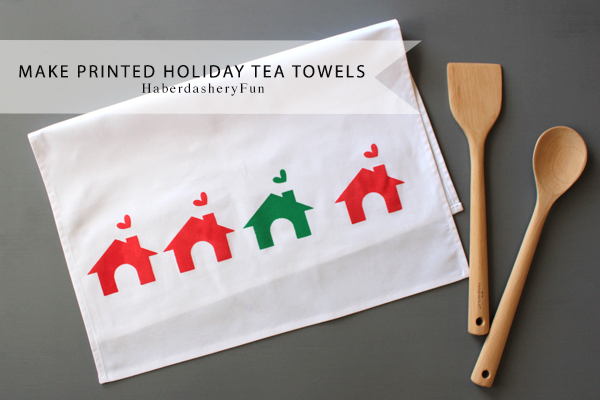
I’ve wanted to make tea towels forever! With Christmas just a few weeks away, it was the perfect time to whip up a few holiday inspired towels. Not only are these an easy project, but a great way to add pop and personalization to your kitchen.
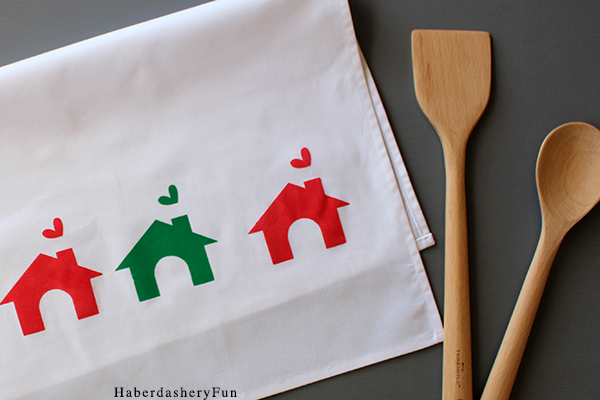
I love my Silhouette Cameo, but don’t use it as often as I would like. Making printed tea towels was a great opportunity to pull it out and get creative! Isn’t the little house adorable? The minute I saw this design in the Silhouette Design store, I knew I had to buy it. It’s a bundle of 3 designs and was created by Karla Dudley. I love that it isn’t particularly a “holiday” image… You can use the house design year round. Add the colors green and red and it changes everything.
Great news! A bunch of Silhouette bloggers got together and are hosting a GIVEAWAY!! We are giving away 3 prizes – a Silhouette Cameo, a Silhouette Mint Custom Stamp Maker and an Amazon Gift Card to 3 lucky winners! The contest runs today through December 21st, 11:59 EST. Scroll below to enter and see all the details.
Back to making the tea towels, materials needed:
- Cotton or linen fabric
- Rotary cutter, ruler and mat
- Sewing machine and supplies
- Silhouette machine and supplies or another cutting machine
- Freezer paper, fabric paint and sponge – Try Martha Stewart or the Tulip brand
- Iron and ironing board
- Craft paper
A few things to consider..
- Buy high quality cotton or linen fabric for your tea towels. Remember that you want the towels to last through many washings.
- Pre-wsh your fabric.
- Never used a rotary cutter? It’s the perfect time to try out my rotary cutter tutorial here.
- Want tips on using freezer paper and fabric paint? You can check out my tutorials here and here.
- For this tutorial, the towel corners aren’t mitered. Want an awesome sewing tutorial on mitered corners? Check out Purl Soho’s tutorial here.
Ok, lets get started:
Step 1 – Cut the fabric – Cut fabric into a large rectangle. I like using a rotary cutter because it gives an even and precise cut. For 1 tea towel – cut a rectangle measuring 19″W x 24″ L. Set aside.
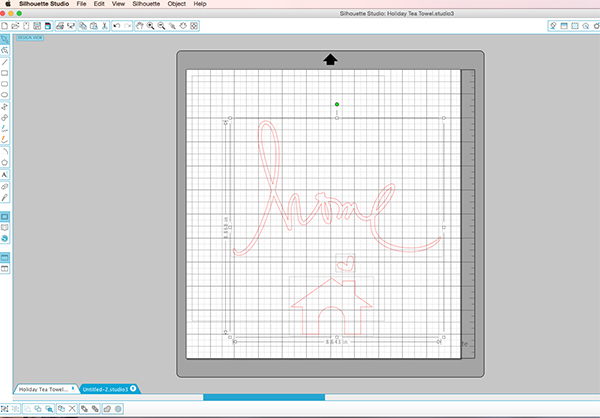
Step 2 – Design the towel – Open a new page in Silhouette Studio and pull up the desired design. If there are multiple images in the design [as in mine] and you only want to use one, ungroup the images, delete the unnecessary and keep only the image you are want. Adjust the size of the image for your tea towel and design. I wanted the house to run across the bottom portion of the towel, so I needed a row of houses. I played around with the size and then copied and pasted the design. Note – Remember the width of your tea towel. You want just the right amount of space at each side, plus between the houses.
Step 3 – Cut the freezer paper to the size of your mat and place onto the mat shiny side face down. Make sure there are no bubbles or creases in the freezer paper. Load the mat and send the file to cut. I’ve used a few settings, but find the following works the best: Vellum paper, blade of 3, speed of 3, thickness of 10. With freezer paper, I’ve tried blades of 1 and 2, faster speeds and more thickness, but those settings always seems to tear my freezer paper. Gently and slowly pull design away from the mat. Don’t rush this part!! Use the tools provided with your machine.
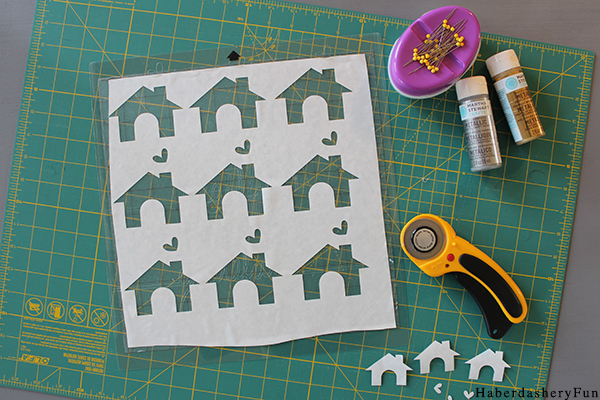
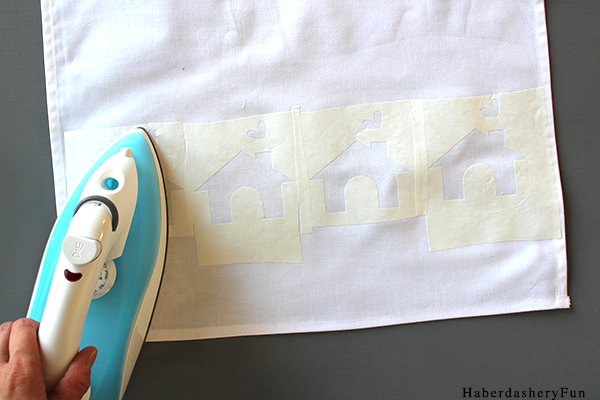
Step 4 – Trim the paper and houses and make a row. Measure from the sides and bottom and figure out your desired placement. Lay the freezer paper onto the fabric, shiny side down. Press with an iron. Don’t pull the freezer paper with your iron, gently lift and press. Make sure to press all corners into place, otherwise the paint will run. Note – Make a mistake and need more houses? Want to adjust the space between the houses..? That’s ok. Cut around the houses and place on towel accordingly. Cut little rectangular pieces of freezer paper to fill in the gaps. See the image below for reference.
Step 5 – Paint towel – Squirt a small amount of fabric paint onto a plate, place the sponge into the ink and gently dab onto the fabric surface. Do not “pull” the sponge around, just dab lightly. Do not goop, if you think you are gooping the fabric paint.. you probably are. While the fabric paint is still wet, gently pull the freezer paper away from the fabric. Set aside to dry.
Step 6 – Finish the towel – pull out your iron and sewing machine. Place towel right side down. Start at the long sides, turn and fold 1/4″. Press with an iron. Repeat and turn and fold another 1/4″. Pin. Place into your sewing machine and edgestitch down. Trim threads. Repeat and turn and fold on the short sides, turn and fold again. Pin, then place back into into your sewing machine and edgestitch again. Remember to backstitch.
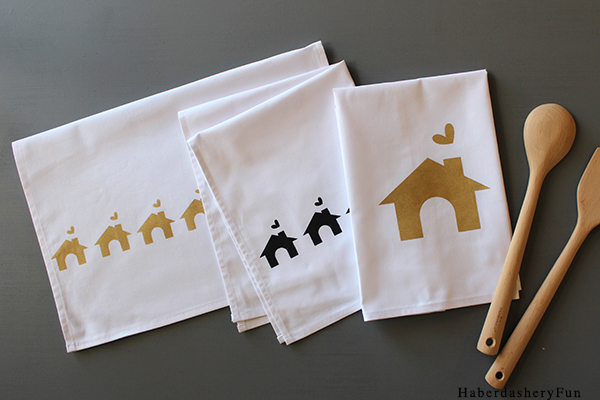
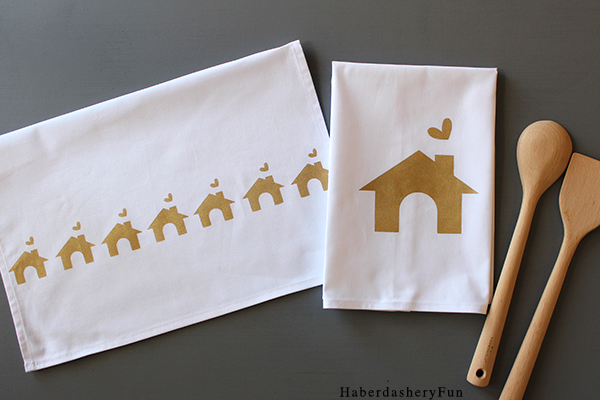
These towels were so cute that I had to make more, many more.. I changed the size and made the houses smaller and also created one large house. Love!
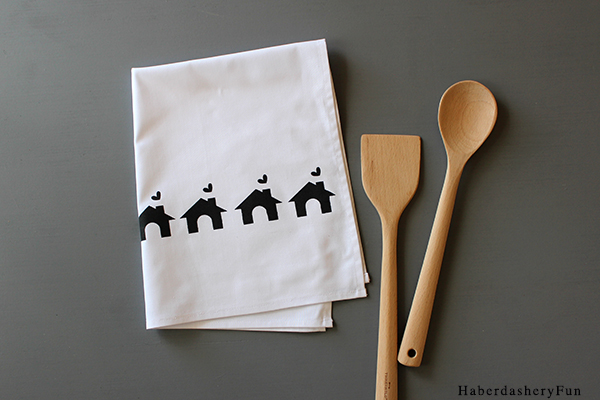
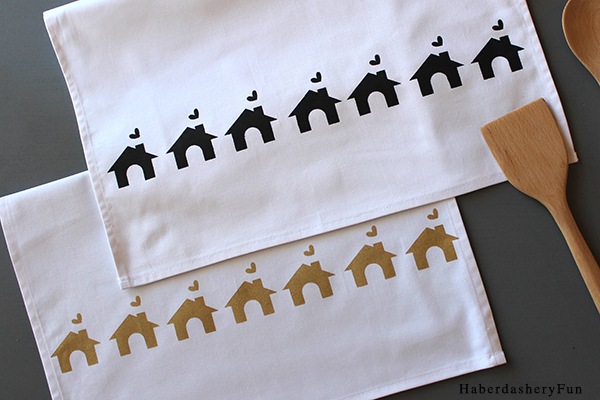
How about the color black for a modern approach? And gold, doesn’t the gold look elegant? I wasn’t sure how I would feel about a metallic, but the gold looks pretty great to me. Now I should make silver ones.. With the 2 house sizes as a set, wouldn’t this make a great hostess or housewarming gift?
Here are the Silhouette house dimensions I used.. Let me know if you have any questions.
- Small house – makes 7 houses across – 2.01″ H x 2.08″ L
- Medium house – makes 4 houses across – 3.25″ H x 3.37″ L
- Large house – makes 1 large house – 5.31″ H x 5.50″ L
Want to check out more projects? My Silhouette Challenge buddies and I are all sharing projects on our blogs today. This is an amazing collection of Silhouette tutorials, so peruse the projects below for a wealth of Silhouette inspiration! 
1. Beauty in the Mess // 2. JustTyra // 3. Dream a Little Bigger // 4. Simply Kelly Designs // 5. The Stamp Doc // 6. From Wine to Whine // 7. TheKimSixFix // 8. unOriginal Mom // 9. HaberdasheryFun // 10. Tastefully Frugal // 11. Sisters, What! // 12. Small Stuff Counts // 13. Where The Smiles Have Been // 14. Whatcha Workin’ On? // 15. Designed Decor // 16. Architecture of a Mom // 17. Decor Adventures // 18. Create & Babble // 19. Tori Grant Designs // 20. Tried & True // 21. The Thinking Closet // 22. Creative Ramblings // 23. Get Silvered // 24. McCall Manor // 25. Cutesy Crafts // 26. Ginger Snap Crafts // 27. My Favorite Finds // 28. Cupcakes&Crowbars // 29. Pineapples & Pinecones // 30. The Crafting Nook // 31. It Happens in a Blink // 32. Alayna’s Creations
And I’ve saved the best for last. My Silhouette Challenge buddies and I in partnership with Silhouette America are hosting a mega-huge giveaway for not one, not two…but three winners! The prizes up for grabs?
- First prize: Silhouette Cameo Machine & +50 bonus designs. $349.49 value.
- Second prize: Silhouette Mint Custom Stamp Maker. $129.99 value.
- Third prize: $50 Amazon Gift Card to put toward Silhouette supplies…or whatever is on your wish list!
Sweet, huh? To enter: just complete the entries in the Rafflecopter widget below or at this link. Because of my many blog friends who helped make this giveaway possible, you have 36 potential entries, which means a lot of winning power. So, hurry up and enter! {This giveaway runs from today through Monday, December 21st at 11:59p eastern and is open to anyone 18 years of age or older with a U.S. or Canada mailing address. You can read the rest of the terms and conditions in the widget below.} a Rafflecopter giveaway






Love all the versions in the various colours. Great project and you get such beautiful crisp lines with the freezer paper stenciling which I love.
Thanks Pam. I agree about freezer paper and crips lines.. Just LOVE using the stuff!! Your project was great by the way!! It has been really great to see all the projects and what an awesome giveaway!
Wow! I’ve always wanted to make tea towels but was too intimidated to try it. Thanks for all the tips too, it makes such a difference for a person like me who wants to be crafty, but isn’t yet!
Hey Beth,
Thanks for stopping by and leaving a comment. You’ll have so much fun making these.. I planned on giving a few towels as gifts, but might keep all them for myself! Sewing the printing these is super easy to do. I promise 🙂 – Marni
Oh, Marni! These are the cutest things. I LOVE THEM!
These will make amazing gifts! LOVE them! Thanks for the tutorial and idea 🙂
Thanks Helen, Your comment totally made my day..! You’ll have a lot of fun making these 🙂 – Marni
Wow, don’t you have a video channel?
Shooting videos for stuff u do and making video channel will be great idea, don’t you think that?
Nice work,
These are some great ideas for the upcoming holidays! I love using my Silhouette cameo to create homemade holiday items – great ideas!