I’ve had a lot of readers reach out and email about my freezer paper projects.. I love working with paint, fabric and freezer paper. I love it so much, that printing on fabric may be one of my favorite things to do.
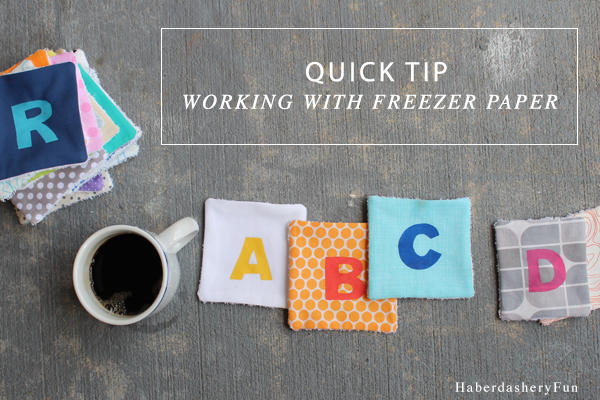
I thought I would write a quite post on printing on fabric and my freezer paper techniques.
I love working with fabric paint and freezer paper. Not only is it fun to work with, but it’s a quick way to bring your designs to life.
For many years I used an X-Acto knife and cut my own designs. Time consuming and tedious! Then I found out about the Silhouette machine and it changed my life. I hinted and hinted about getting a Cameo as a gift and finally received one last Christmas. If you are on social media and have seen what this machine can do, I’m sure you feel the same way.

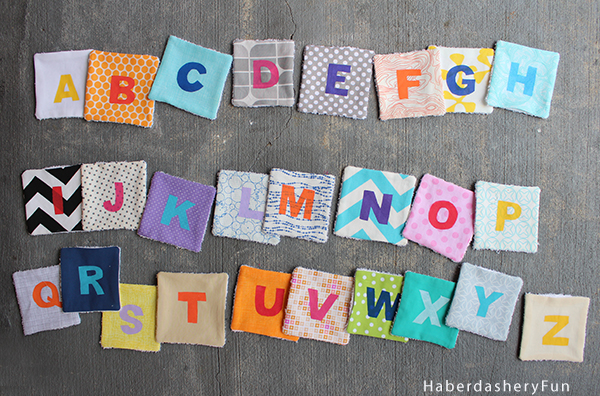
I made these adorable alphabet coasters that spell my son’s name. Our poor coffee table was getting rings from spills and I thought it would also be a great way to help our young son learn his ABC’s. They are made from 5″ x 5″ fabric squares. The front is from fabric scraps and the back is terry towel. A quick project you can take on in one afternoon.
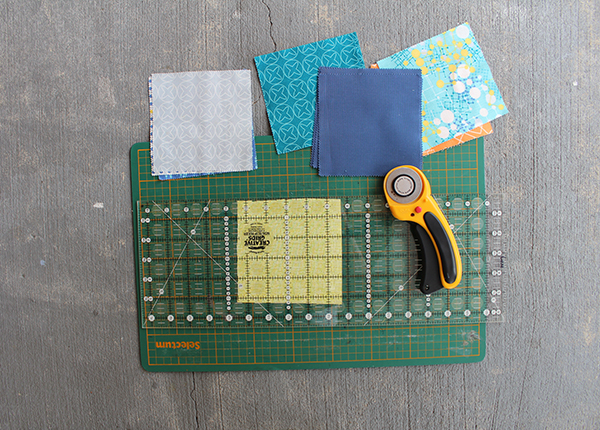
Place 1 fabric square and 1 terry cloth square together. The fabric is right side facing down. Pin if needed. Place into your sewing machine and stitch together with a 1/2″ seam allowance. Remember to leave a small 1″ opening at one side.
When printing on your fabric, there is ONE rule to remember. This is a mistake I’ve made way too many times and I’d like to pass along.

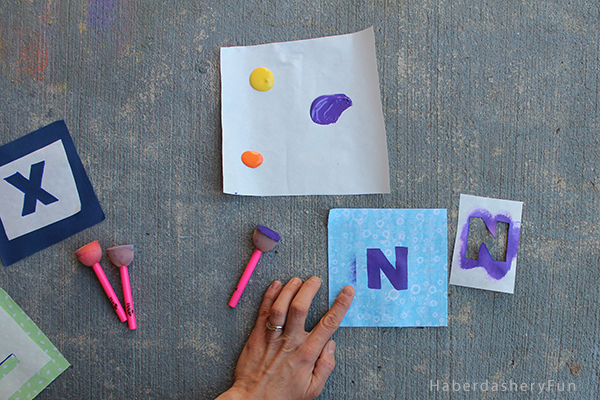
Make sure to leave extra freezer paper and/or space around your cut out designs.. Otherwise, when you dab the fabric paint onto the freezer paper you may accidently run off the paper and sponge the paint onto your fabric.. This can be very frustrating, as it most likely won’t come off and the project could be ruined. It’s even more aggravating if you have already sewn the item together.. Or have a limited amount of time, supplies or material.
Here are a few things to also consider..
- Have an extra box of freezer paper on hand. I’ve found many smaller grocery stores don’t stock Reynolds freezer paper. If you are in a jam and need more, the last thing you want to be doing is running around town wasting time.
- Try different brands of fabric paint and buy extra colors when they are on sale.
- Test on your fabric first. Fabric reacts differently! I have found canvas to be hardier to print on than cotton. Tshirts and onesies have stretch.. So test the fabric and your hand/technique until you have a feel for it.
- Don’t goop your paint! It may seem like you need a lot of fabric paint, but you don’t.. Try dabbing a slight amount onto the opening the first go round. Note the word “dab”. It’s best to dab, so you don’t pull at the freezer paper edges.
- Buy an extra blade and mat for your Silhouette machine. You never know when your blade is going to become dull. You may be in a time crunch and need the project finished asap.. The extra mat will help if you are making multiples and will save you time and energy.
- Cut the freezer paper close to the size of the mat. It’s better to give yourself extra room than have not enough paper for the image and fabric paint.
- If your Silhouette machine isn’t making clean cuts and is pulling or tearing the freezer paper, you most likely need a new blade. Here is where the second blade comes in handy.
- Watch for sales at the Silhouette website.. Sales are a great way to stock up and try new goodies!
So that’s my list of do’s and my one big don’t.
On to other designs I’ve made…
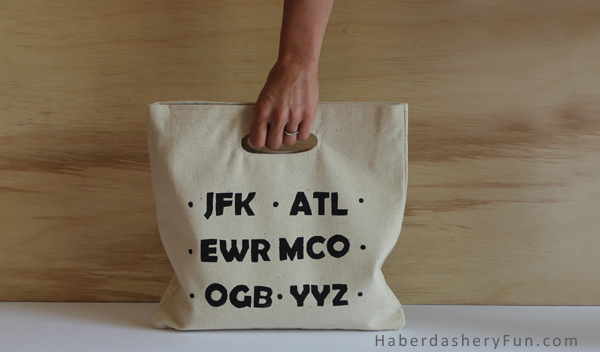
I love this bag. I travel a lot for my job and travelled to these 6 cities in a very short period of time. I though it would be fun to add the codes to a bag. Can anyone figure them all out? I share how to make the bag here.
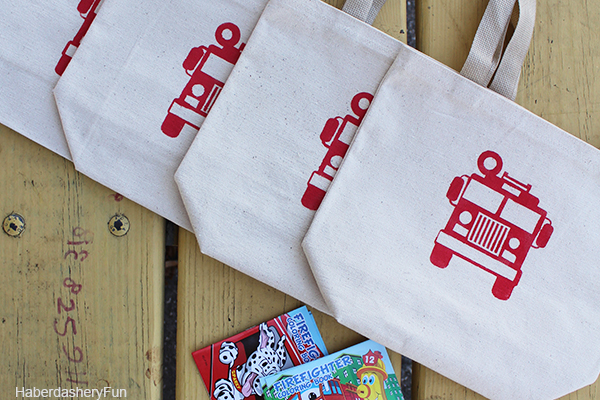
I can’t believe it, but my son turned 3 a few weeks ago. I made these cute totes as goodie bags to hold the giveaway stuff – fire truck hat, coloring book and stickers! I had canvas bags in our garage from a previous project and my husband was bugging my to get rid of them. This was a perfect opportunity to use my home-made stash and make cute totes!
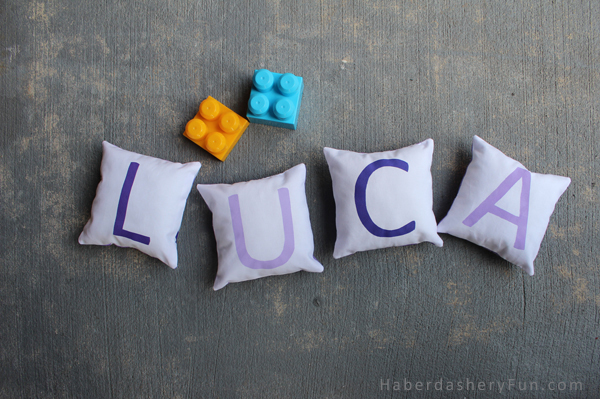
These were for my friend Paula and her daughter Luca. I love anything miniature and wanted to make small pillows for a little girl. I love the different shades of purple, don’t you?
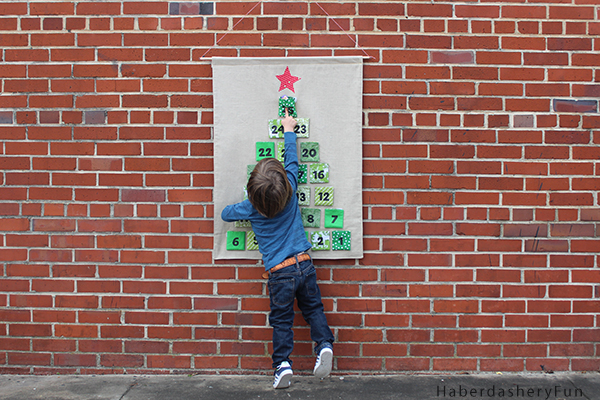
Gosh, I loved this project. This picture captures it all. Not only was it was a blast to make, but my husband and I had a lot of fun thinking of little goodies for our son to find every morning. We can’t wait to pull this out next year.
Hello Cali Girls Trip Swag Bag:
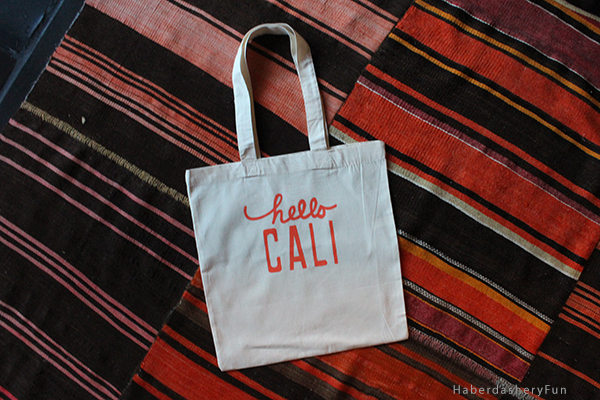
I’m a sucker for punishment.. I decided to give away swag bags for our yearly girls trip. I had to make a lot of them in a time crunch. Of course, I waited until the last minute to start the project. But I sure had fun giving them out. We have another girls trip coming up in March and I’m already planning to make them printed pouches! Dream big, right?
That’s it. Do you have a special event coming up and need a present? How about a baby shower, hostess gift or party goodie bag? I strongly suggest you go out and buy an Silhouette and get printing today.


I love the airport codes and the firetruck bags!! Everything here is sooo adorable! You need a store because I want to buy everything you make! Seriously.
Thanks Trish. That was a fun one to make 🙂
The coasters are awesome and great idea! Thanks for the inspiration.
Marni…I have to tell you that I just love your stuff. The problem is that I want one of everything!! The advent calendar, the little pillows, the alphabet coasters…all so cute and I know my daughter would love them too! Thank you for sharing! Please keep ’em coming! Your instructions and designs are just so fabulous and helpful. I’m always excited to see what you post next. Cheers!
Agh.. Thanks Karli! I appreciate your stopping by and leaving a comment. Have a great weekend.
Gosh these are cute. I’ve wanted a Silhouette for quite some time. My birthday is coming up. Maybe I’ll ask for one. The totes you made are super cute
So many cute ideas! I have a question. I want to Make a swag bag for my bridesmaids and I see some sites do it with iron on vinyl and you with fabric paint. What would be the difference? Any pros or cons by choosing one over the other? Thank you for your help!
Hi Dominique,
Vinyl and paint are both great -it depends on the end look you want. Vinyl is great for words and is very precise. Fabric paint is less precise and has a more unique look. With vinyl you would need a cutting machine like a Silhouette or Cricut.. Fabric paint, you could use freezer paper and don’t need a special machine.. Fabric paint can bleed a little.
Here are a few pouch tutorials of mine, so you can see the difference between vinyl and fabric paint:
HEAT TRANSFER VINYL [HTV]:
https://haberdasheryfun.com/diy-projects/make-fun-canvas-pencil-cases
https://haberdasheryfun.com/bags-and-pouches/sew-a-large-canvas-zipper-beach-pouch
FABRIC PAINT:
https://haberdasheryfun.com/diy-projects/make-a-half-moon-printed-pouch
https://haberdasheryfun.com/diy-projects/print-your-own-fabric-for-sewing-a-pouch
Let me know how it goes 🙂
Marni