Send your kids off to school in style.. Make them pencil cases showcasing their favorite words.
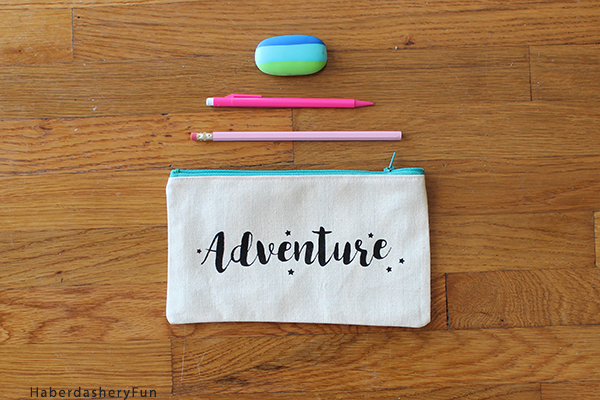
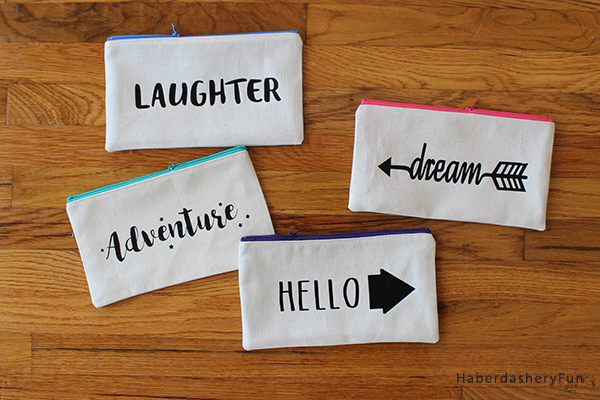
September means school supplies. I always loved this time of year, especially buying new school supplies. I would line all my goodies up in anticipation for the big day. I loved the newness of it all. I even loved going back to school. I’m not kidding..
So, why not make your kids super special pencil cases this year..? Have them select a word or phrase and then create the project together. The Silhouette Design Store has tons of fun designs to pick from. What a unique way to start the school season AND a great way to keep the little ones inspired throughout the year! I promise it’s super easy.
Stay tuned.. There’s a giveaway!
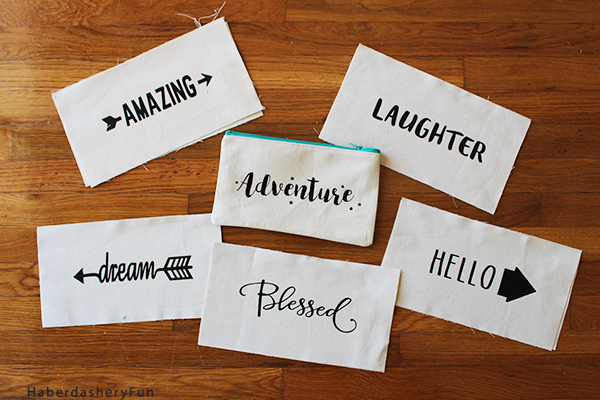
I asked a bunch of my Mom friends for words and they came up with a great list – laughter, dream, adventure, love, blessed, amazing, hello, happy.. My friend Trish came up with a more unique list, in the spirit of her 3 boys – yuck, crash, boom, pow, fart. Even f**k… Lol.
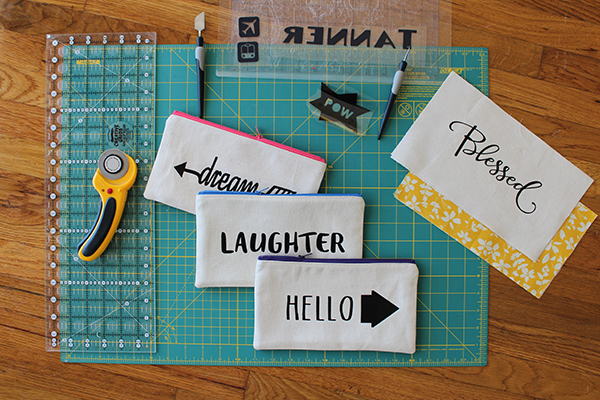
Materials needed:
- Cotton canvas for the outside
- Cotton fabric for the lining
- Colorful zipper
- Heat Transfer Vinyl
- Sewing supplies and sewing machine
- Olfa rotary cutter, quilting ruler and mat
- Silhouette machine
- Iron and ironing board

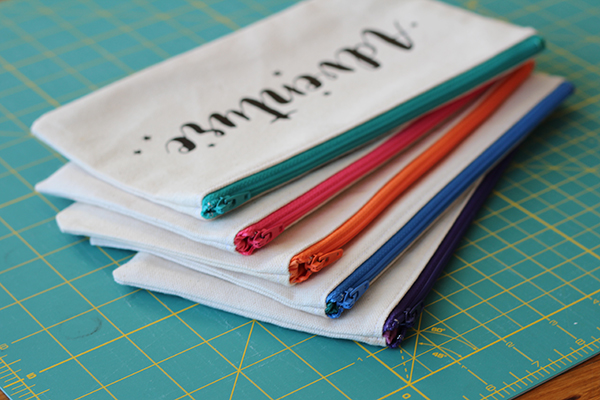
Here is the quick and easy on how to make your “word” pencil pouch..
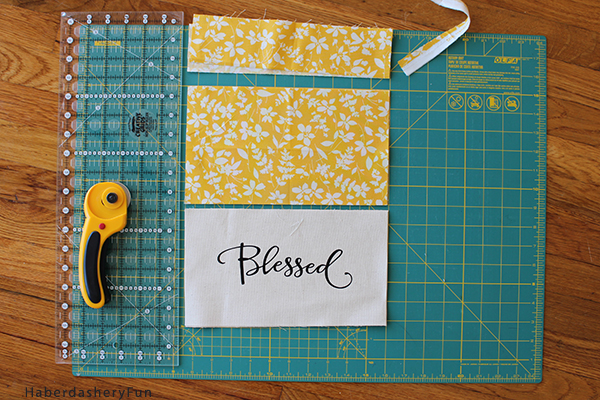
- Cut your cotton canvas and cotton fabric – cut 2 pieces of each 10-1/2″ x 6″.
- Use a rotary cutter to cut the rectangles, it makes such precise cuts and sewing the pencil cases will be a breeze.
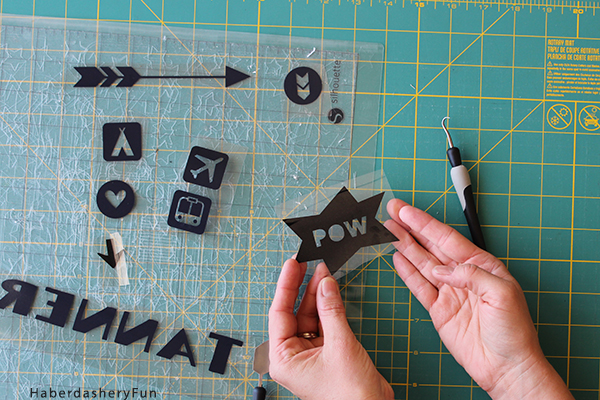
- Create your designs in Silhouette Studio – I made each word 7″ long and then set them all up on 1 page.
- Place the HTV plastic side facing down on the cutting mat.
- Do a test cut and mirror the words.
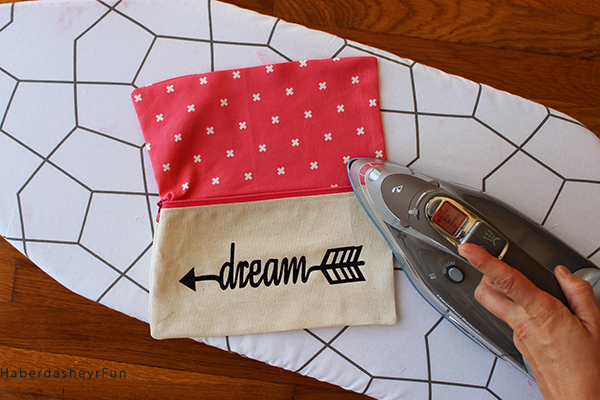
- Send to cut. Weed the designs. Press each word onto the fabric rectangle. Don’t wiggle the iron around.
- Sew into a pouch. Need help with sewing the pouch? I have a thing for sewing pouches and have a bunch of tutorials to get you started. Try this tutorial, this one. I love this one for half moon zipper pouches.
- Create a production line if you plan on sewing a bunch of pouches. I also decided to not use zipper tabs for these pouches, which saved a bunch of time.
- Press along the way. Pressing your seams always adds quality and workmanship to your sewing projects.
Now on to the fun part.. Want to check out more Silhouette Projects? My Silhouette Challenge buddies and I are all sharing projects on our blogs today, so peruse the projects below for a wealth of Silhouette inspiration!
1. Small Stuff Counts // 2. Two Purple Couches // 3. The Thinking Closet // 4. Practically Functional // 5. Creative Ramblings // 6. Ginger Snap Crafts // 7. Where The Smiles Have Been // 8. Sisters, What! // 9. Create & Babble // 10. HaberdasheryFun // 11. Curly Crafty Mom // 12. unOriginal Mom


I LOVE these! They are so simple, but so perfect! I don’t have kids but I would totally make these for myself 🙂
Thank you Emily. Love the pillow you made!
This is a great idea. Thanks for sharing.
Oh my goodness, I love how simple yet attractive these are! These would make perfect little back to school gifts, too!
Carrie
curlycraftymom.com
Oh love this pencil pouches!!! Thanks for the tutorial!
Very clean and practical too! One thing I regret is never learning how to sew. I would certainly make some of these if I could though! Bet they would sell well, and they would certainly be great given as gifts! Thanks for sharing!
Love these! I can think of so many uses. I’m busy learning how to use my new Silhouette Cameo (purchased with my gift card – THANK YOU!) and now I have one more project to try! Looking forward to trying this with my girls.
Thank you Linda! These are perfect for a first time Silhouette user.. Have fun – Marni