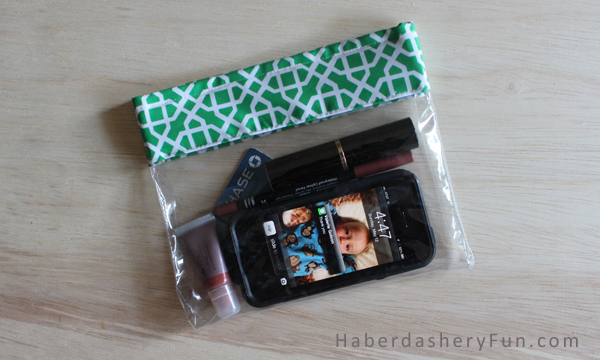
My friend Sue uses a zip lock bag as a clutch when she goes out. It holds all her stuff – phone, cards, lipgloss.. Everyone gets a real kick out of it. When a few friends were recently out with her, they took pictures of her holding the ziplock and texted me saying.. Look someone else uses a zip lock like YOU DO!! Sadly, this is true.
While shopping in Knoxville, TN last month, I stumbled upon super cute clear vinyl pouches. They came in a few sizes and I could visualize all the uses… It made me think of my friend Sue. I knew right away that I wanted to attempt to make one for her.
You will have to make the pattern. Don’t worry, it is just a few straight lines..
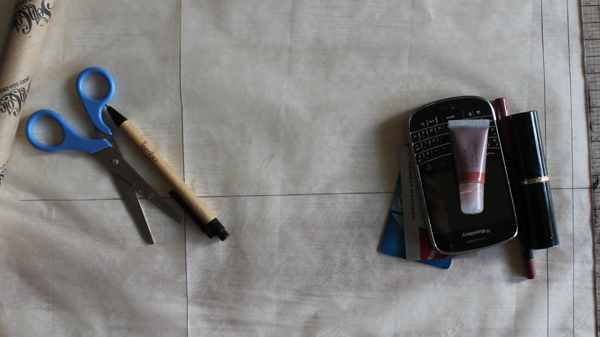
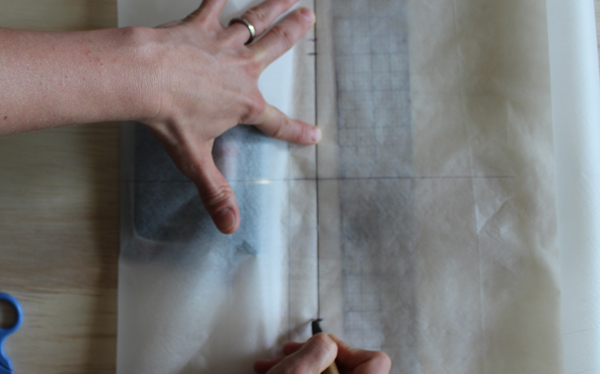
I wanted the pouch to be small enough to fit in a jacket pocket, yet still carry the “essentials”. To get the right size little pouch, I traced off a 2 lines – the top of the bag and a perpendicular line to keep everything square. I then placed everything on top of the drafting paper – cell phone, credit cards and make up.
I pulled the paper over everything and made a few marks. I wanted to get the length and width of the pouch.
I came up with the following pattern pieces and measurements:
- Main pouch- to be cut in clear vinyl – 13.5″ x 9″
- Facing – to be cut in colorful laminated fabric – 2.5″ x 9″
- Facing backing – to be cut in cotton canvas – 2″ x 8.5″ [ This gives the laminated fabric some strength]
Note – these measurements include seam allowances
Materials needed:
- Clear vinyl – either a 12 or 16 gauge
- Clear or regular thread
- Laminated fabric
- Cotton duck
- Velcro – at least 9″
- Scissors, paper scissors, pens, ruler
- Paper for pattern
- Sewing machine
Here are the easy steps to creating your pouch:
Cut your material:
- Main pouch – cut 1 piece from the clear vinyl
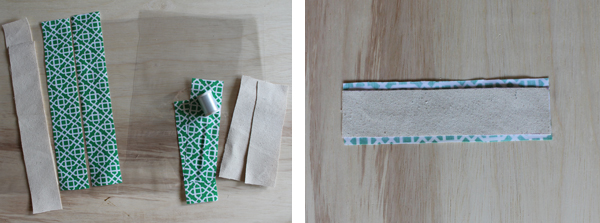
- Facing – cut 2 pieces of the laminated fabric
- Backing – cut 2 pieces from the cotton canvas. Note that the backing pieces are 1/2″ smaller than the facing pieces
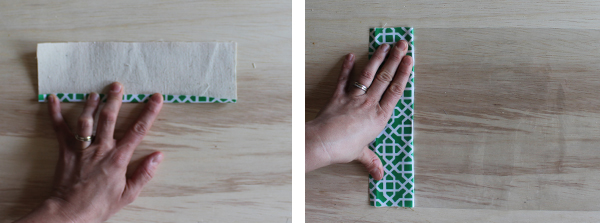
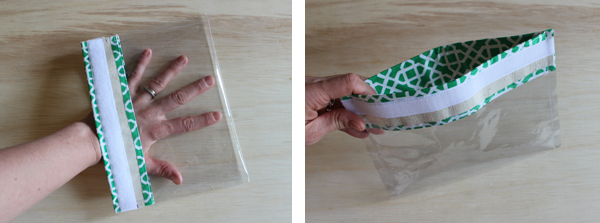
The facing piece should be right side down. Place the backing in the middle.
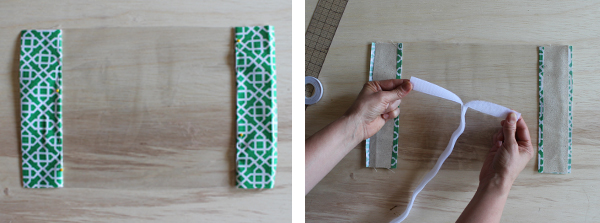
Turn 1 side of the laminated fabric edge 1/4″ towards the backing. Finger press. Right side up, now place the facing on top of the vinyl. Pin down along where your stitch would be. Edge stitch along the bottom of the facing.
Repeat for the other side. This completes the bottom of the facing.
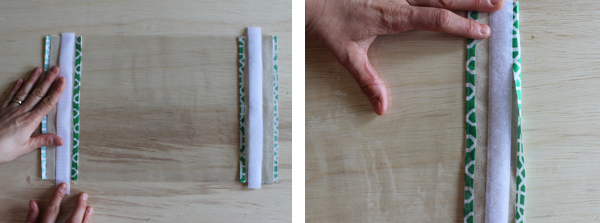
Prepare your velcro. Cut to 9″. Turn your project so that it is facing rightside down.
Open velcro and place 1 on each side of your project.
Velcro placement – make sure you can turn the top edge of the laminated fabric 1/4″ and place it UNDER the velcro. Pin velcro down. Sew the velcro along the top and bottom edges. Repeat for the other side. This completes the facing top edge.
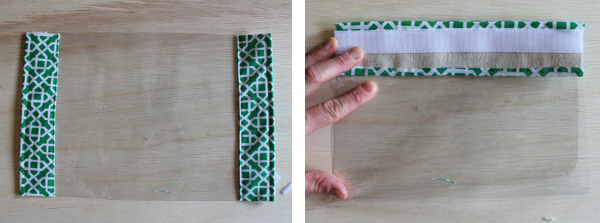
Place right sides together, matching at the top edge. Sew with a 1/4″ seam allowance down both sides. Remember to backstitch, especially at the top.
Gently pull and turn the inside out. You want the rightside of the laminated fabric to now face the outside. This might take some wiggling. Carefully work the corners out and then finger press the side seams to lay flat. Voila – You now finished your little pouch! Applause.
Now that you have conquered making this cute pouch – try making other sizes by adjusting the pattern. You can also make the same pouch out of any material – mesh, rip stop, cotton.
If you have any questions or comments, please feel free to contact me. I would love to hear your fedeback on working with vinyl! I also love seeing images of your projects..
Happy Sewing!


I like these. A larger size would be great for on the go baby products!
These are so adorable!
I’m finishing up my new diaper bag now and was trying to dream up how to make ‘bags’ or ‘pouches’ to hold all the necessary things I will need with two toddlers and an infant 🙂 These are perfect and i have vinyl already! I will say I’m going to try them without the clear thread, I’ll sew them with the seams on the outside then use a home-made biased tape on the edges so i can make them out of what I already have! I’ll try to remember to post back on how it goes!
Hi Kaely- Thanks for dropping by! I look forward to seeing your finished pouches. I like the idea of bias tape on the edges and using colored thread instead of the clear thread. I would love to see images if you can send when you are finished 🙂
These are great! I have wanted to make pouches and wasn’t sure what material to use. Vinyl it is!
I can see these bags will take off fast. Every one needs to corral all of the little things your carry around. The little bags would be easy to take from one purse and add to another and still keep track of what your have.
Hi – Thanks so much for stopping by! The bags are super fun and easy to make. Let me know if you make any and I would love to see images.
What a cute and practical idea. This can be made in so many different sizes to hold items when you are out on the go. I’m pinning. I’m making 🙂 Now following you, too. I used to sew everything years ago, and want to get back into it. Thanks for inspiring me.
Doreen
Hi Doreen. Thank you. They are great. I’m in the works for making a double-sided version and hope to post this week. These pouches are great gifts – I made a bunch for my friends and now their friends want some as well 🙂
Great idea and excellent tutorial! These are so fun and so quick to sew, I’ve become addicted…
Here’s my version: http://perleslune.blogspot.fr/2014/07/premier-vinyl.html
Wow – Thank you so much for sharing your pictures! Love the fabric you selected and your pouches look great!!