I am super happy to share this project today. This is my first tutorial as a Pellon Projects Designer. I have wanted to make a changing pad for awhile now. My baby is now 20 months old! So, when the opportunity came to submit a project to Pellon, the changing pad seemed like the perfect fit!
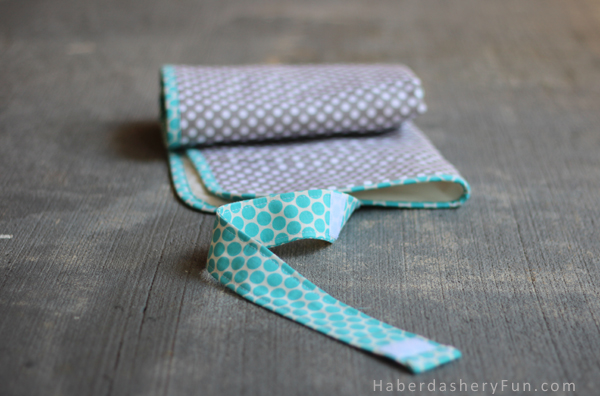
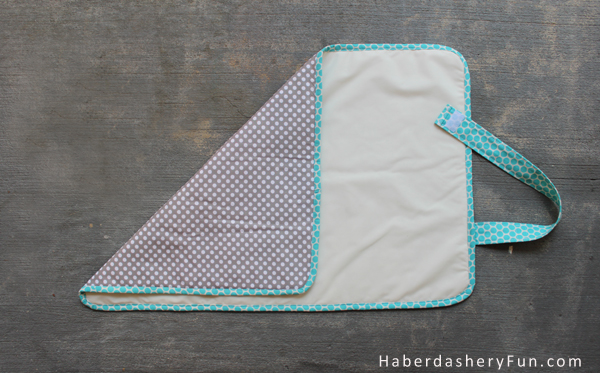
This is perfect for a new mom or if you have a new baby in the house. There are a few steps in the project, but you can complete the changing pad in just a few short hours. The pad is soft and perfect for babies to lie on. It rolls up for easy storage and transportation.
Head on over to the Pellon website and check out the full tutorial. The best part – there is a PDF you can download with step by step photos and instructions.
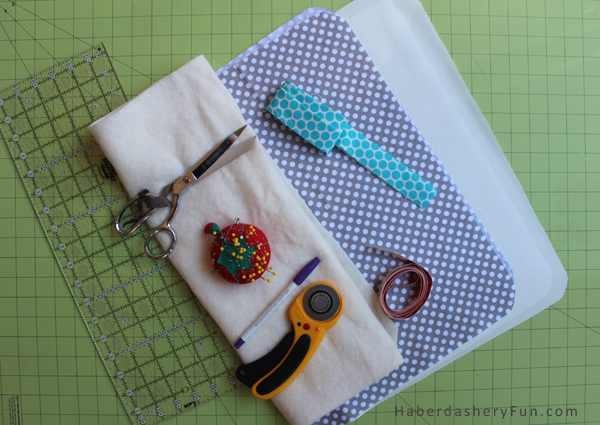
Materials Needed:
- Cotton fabric – 2 colors for the outside and the binding
- PUL fabric – for the backing [another option is cotton fabric backed with Pellon Vinyl Fuse]
- Pellon Fleece TP970 / Sew in Interfacing
- Velcro – 1″ piece
- Rotary cutter and cutting mat
- Quilting ruler
- Sewing materials – pins, scissors, thread, sewing machine
- Disappearing ink pen
- Iron and ironing board
Before we get started, you need to cut the following pieces:
- Main fabric, Pellon fleece and PUL [ or another piece of cotton and vinyl fuse] – Cut 1 piece 24″L x 15″ W
- Binding – Cut binding 2 1/2″W x 90″L. Don’t know how? Check out my tutorial here
- Strap fabric – Cut 3 3/4″W x 20″. Cut a longer strap. You can decide at the end how you want the strap to look.
Note – the Pellon vinyl fuse makes a great wipeable surface for the pad. This is an alternative to the PUL. It is easy to do, but follow the instructions on the box.
Let’s start sewing:
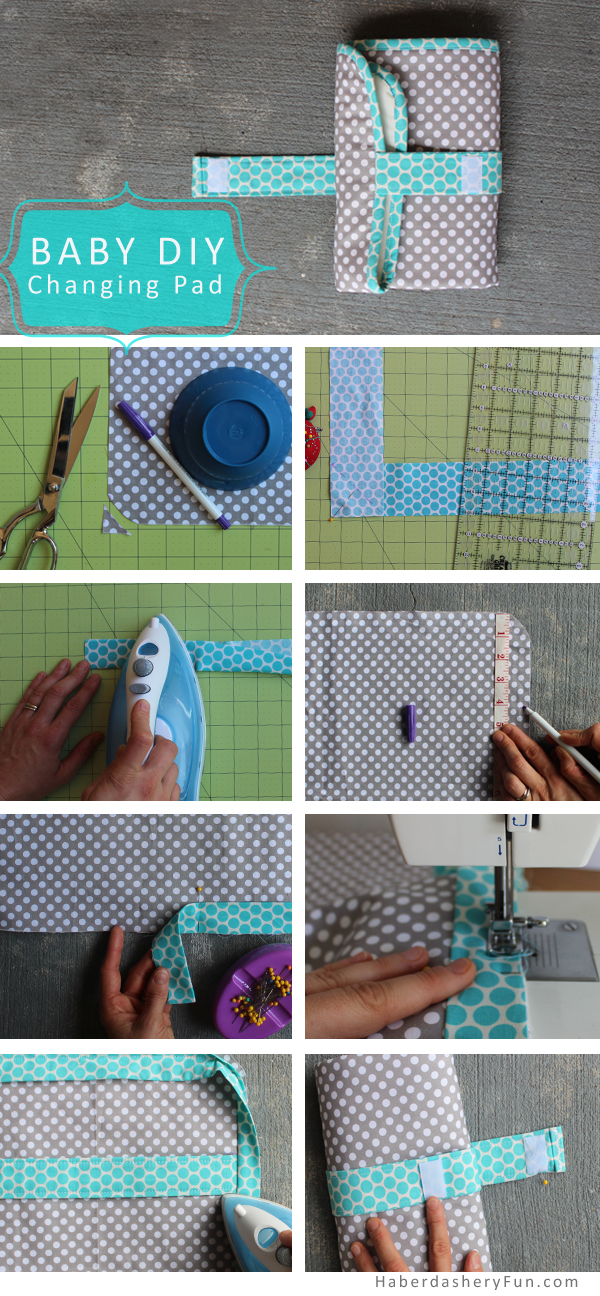
- Find a circular template to trace at each corner. This will round the corners. I used a small baby bowl, but a cup or saucer will work. Trace with your disappearing ink pen and cut. Repeat for each layer – cotton, fleece and PUL fabric
- Sew your binding and strap pieces. I created easy tutorials for both… check out the binding tutorial here and the strap tutorial here
- Fold the binding in half and press. Press the entire binding in half
- Lay the 3 fabric pieces lengthwise. Sandwich the Fleece between. Match all corners and gently hand press the wrinkles out. Using a tape measure, measure down 4” from top right corner of pad. Mark with a disappearing ink pen. Pin the strap here
- Pin the binding to the edge. Match raw edge to raw edge
- Place into sewing machine and sew the binding down with a 1/4″ seam allowance. Leave a 2″ tail at the beginning and end of the binding.
- Press the seam. Press closed and then open and press again. Roll the binding towards the backside and cover the raw edge. Press to help set the seam. Place back into sewing machine and edgstitch the binding in place
- Fold the pad up. Roll the strap around the changing pad to figure out velcro placement. Mark with the disappearing ink pen and pin. Stitch velcro down with your sewing machine
That’s it! What do you think? Will you attempt the changing pad? If you have completed this project, I would love to see photographs.. Please email me through the contact page.
Head on over to Pellon to see the full tutorial.. There are also GREAT projects from other bloggers and designers.. Make sure to check them out.
Happy sewing!


Marni, what a great first project for Pellon. Congratulations! Love the polka dot colors you chose. Need to get my hands on some Vinyl Fuse… 🙂
Thanks Karin! When does your project go up? I’ve been on the look out for it… Yes, check out Vinyl Fuse.. Awesome stuff 🙂
Wow.. Saw this over at the Pellon website. Might try to make it this weekend. Thanks!
I loVe this tutorial and have made two of them! My quEstion is when using the Vinyl fuse, would You iron it onto the right side of thE fabric that baby lays on?
Hi there,
You can use the vinyl fuse on fuse on either side. However, if you use on the “inside” which is the side the baby will be one, it will wash/ wipe off super easy.
Marni
hI THERE, THANKS FOR THIS PATTERN – i’M MAKING A COUPLE FOR A FRIEND AT THE MOMENT. CAN i JUST THAT I’VE UNDERSTOOD THE INSTRUCTIONS – WITH THE BINDING TAPE, YOU’RE NOT CUTTING IT ON THE BIAS, BUT CUTTING IT STRAIGHT INSTEAD? aND IF SO, DOESN’T THAT CREATE PROBLEMS WHEN GUIDING IT ROUND THE OUTSIDE OF THE MAT?
tHANKS IN ADVANCE.
KATHRYN
Hi There,
I am sorry for the delay. You can do either for the binding. if you cut it on the bias, it will go around the corner much easier. If you cut it straight, it will still work around the corner. the corner isn’t very large or round, so either way works.
Marni